In this video, we will show you some of the other settings that can be configured for The Courier Guy plugin. These include:
Screenshots
Video Transcript
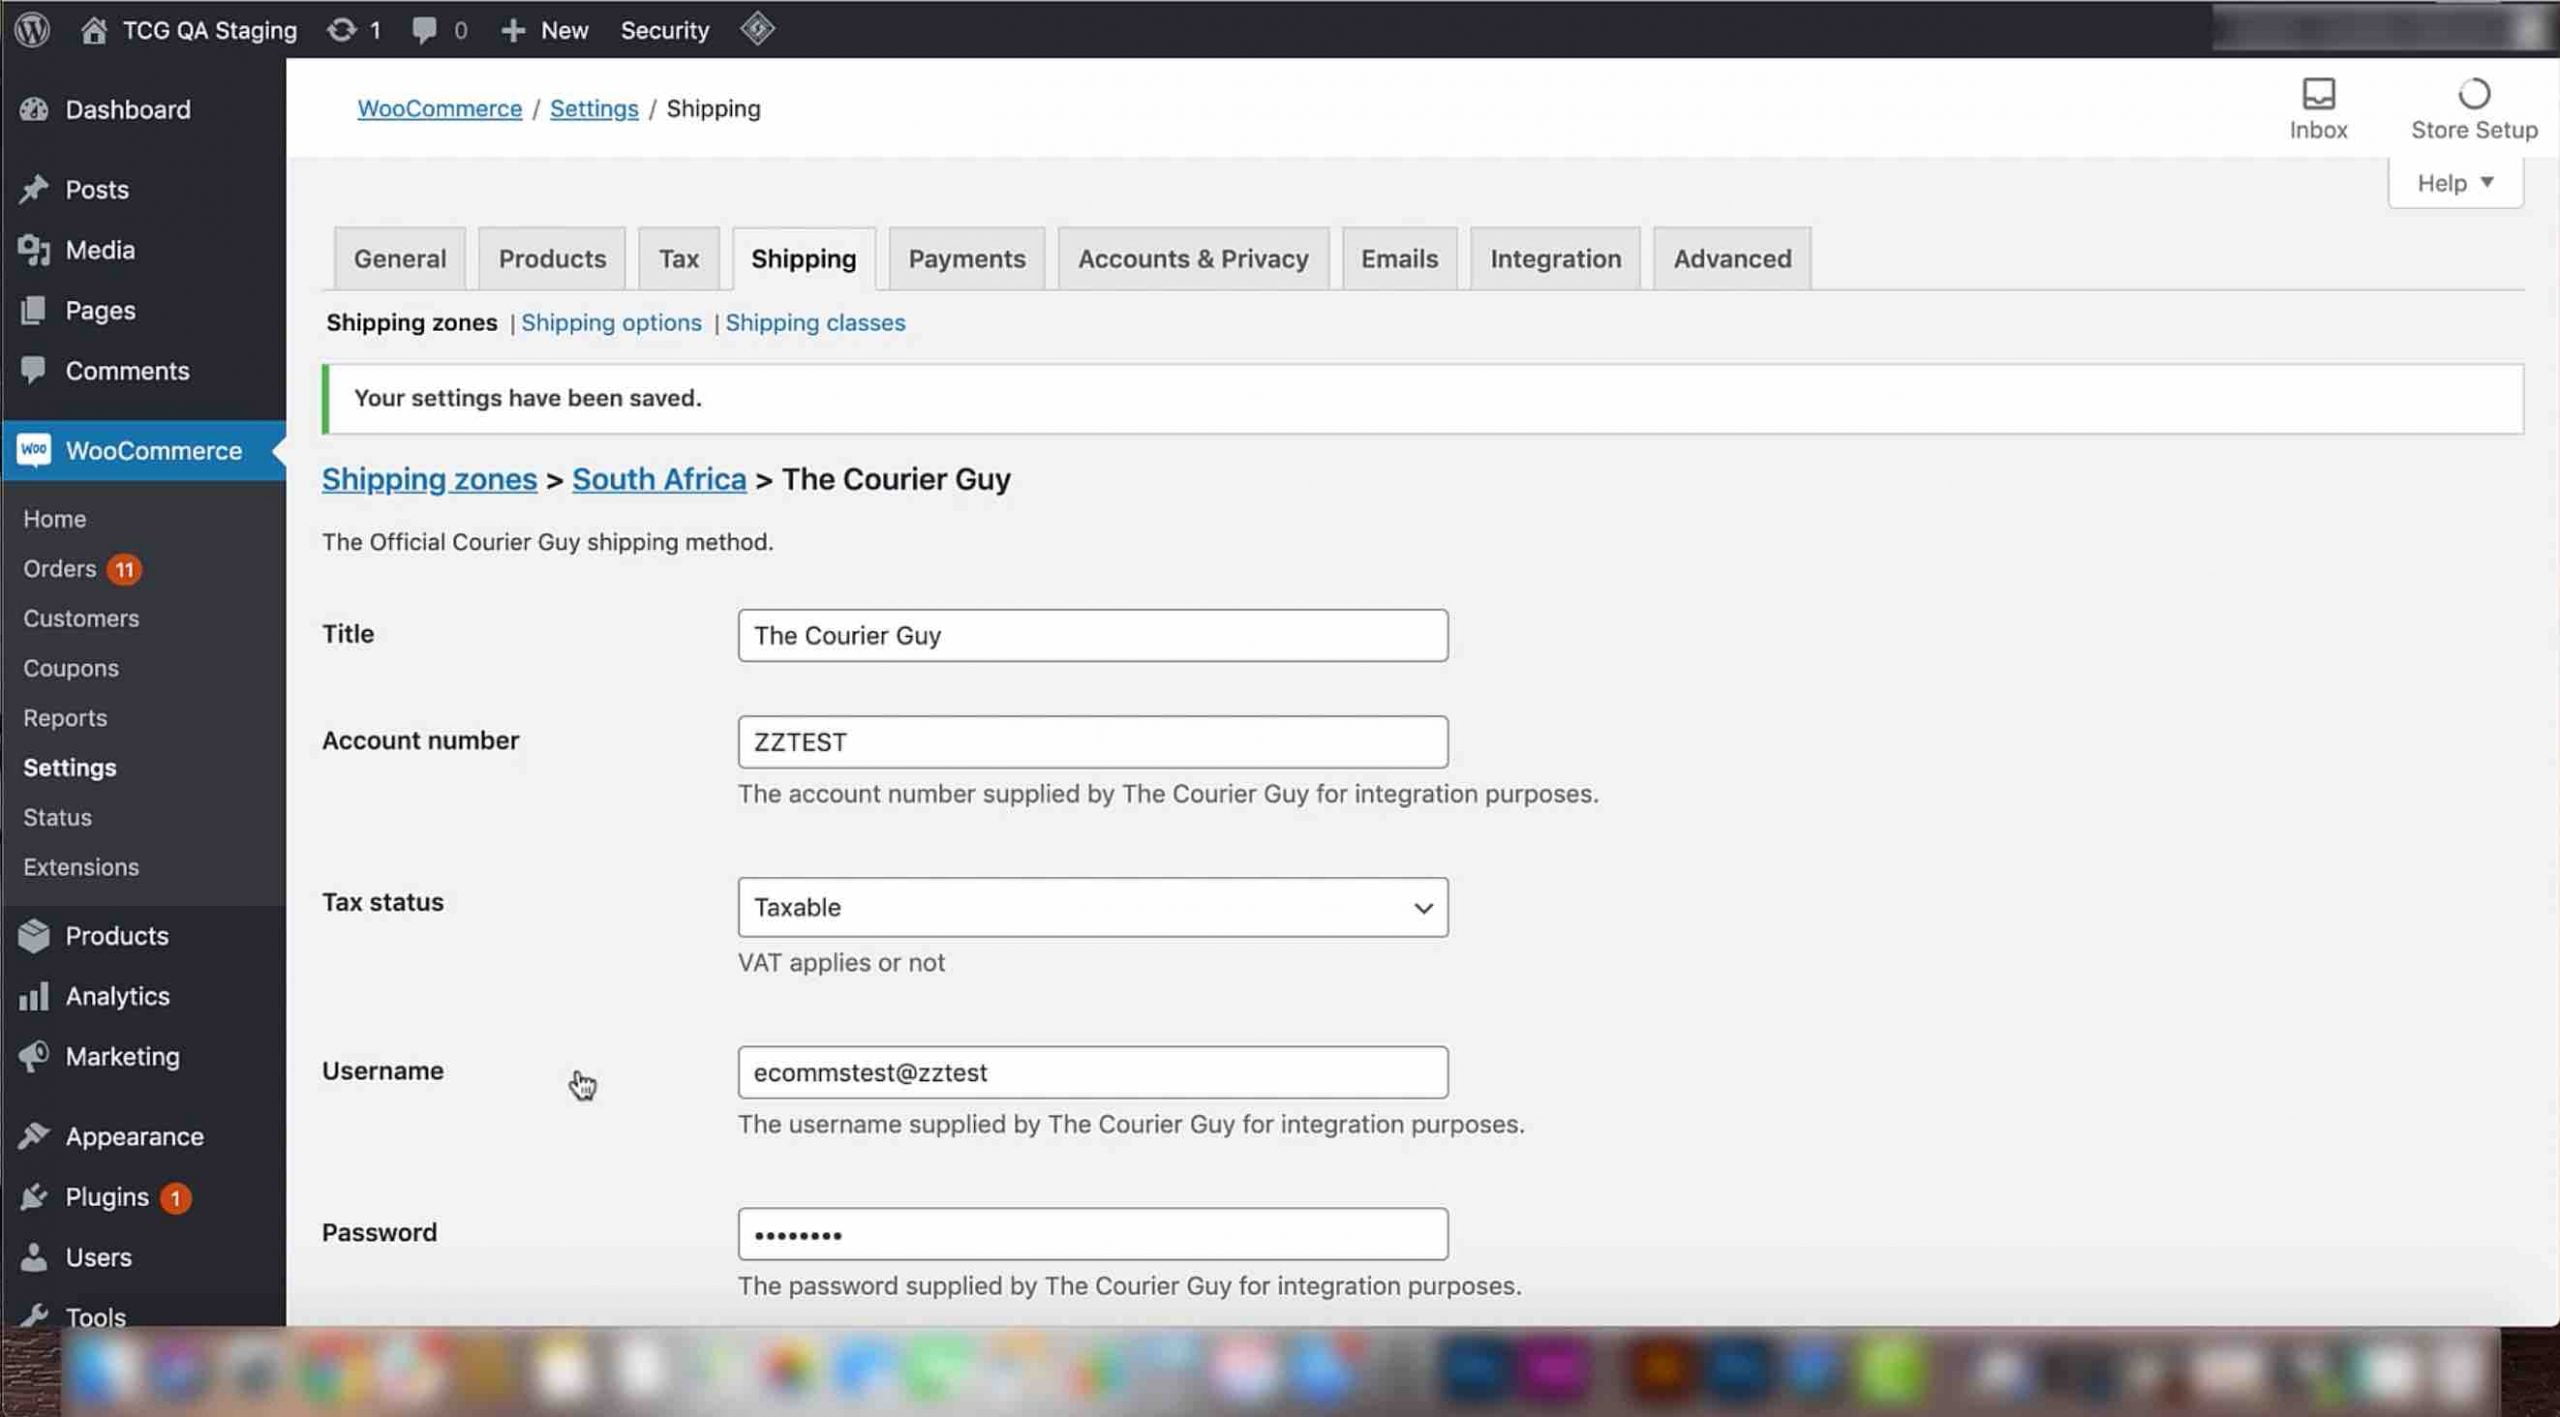
– Tax status
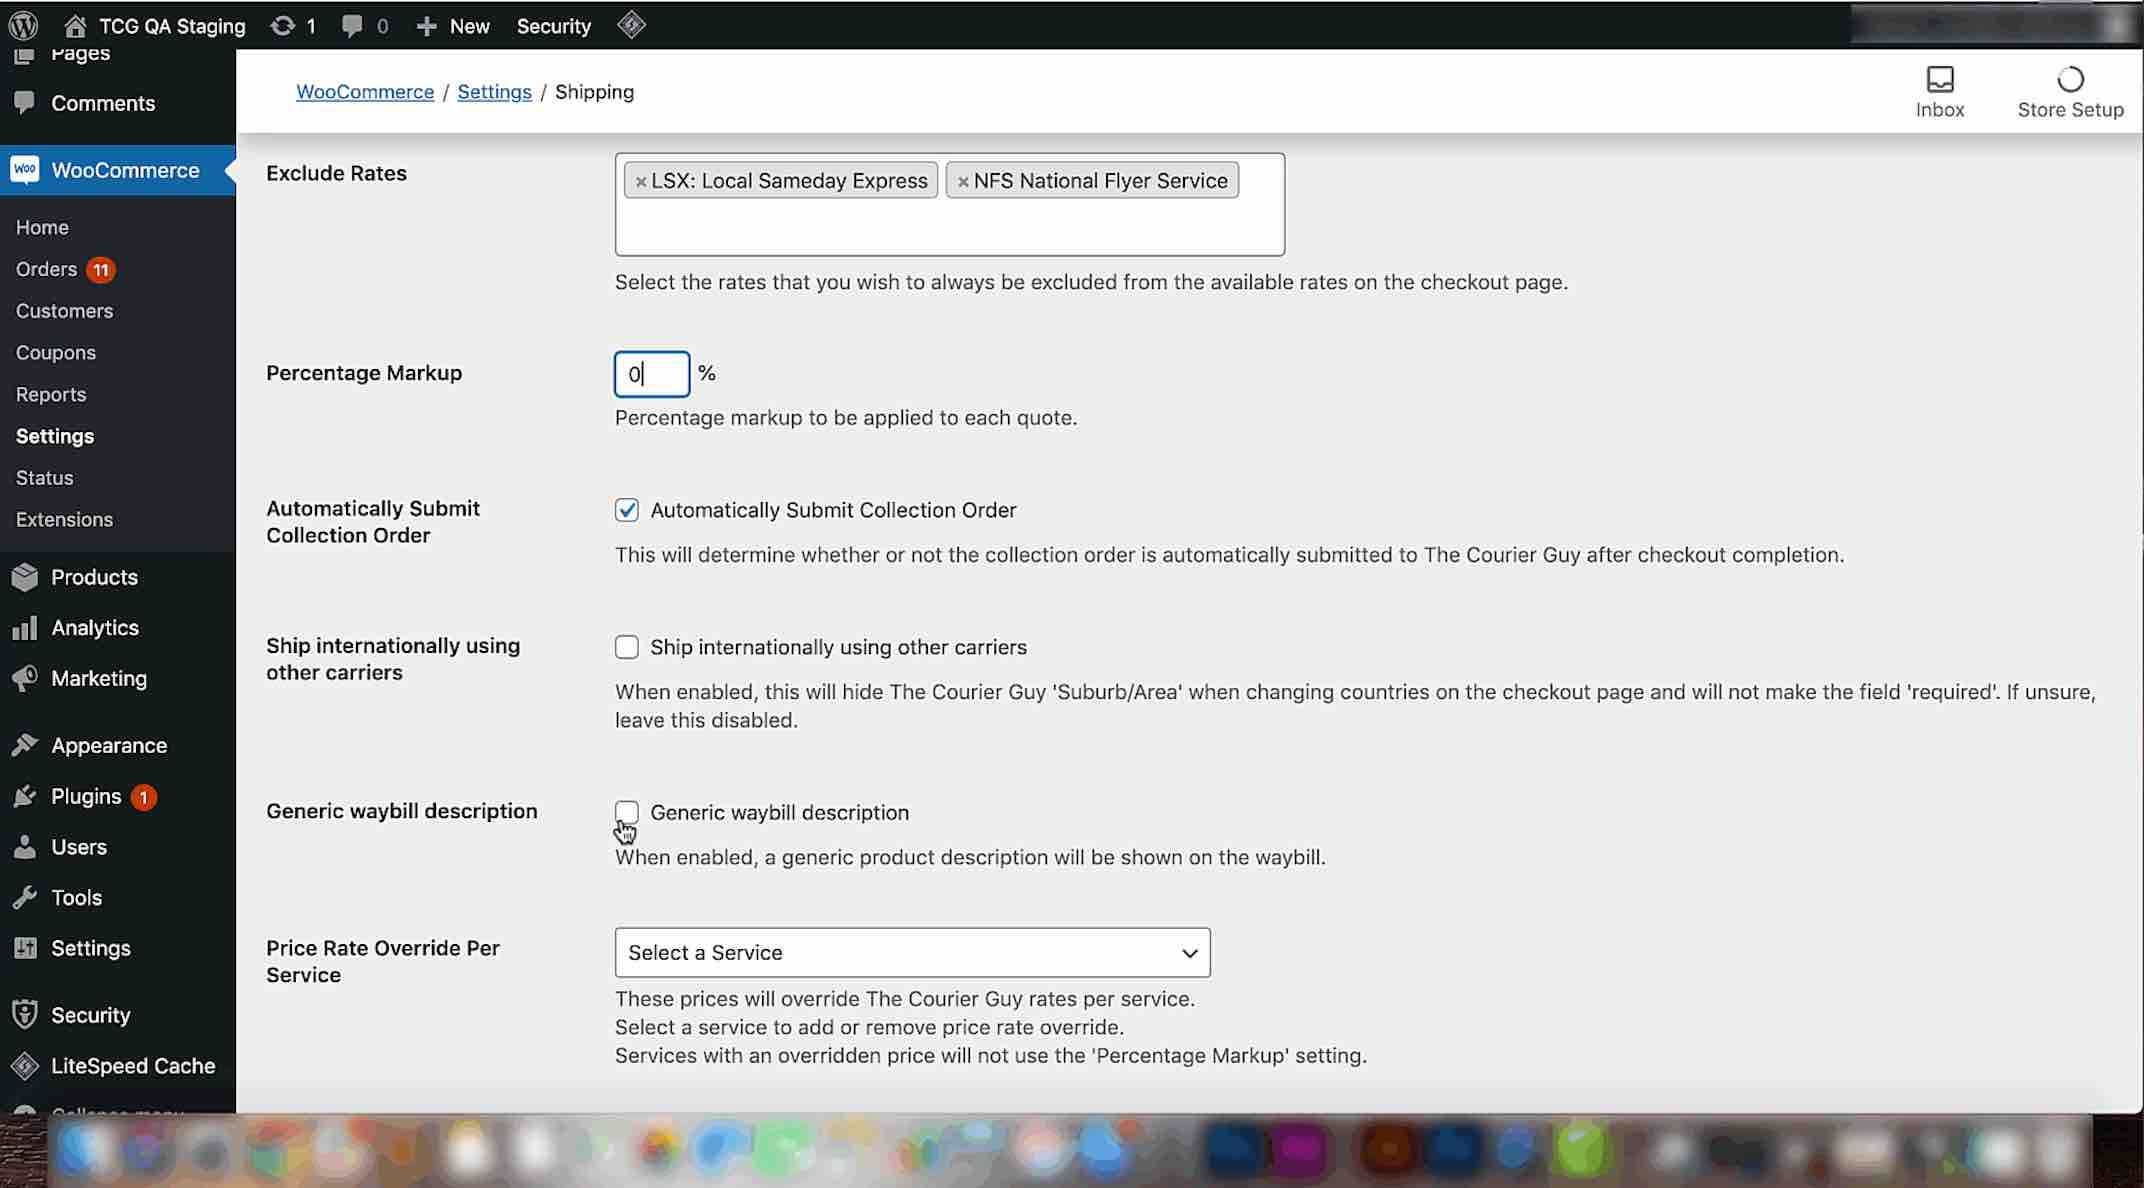
– Exclude rates
– Percentage markup
– Ship internationally using other couriers
– Generic waybill description
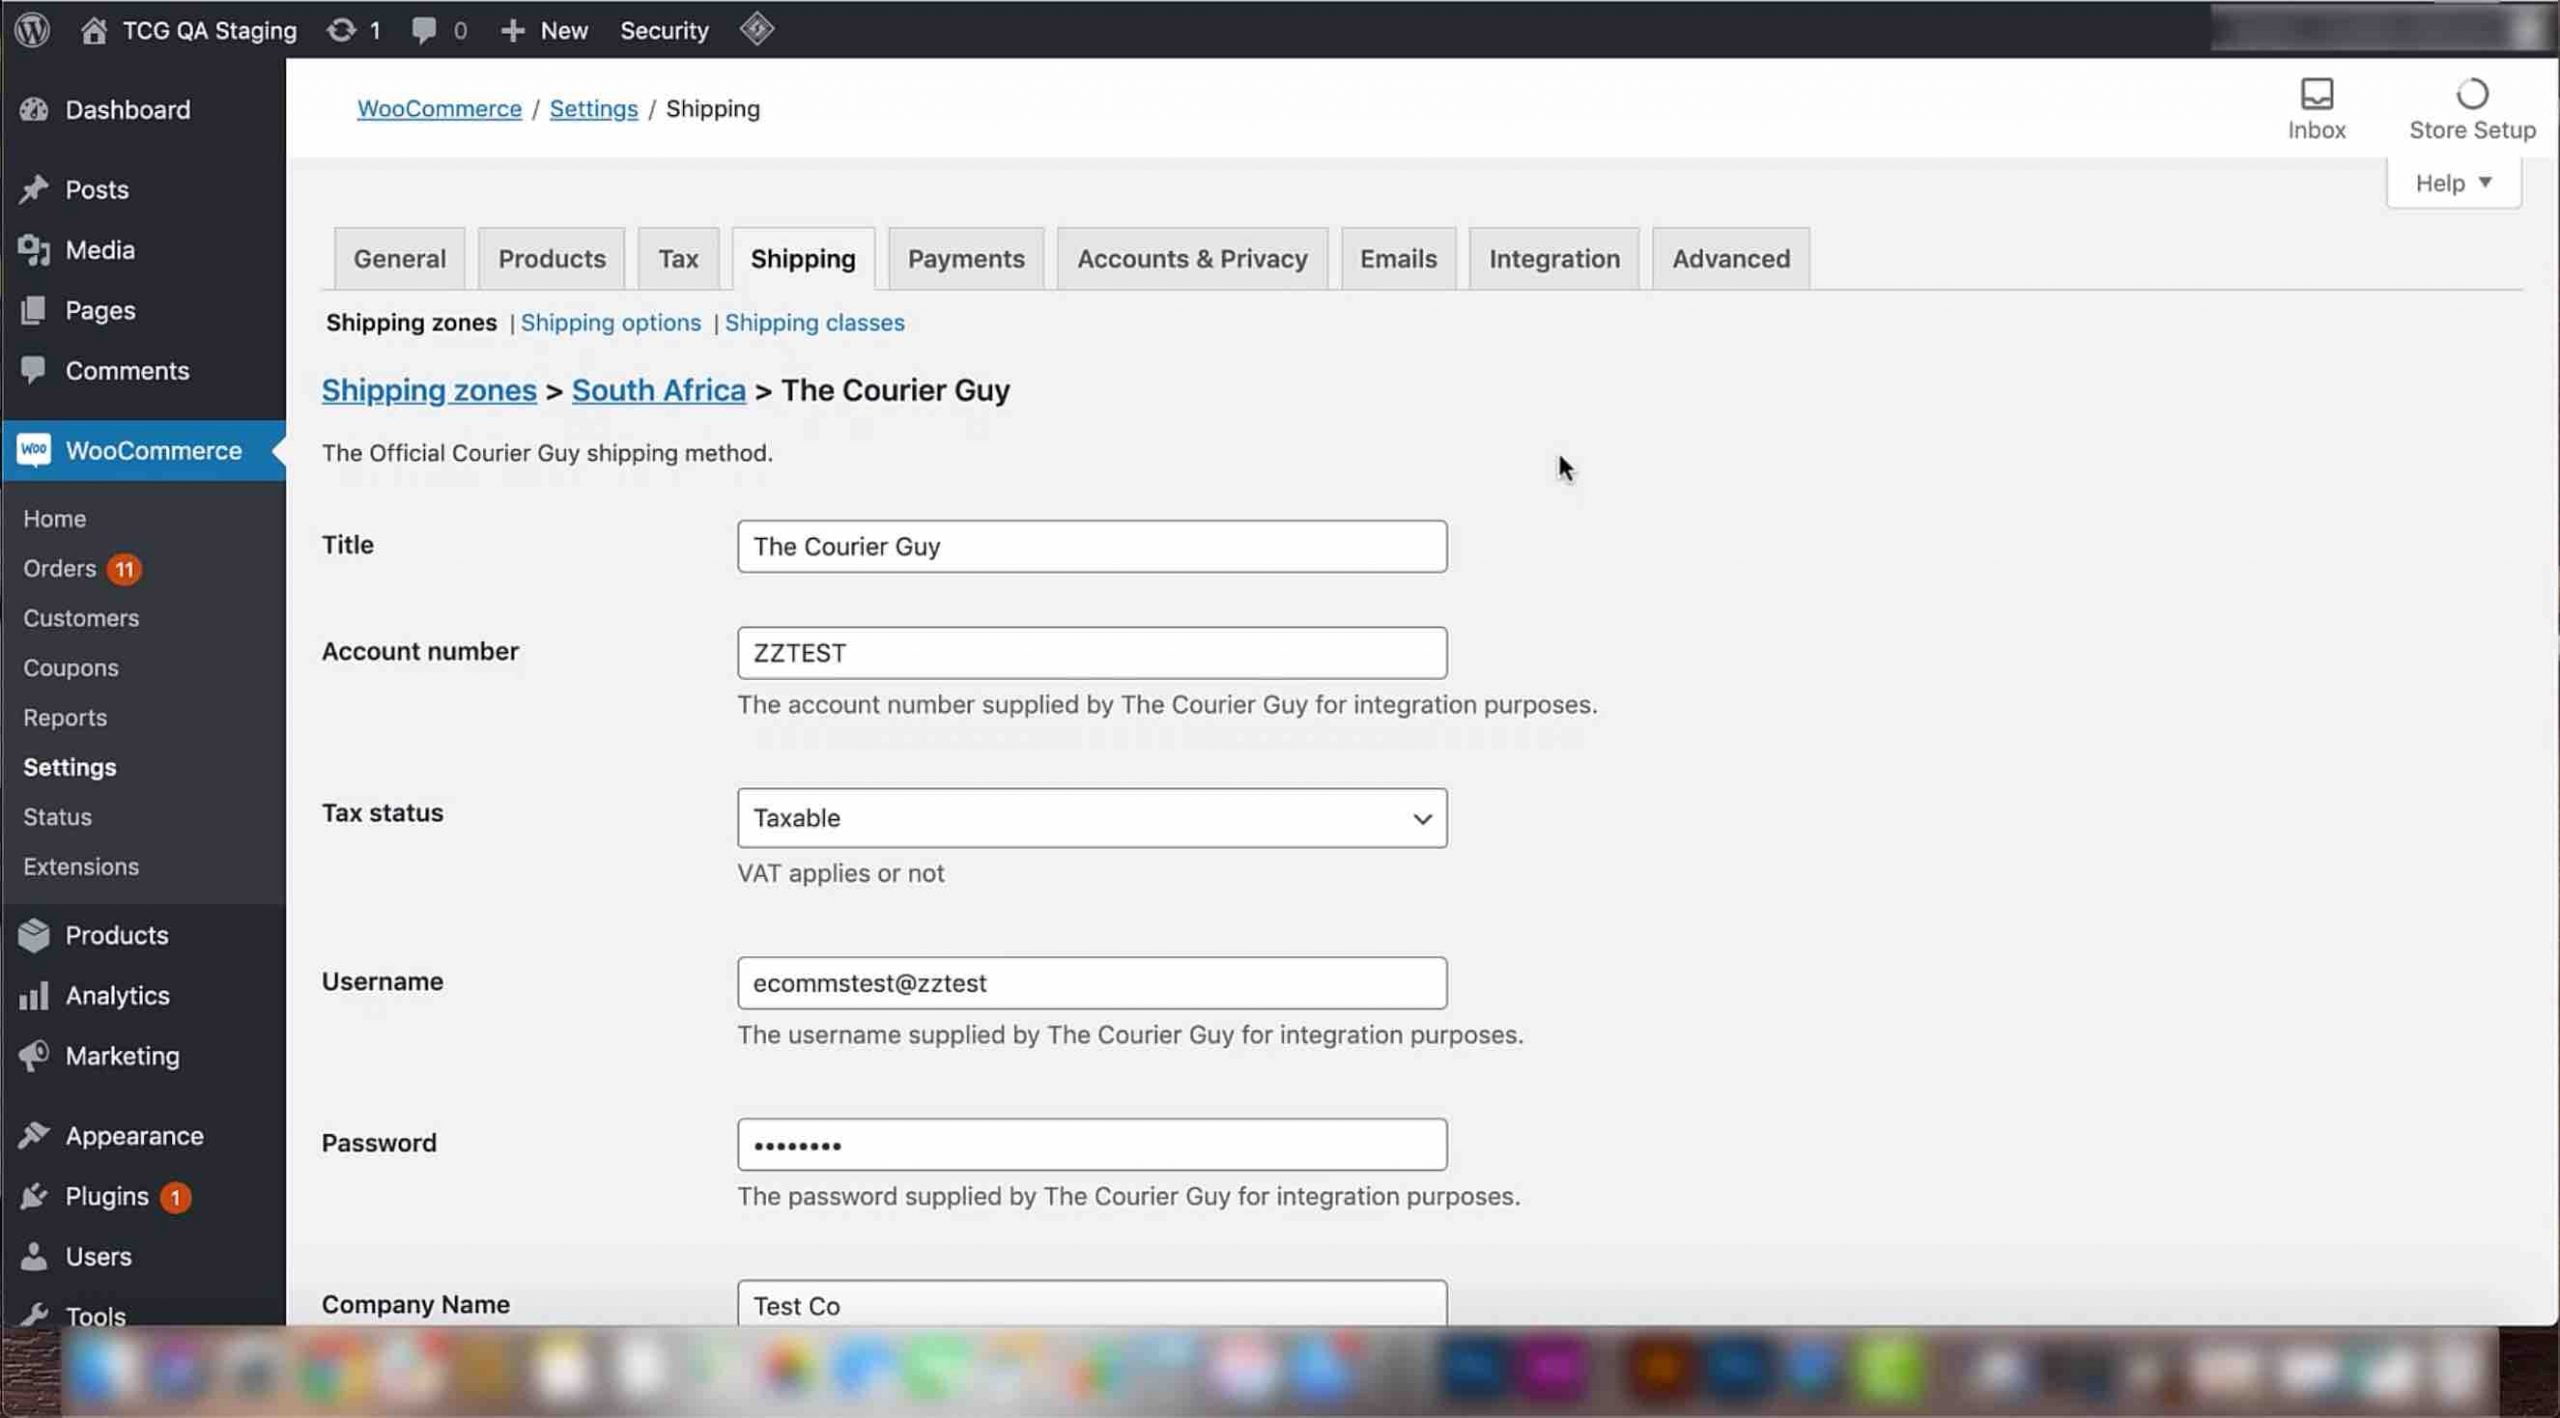
1) Now that we have covered the most important settings, we will show you some of the other settings you can use on The Courier Guy plugin to make collections and deliveries more effective.
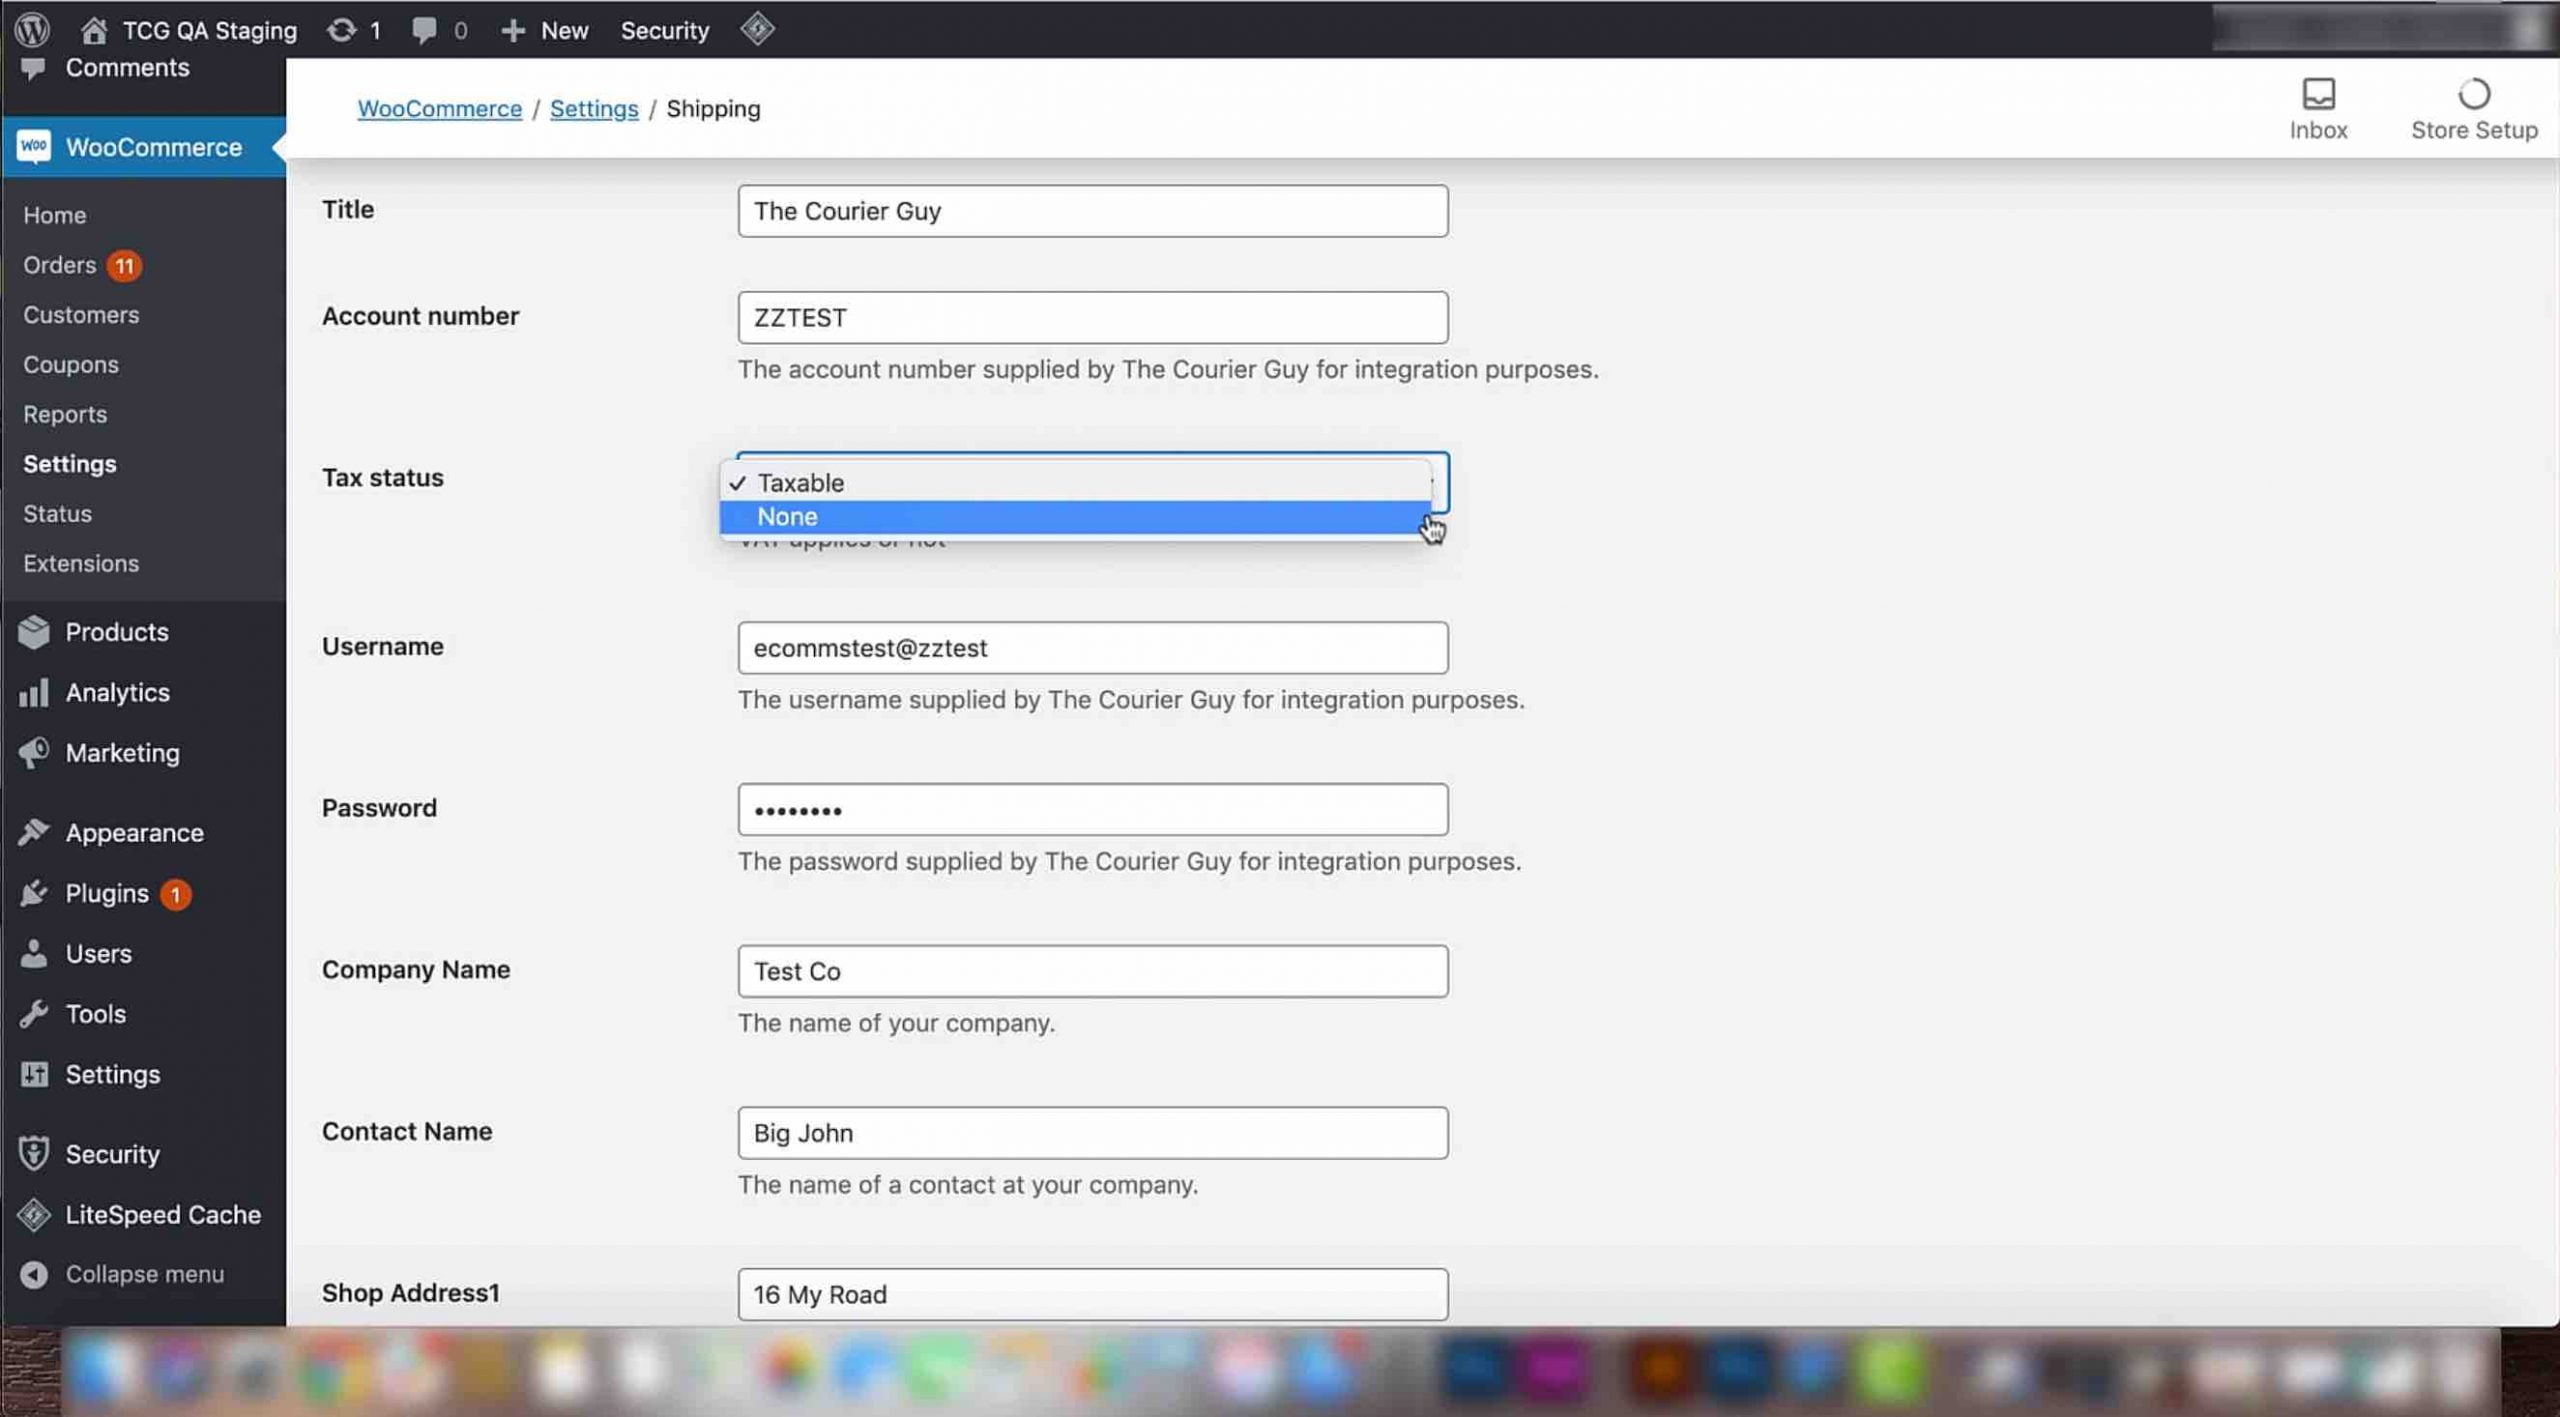
2) Tax status is a setting that can be used if courier fees are taxable
3) The tax status is set to taxable by default. If you want to change this, select ‘none’ in the dropdown that will appear when you click on the bar
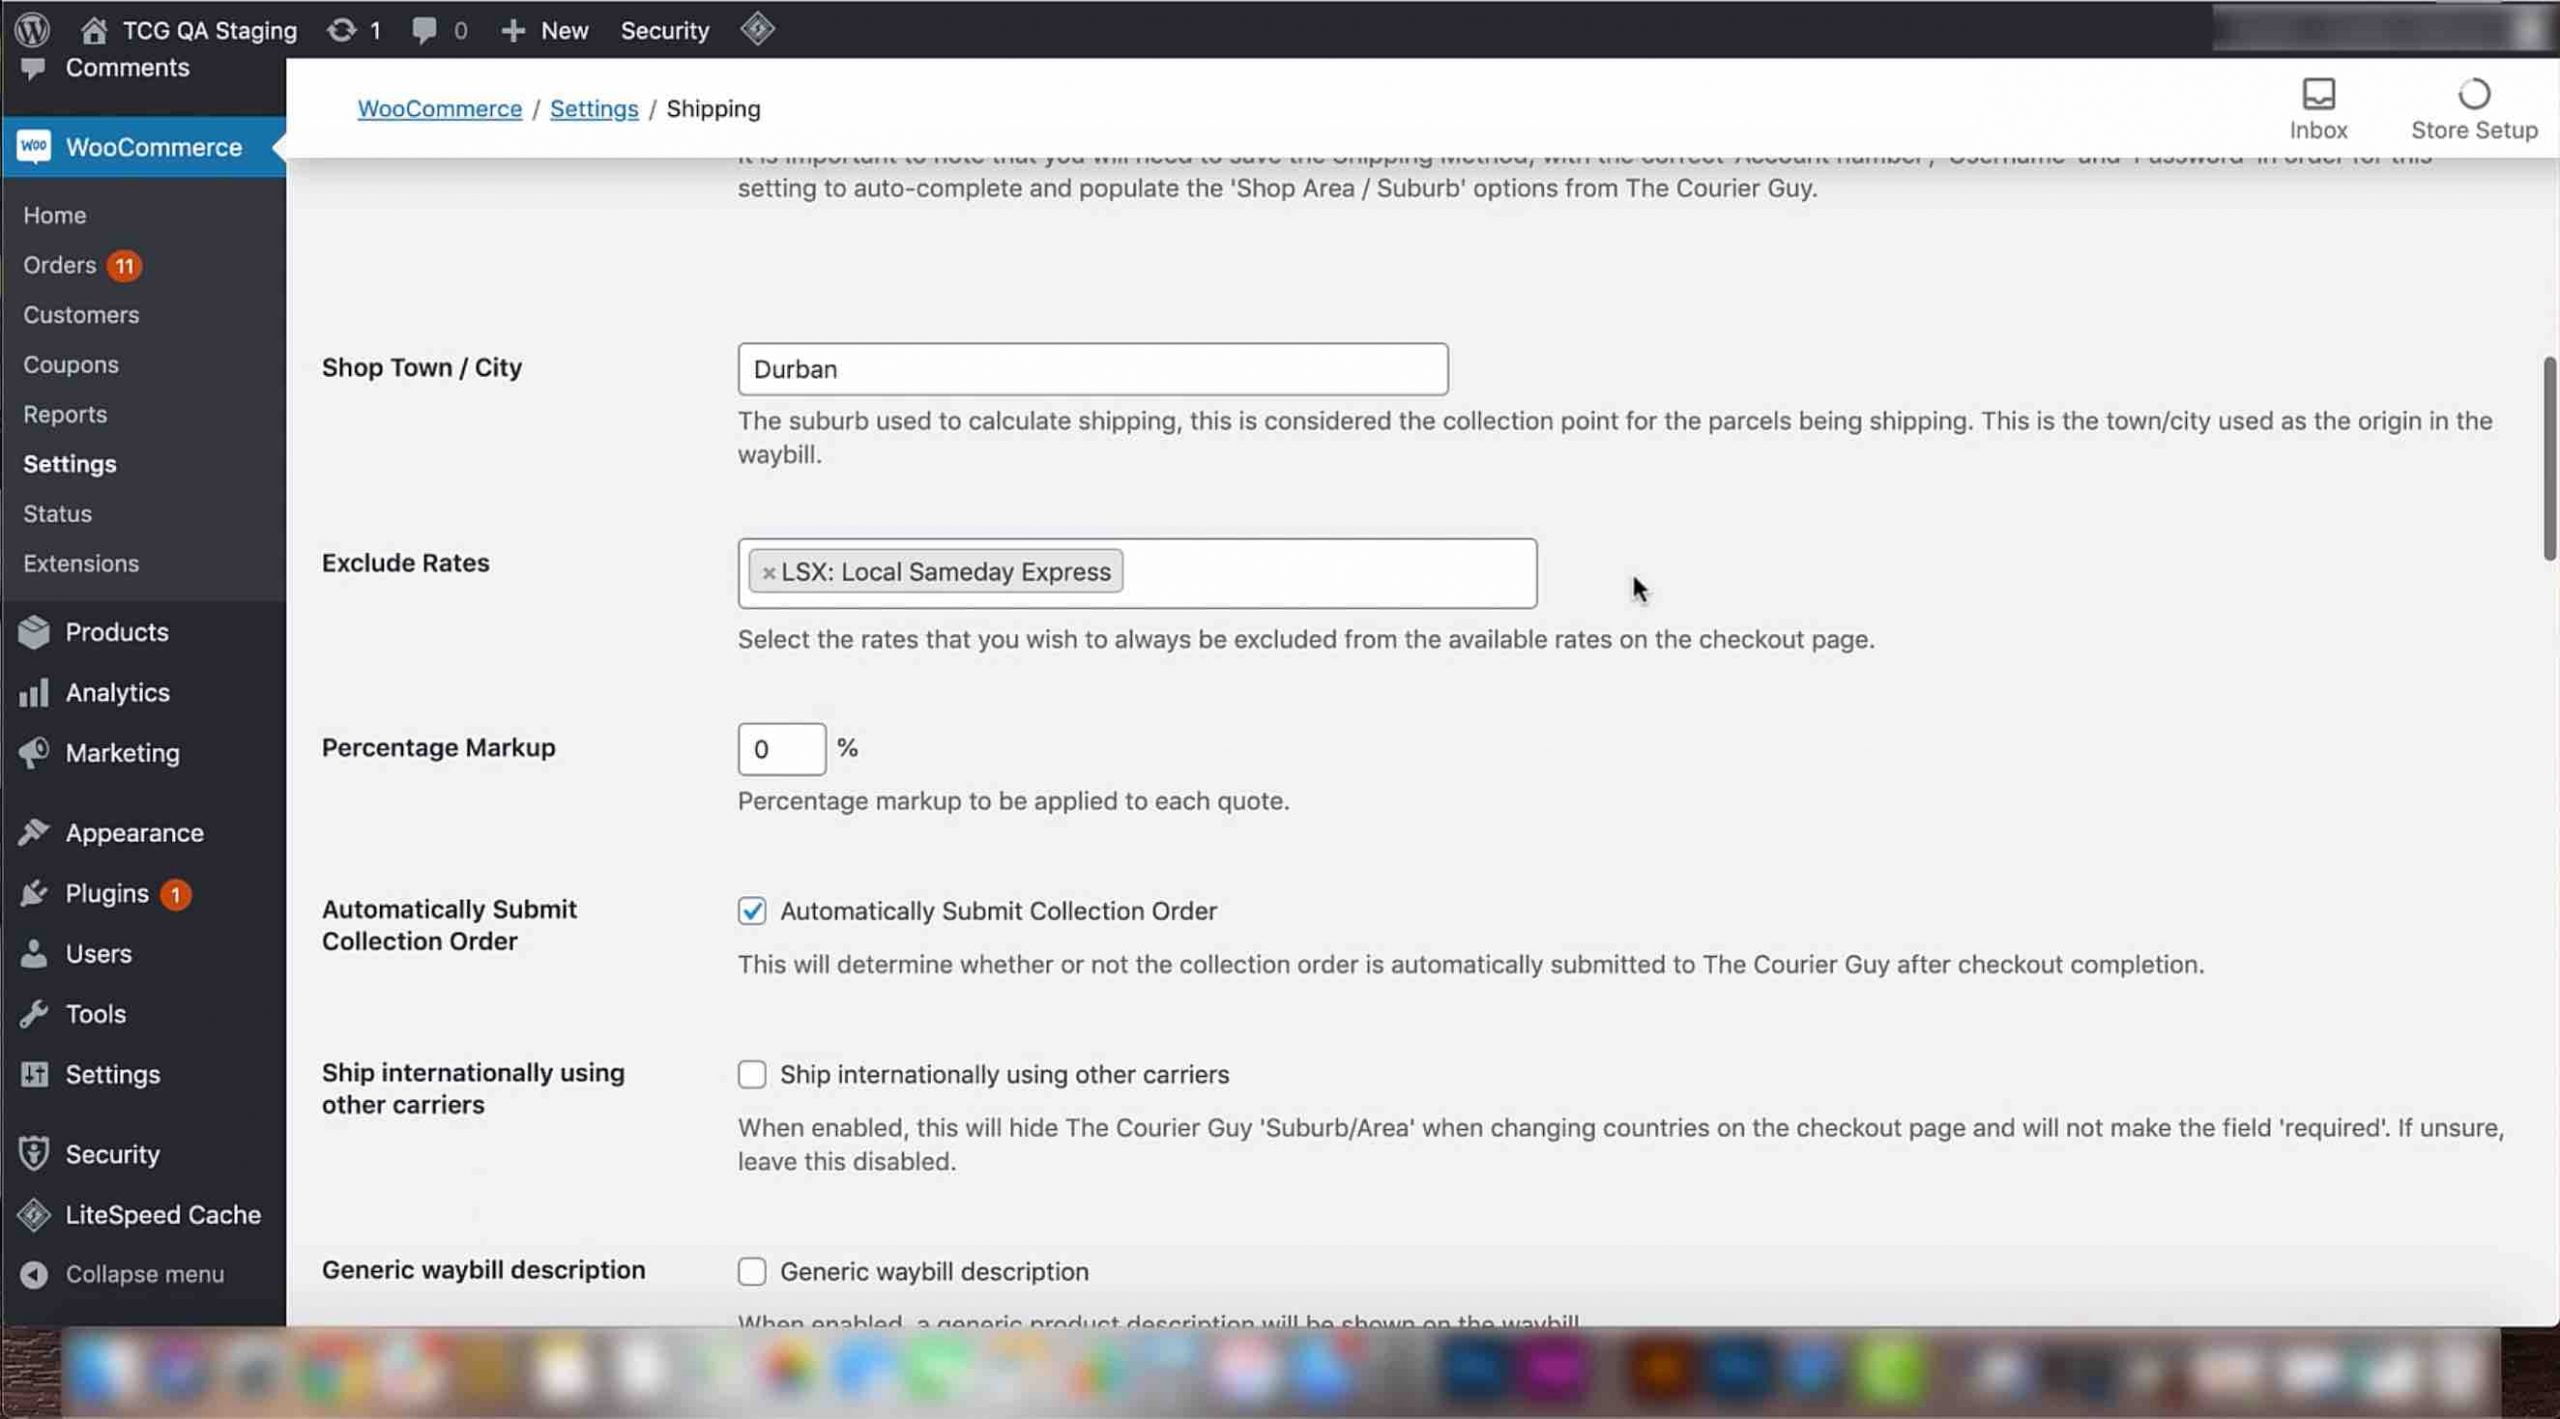
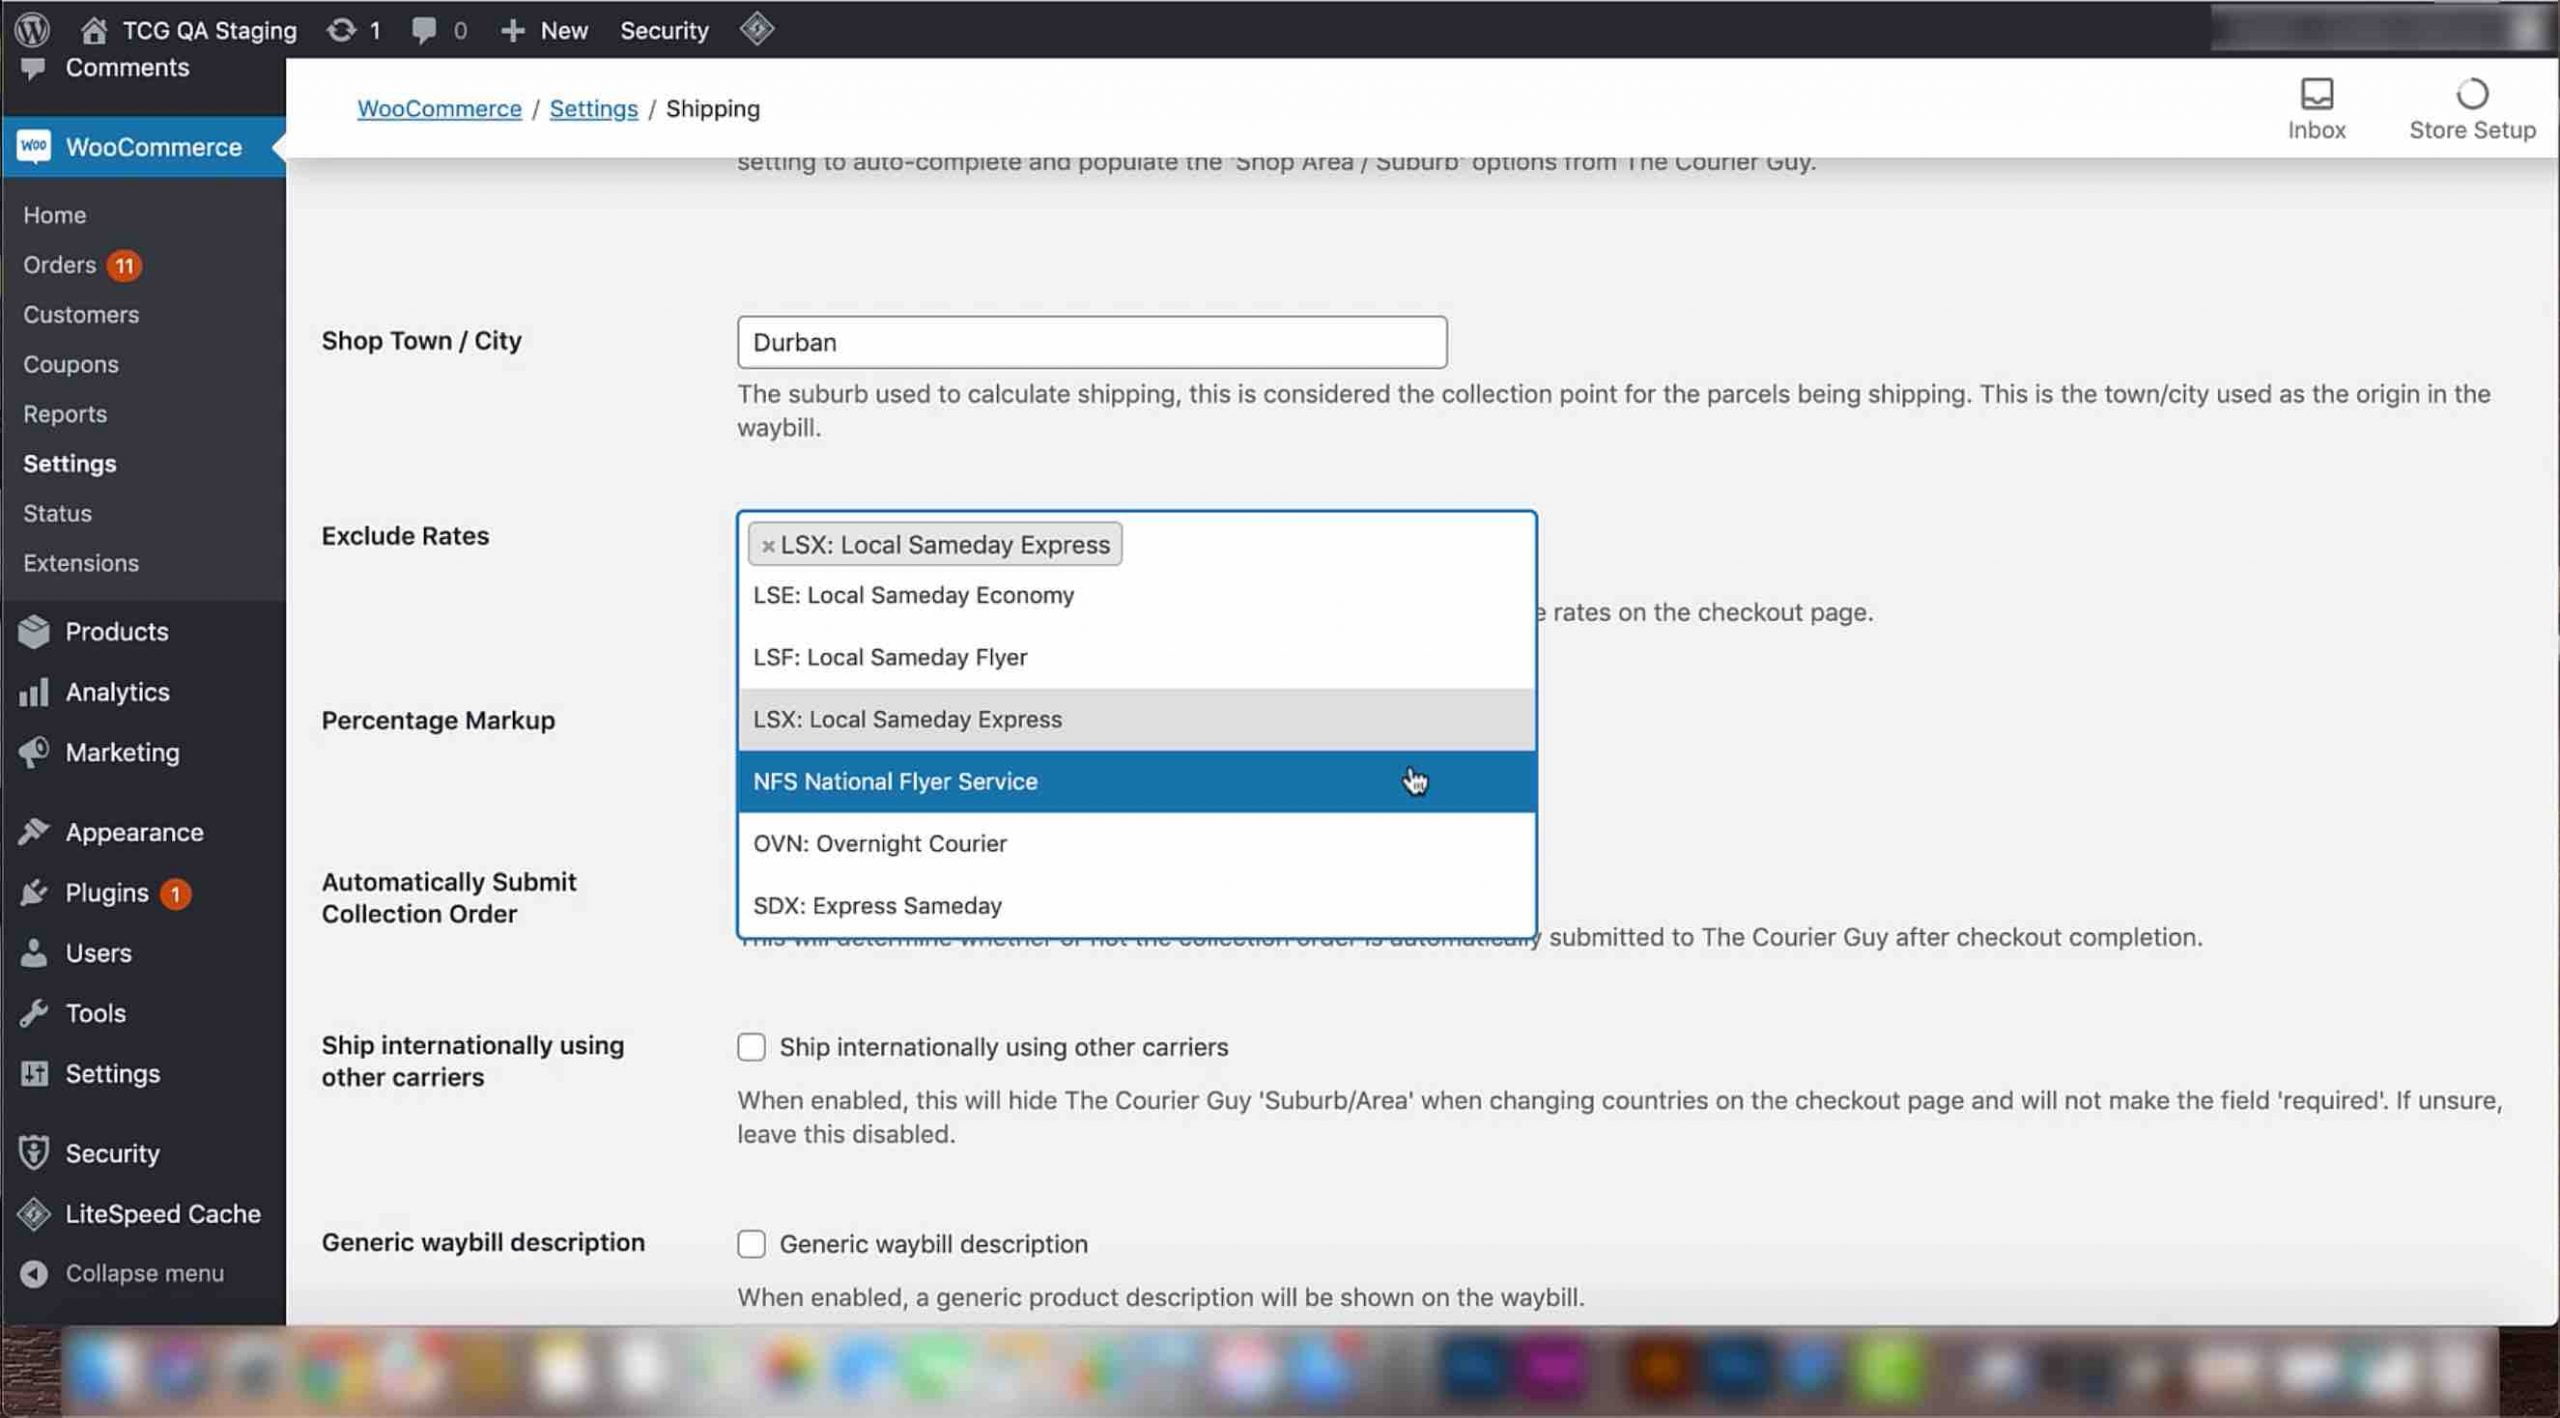
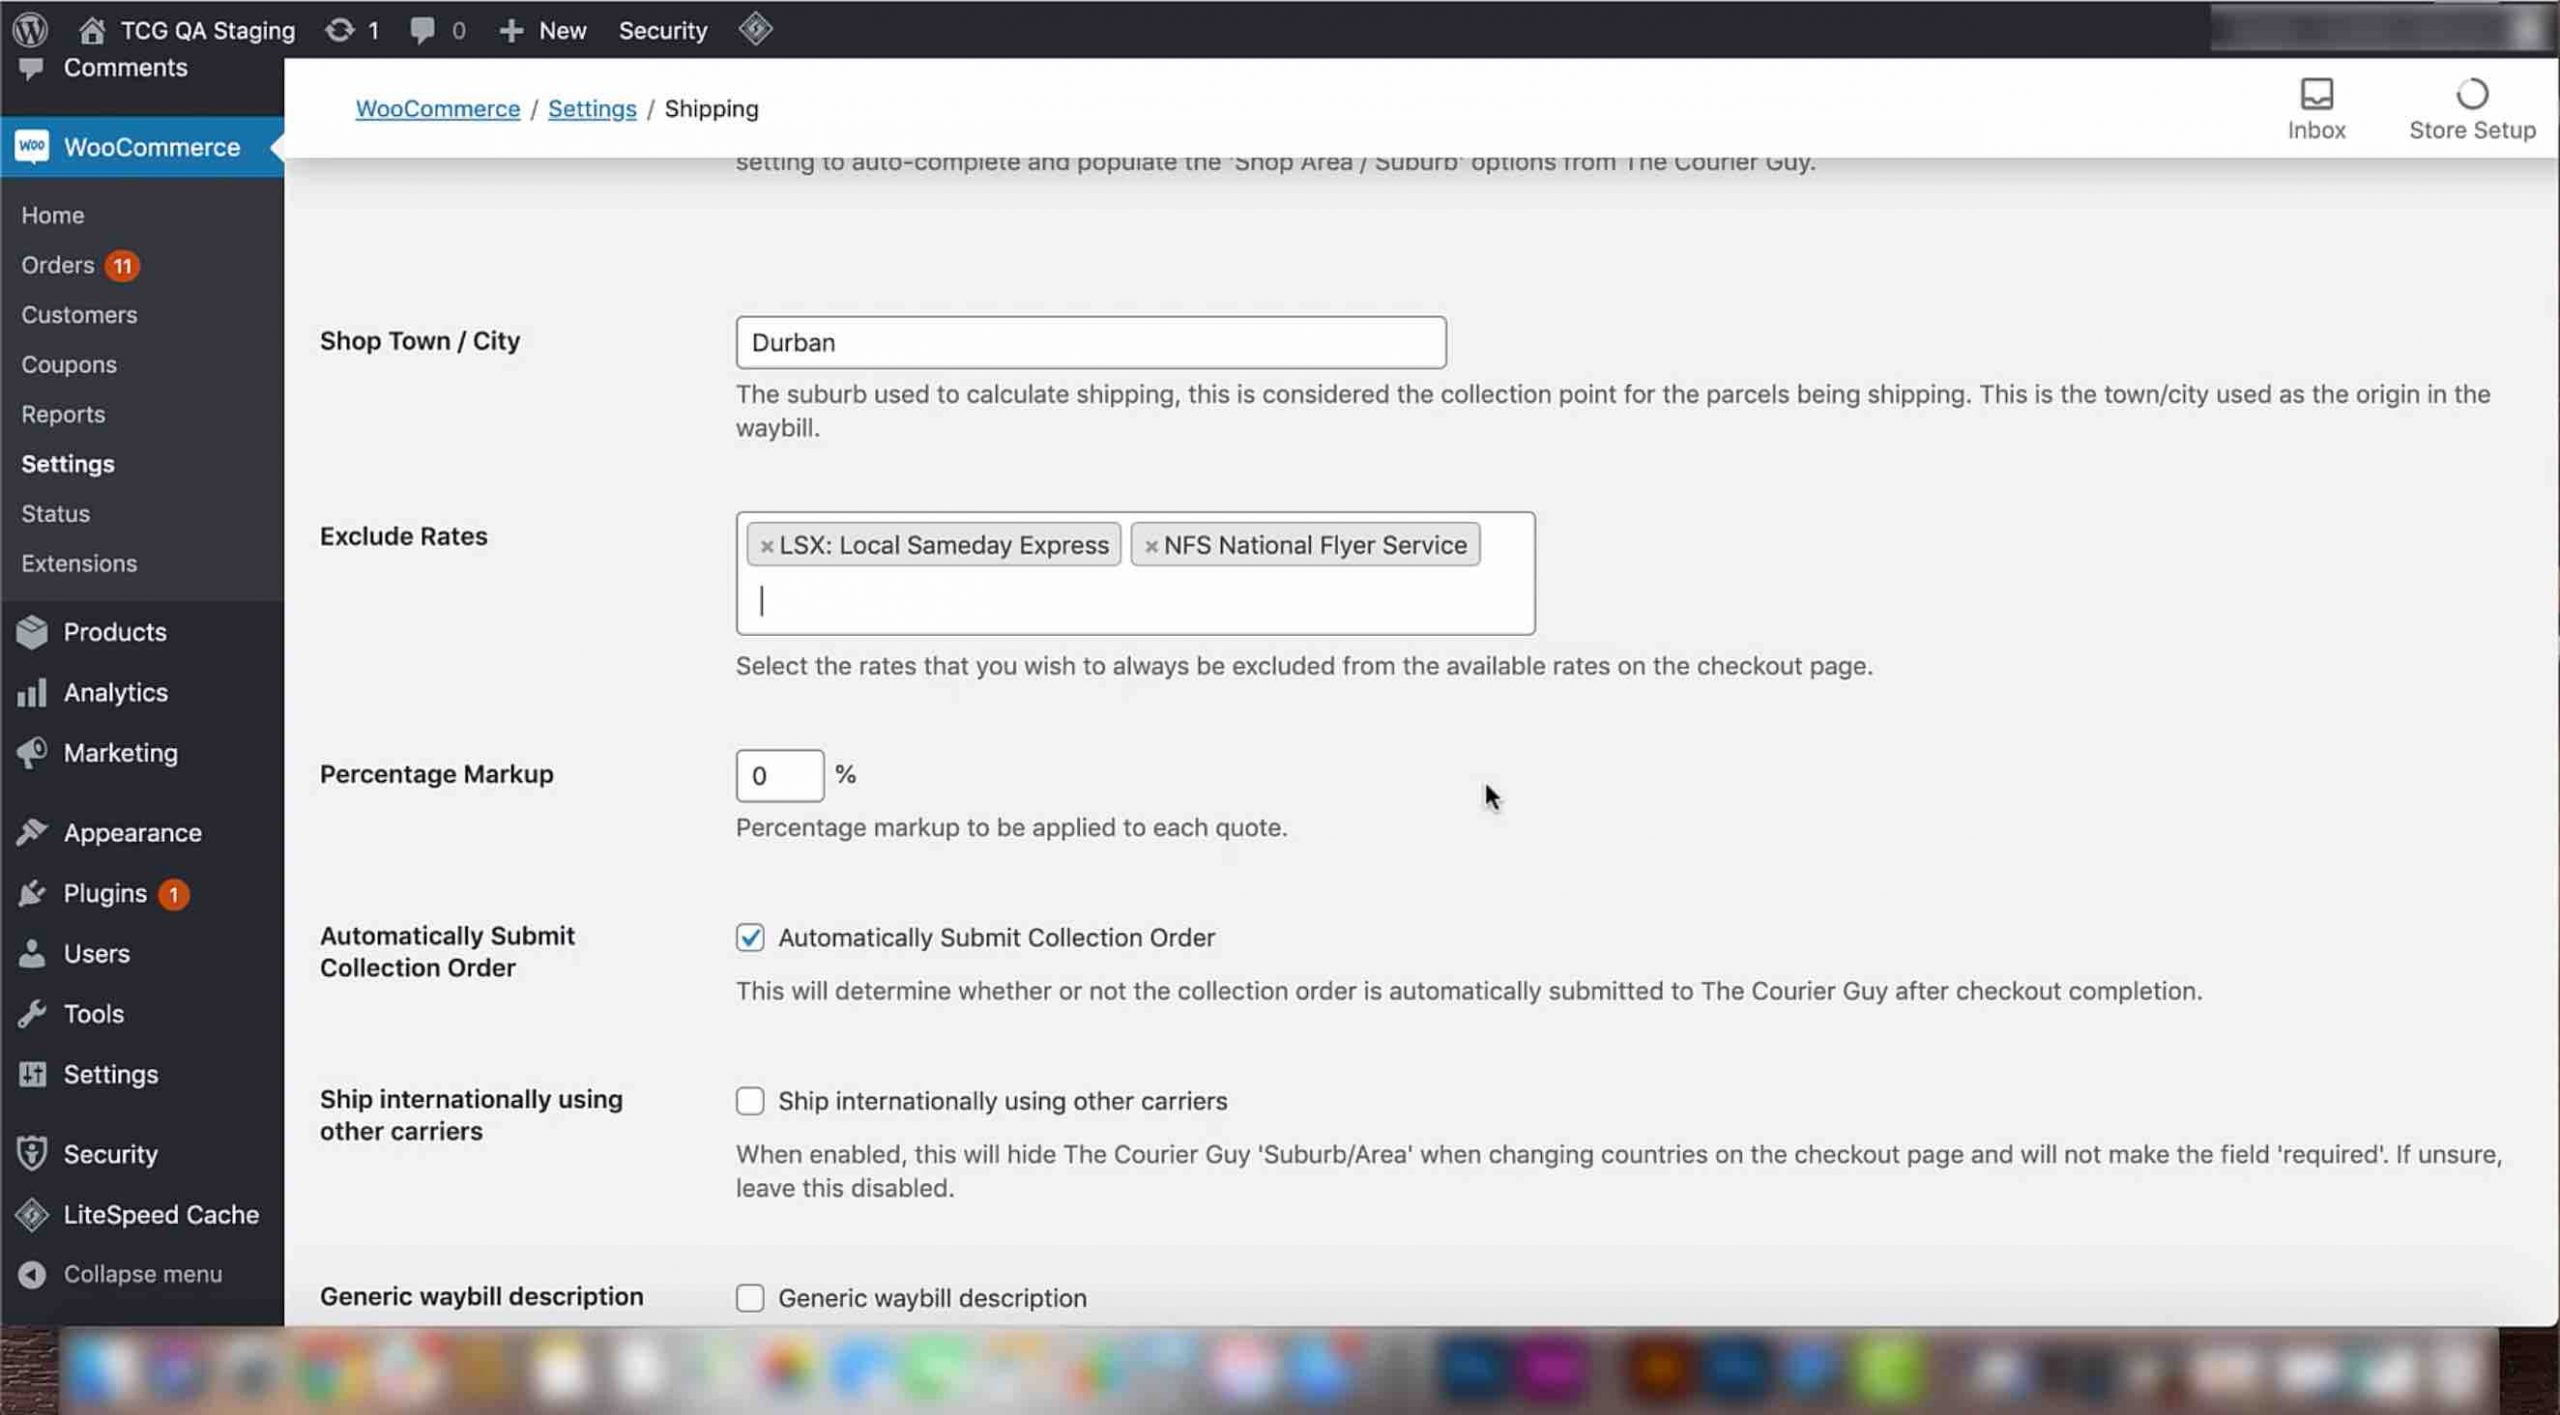
4) Next is the ‘exclude rates’ setting. This setting has all the delivery options offered by The Courier Guy, for example, Local same-day express.
5) If there are certain delivery options you do not want to offer, click on the bar and select the options you wish to exclude in the dropdown that appears.
6) The excluded options, once selected, will appear in the ‘exclude rates’ section in grey bars.
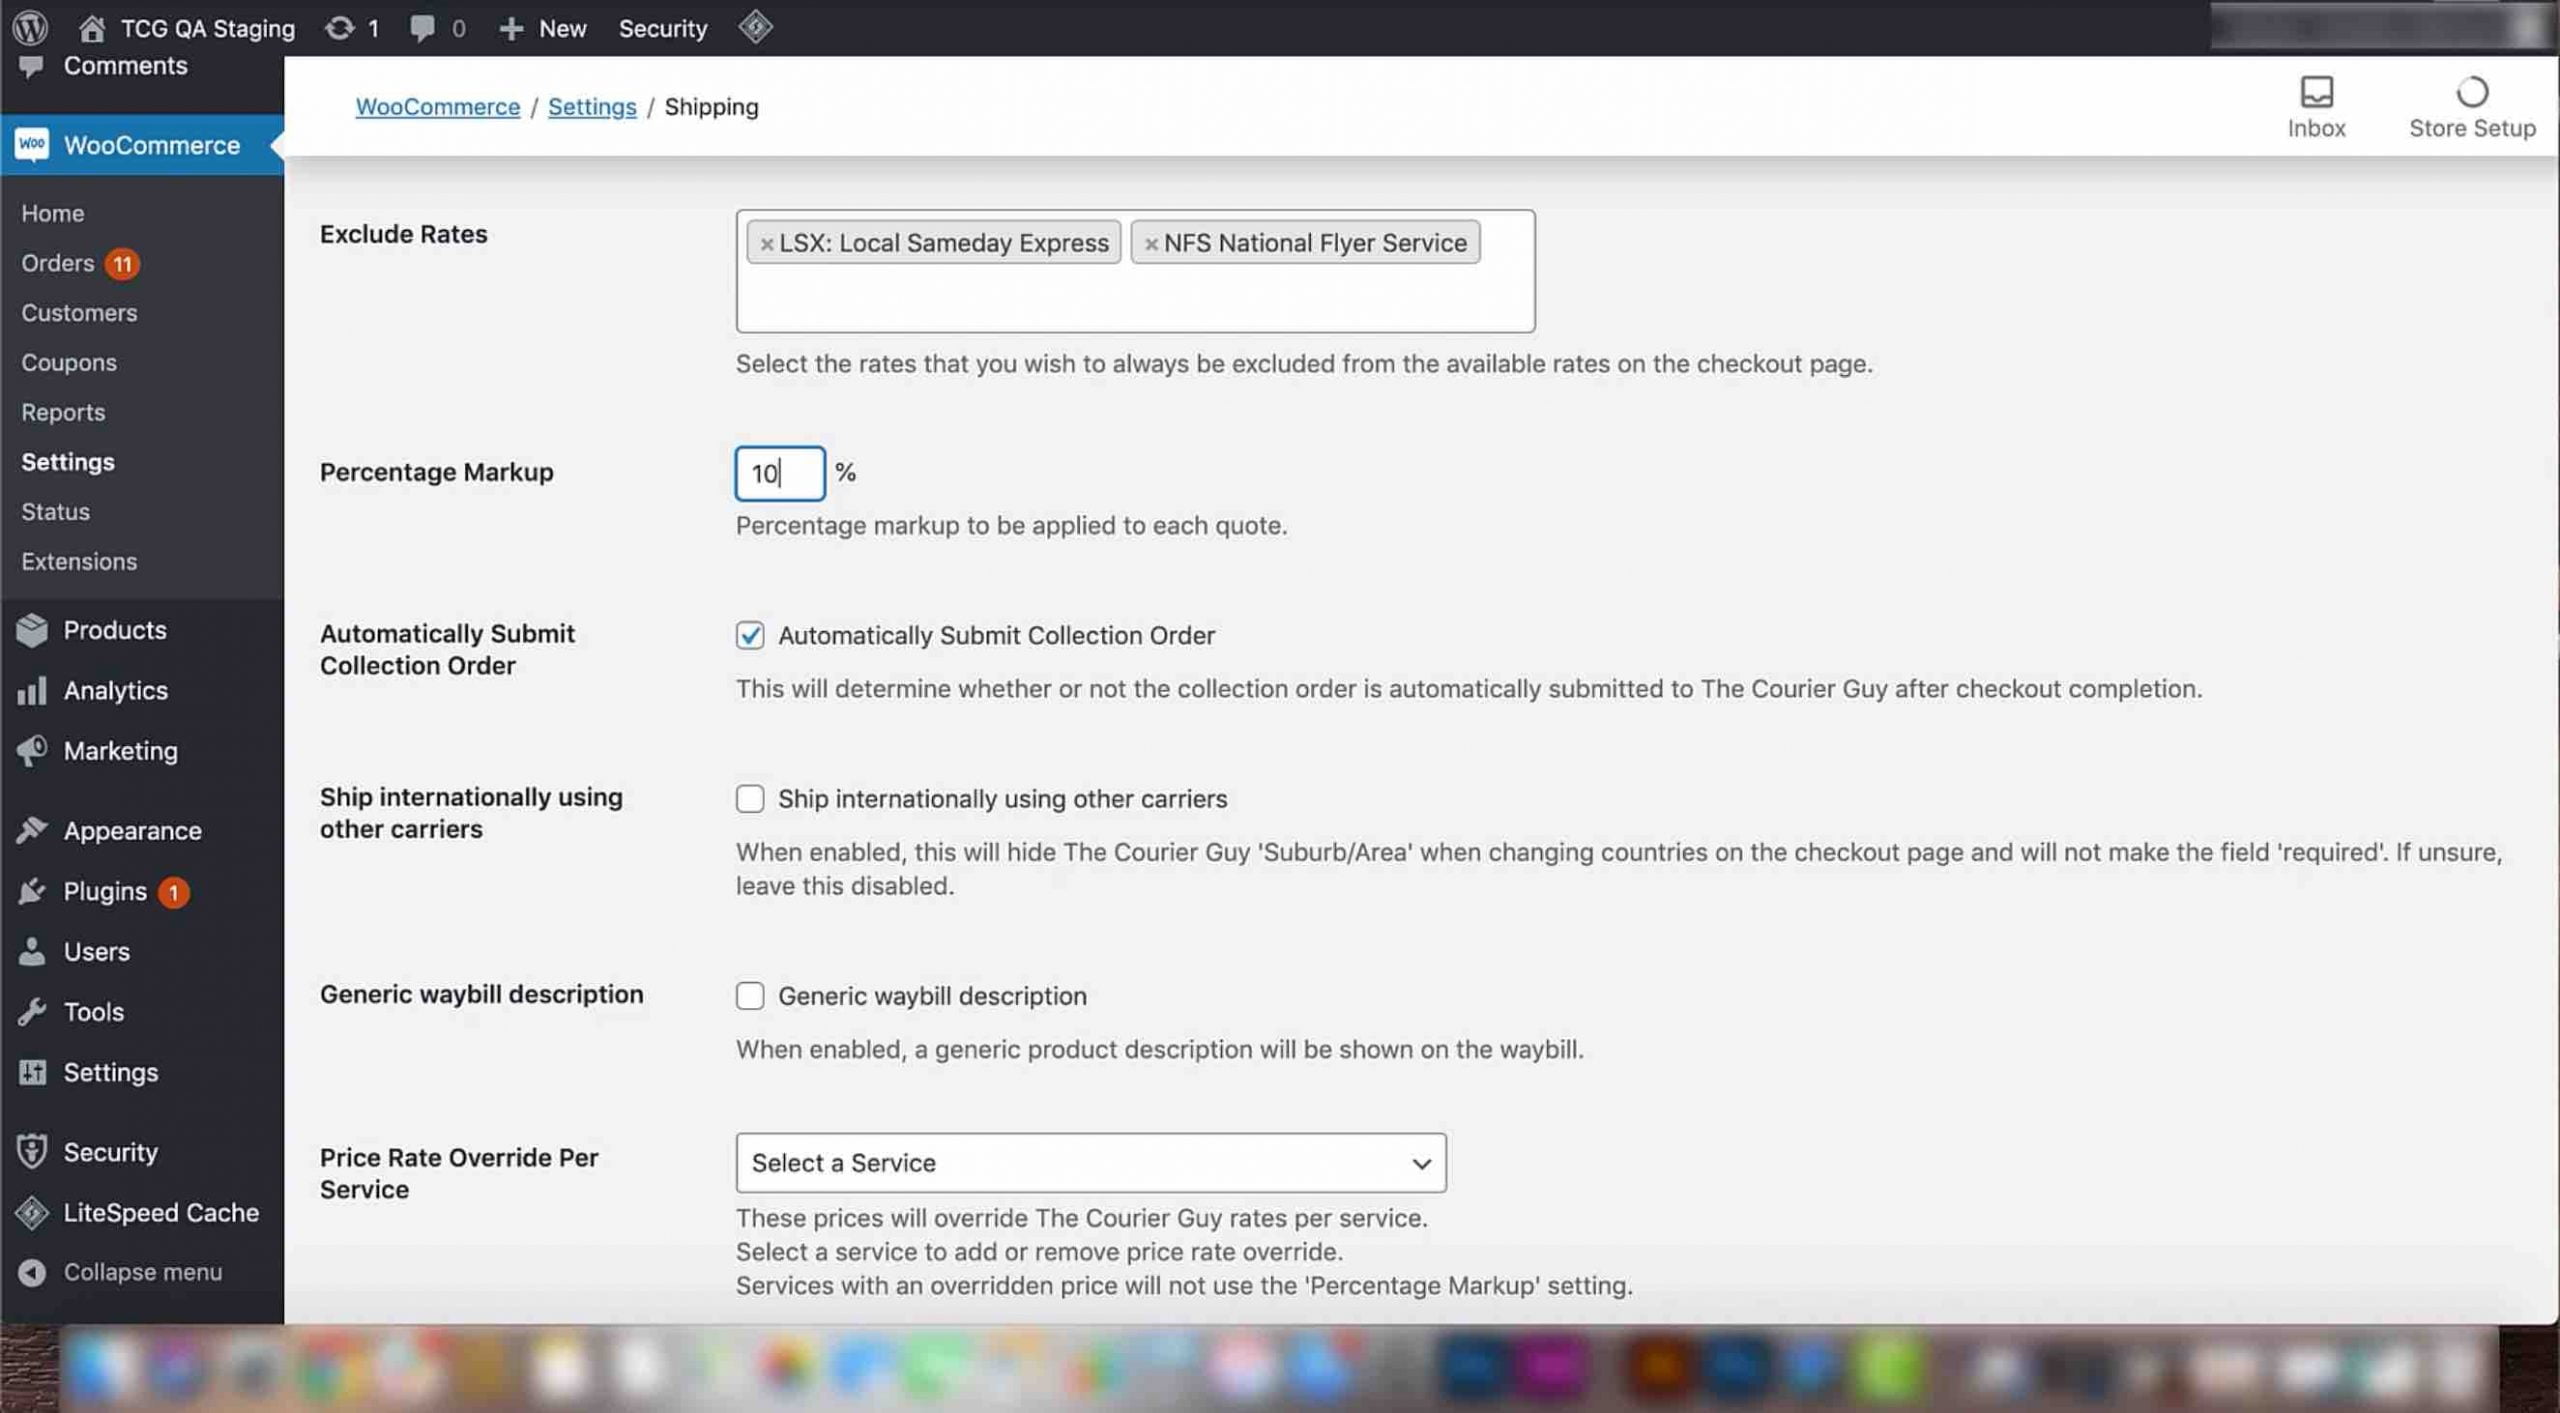
7) ‘Percentage markup’ will add a percentage to the total price that a customer is charged. This can be used to make up any deficits in calculation errors. If you don’t want to use this setting, leave the percentage at zero.
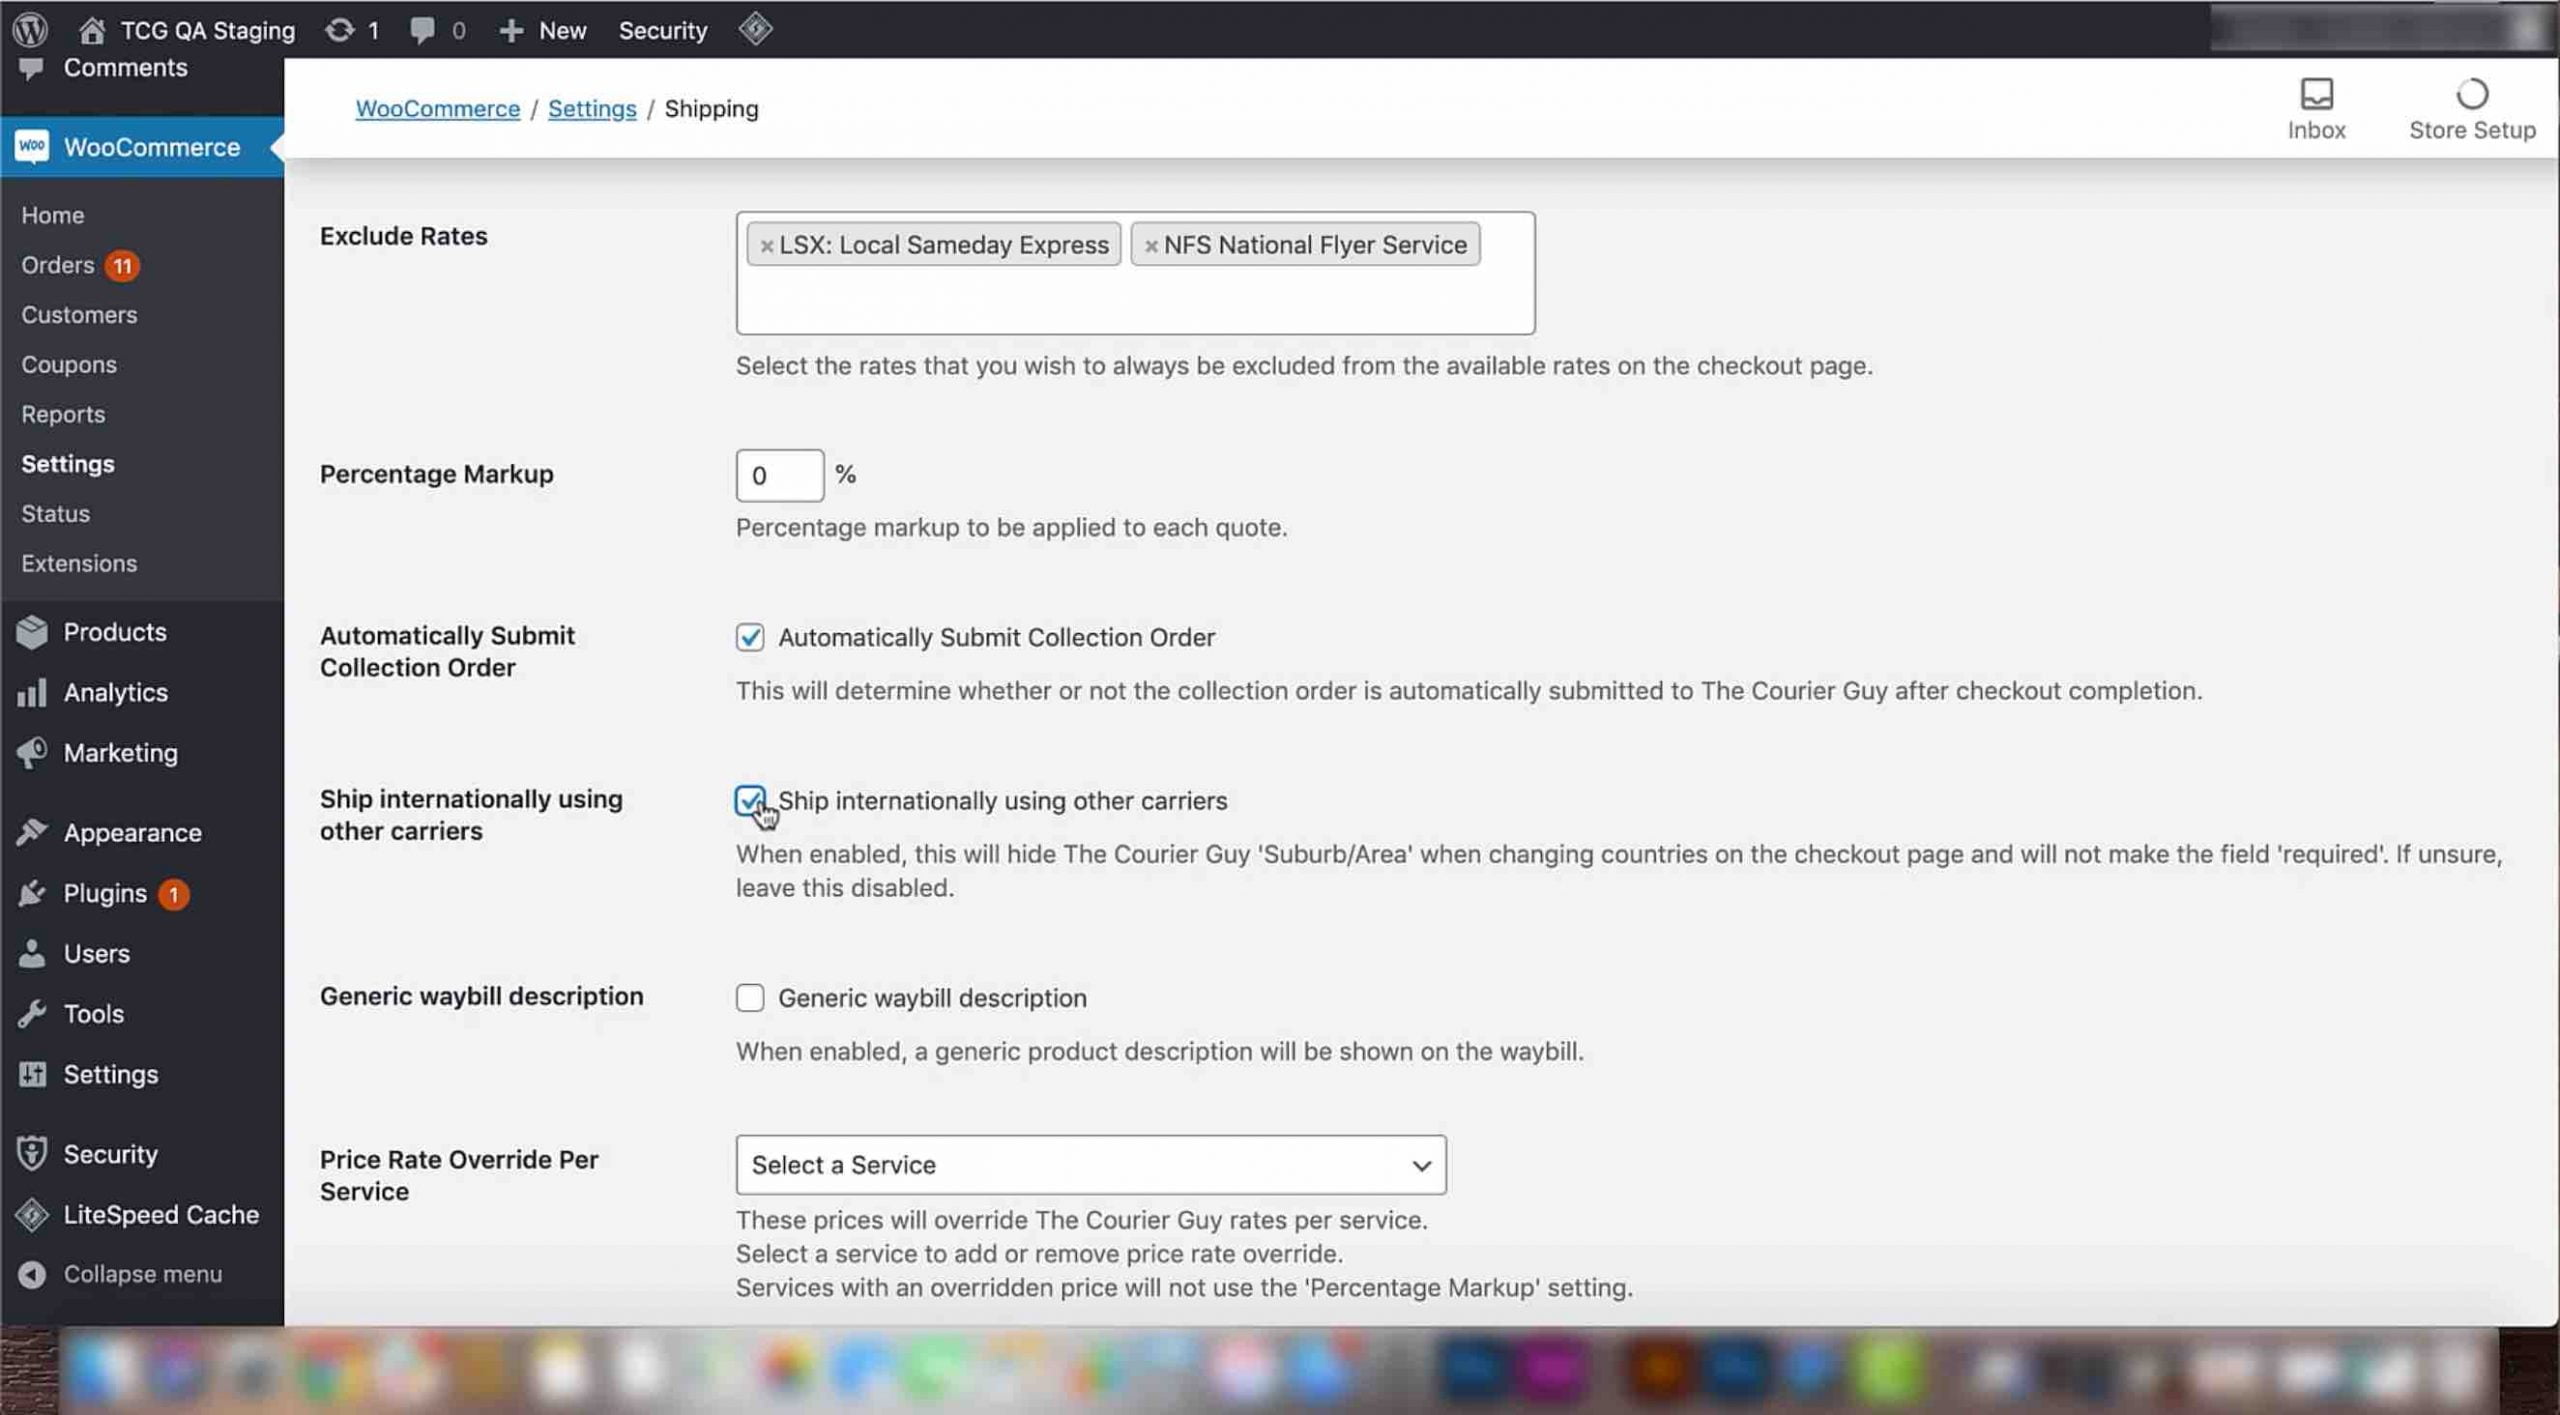
8) The ‘Ship internationally using other couriers’ setting, once selected, will hide the Courier Guy area or suburb checkbox on the checkout page if a customer is not from South Africa.
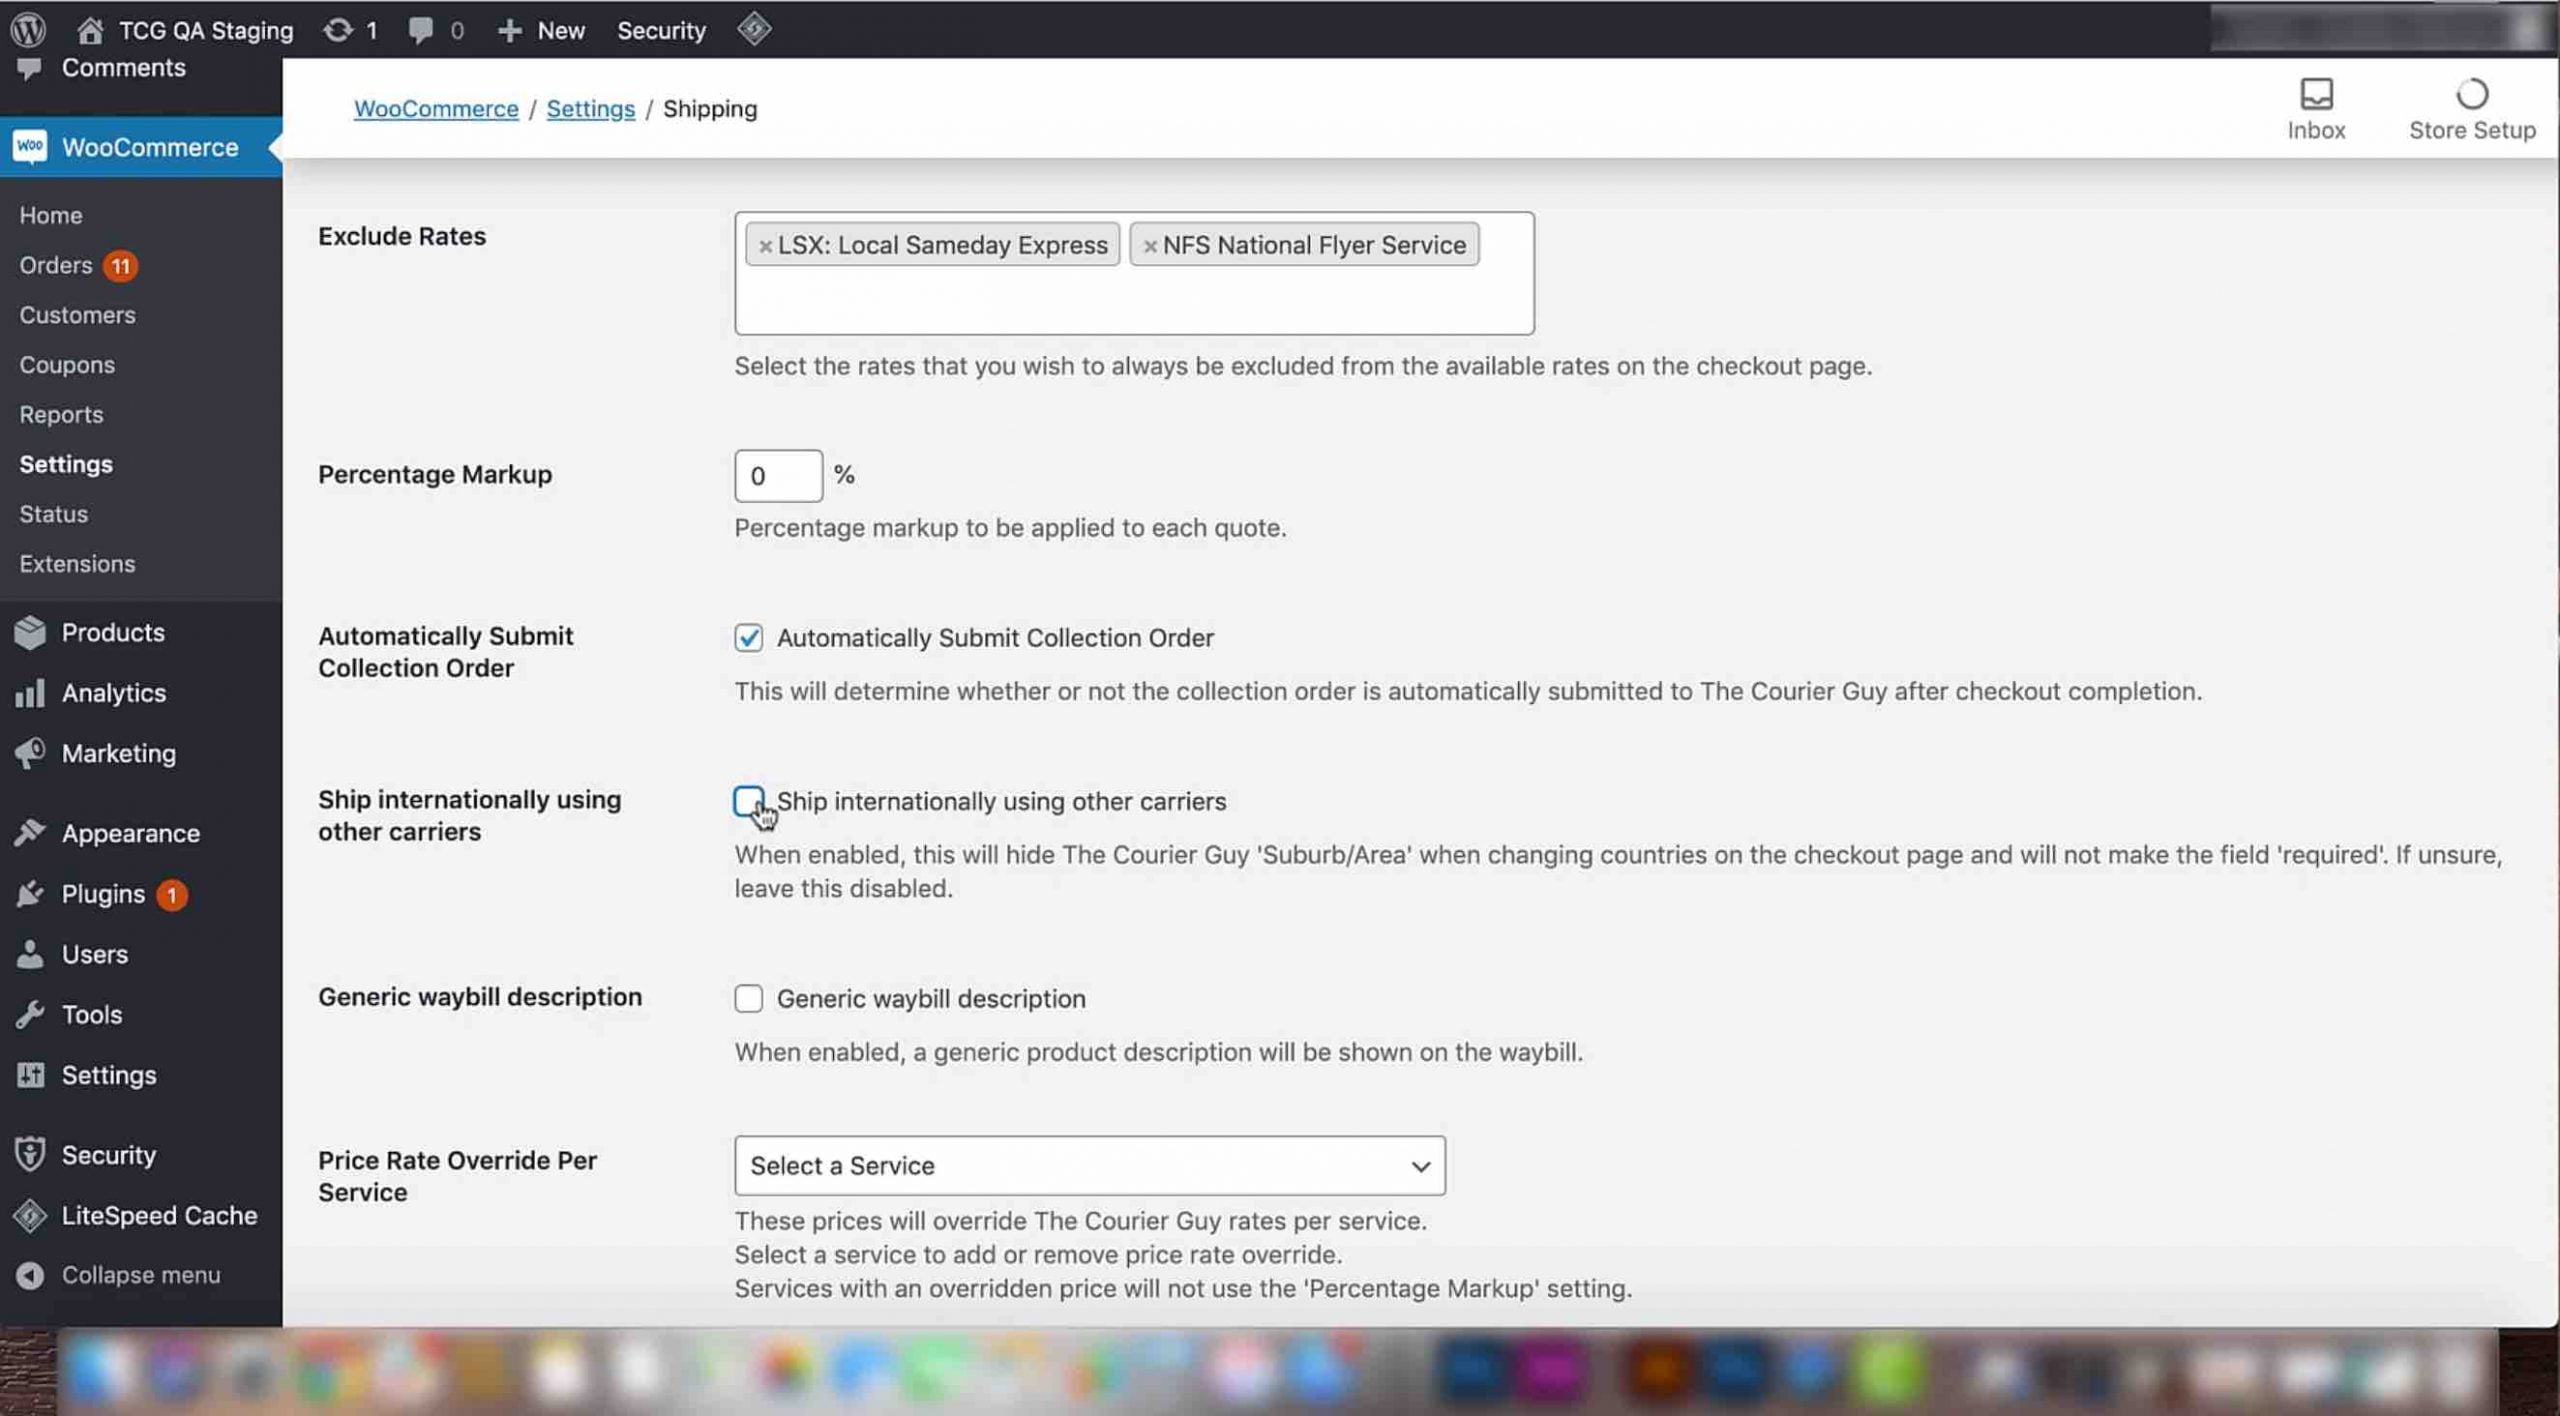
9) If the store is not shipping internationally, make sure to uncheck this option.
10) The last setting for this video is the ‘Generic waybill description’. If you don’t want all the product information to appear on the waybill, select this option. Product information will now be replaced with a generic description like ‘product’ or ‘box’.
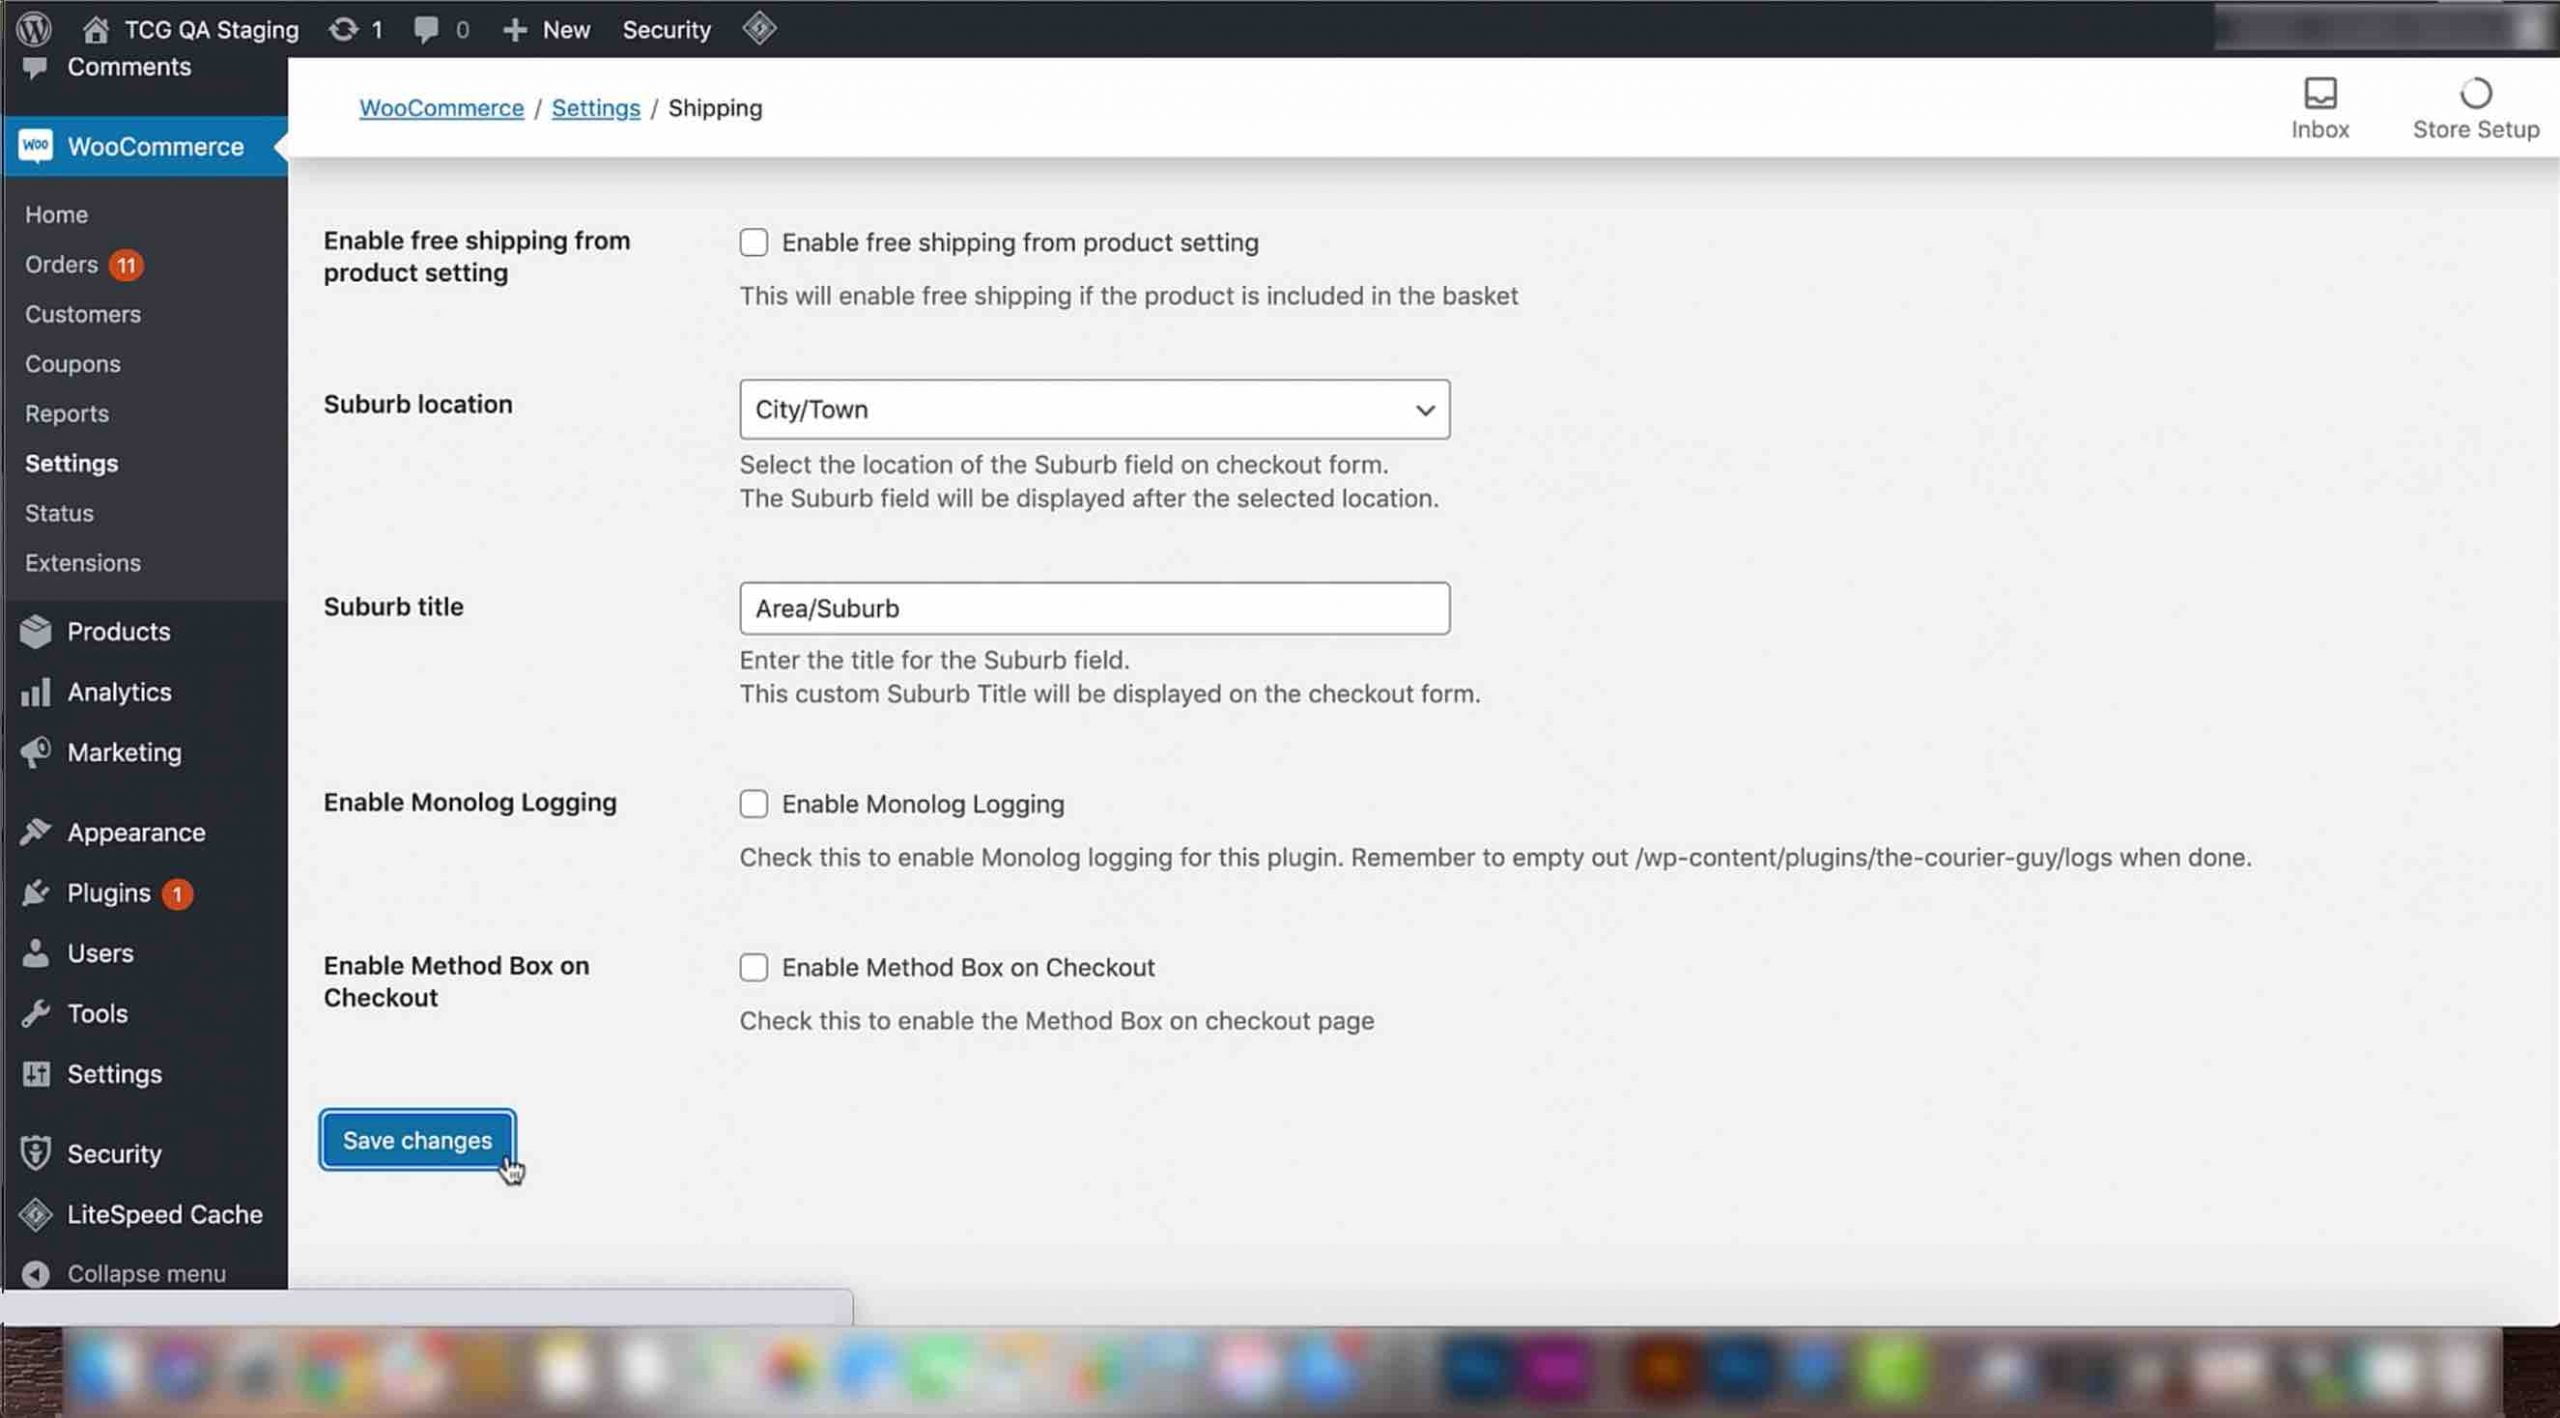
11) Once you are done configuring these settings click on the save changes button.
12) A bar will appear at the top of the screen notifying you that your changes have been saved.


