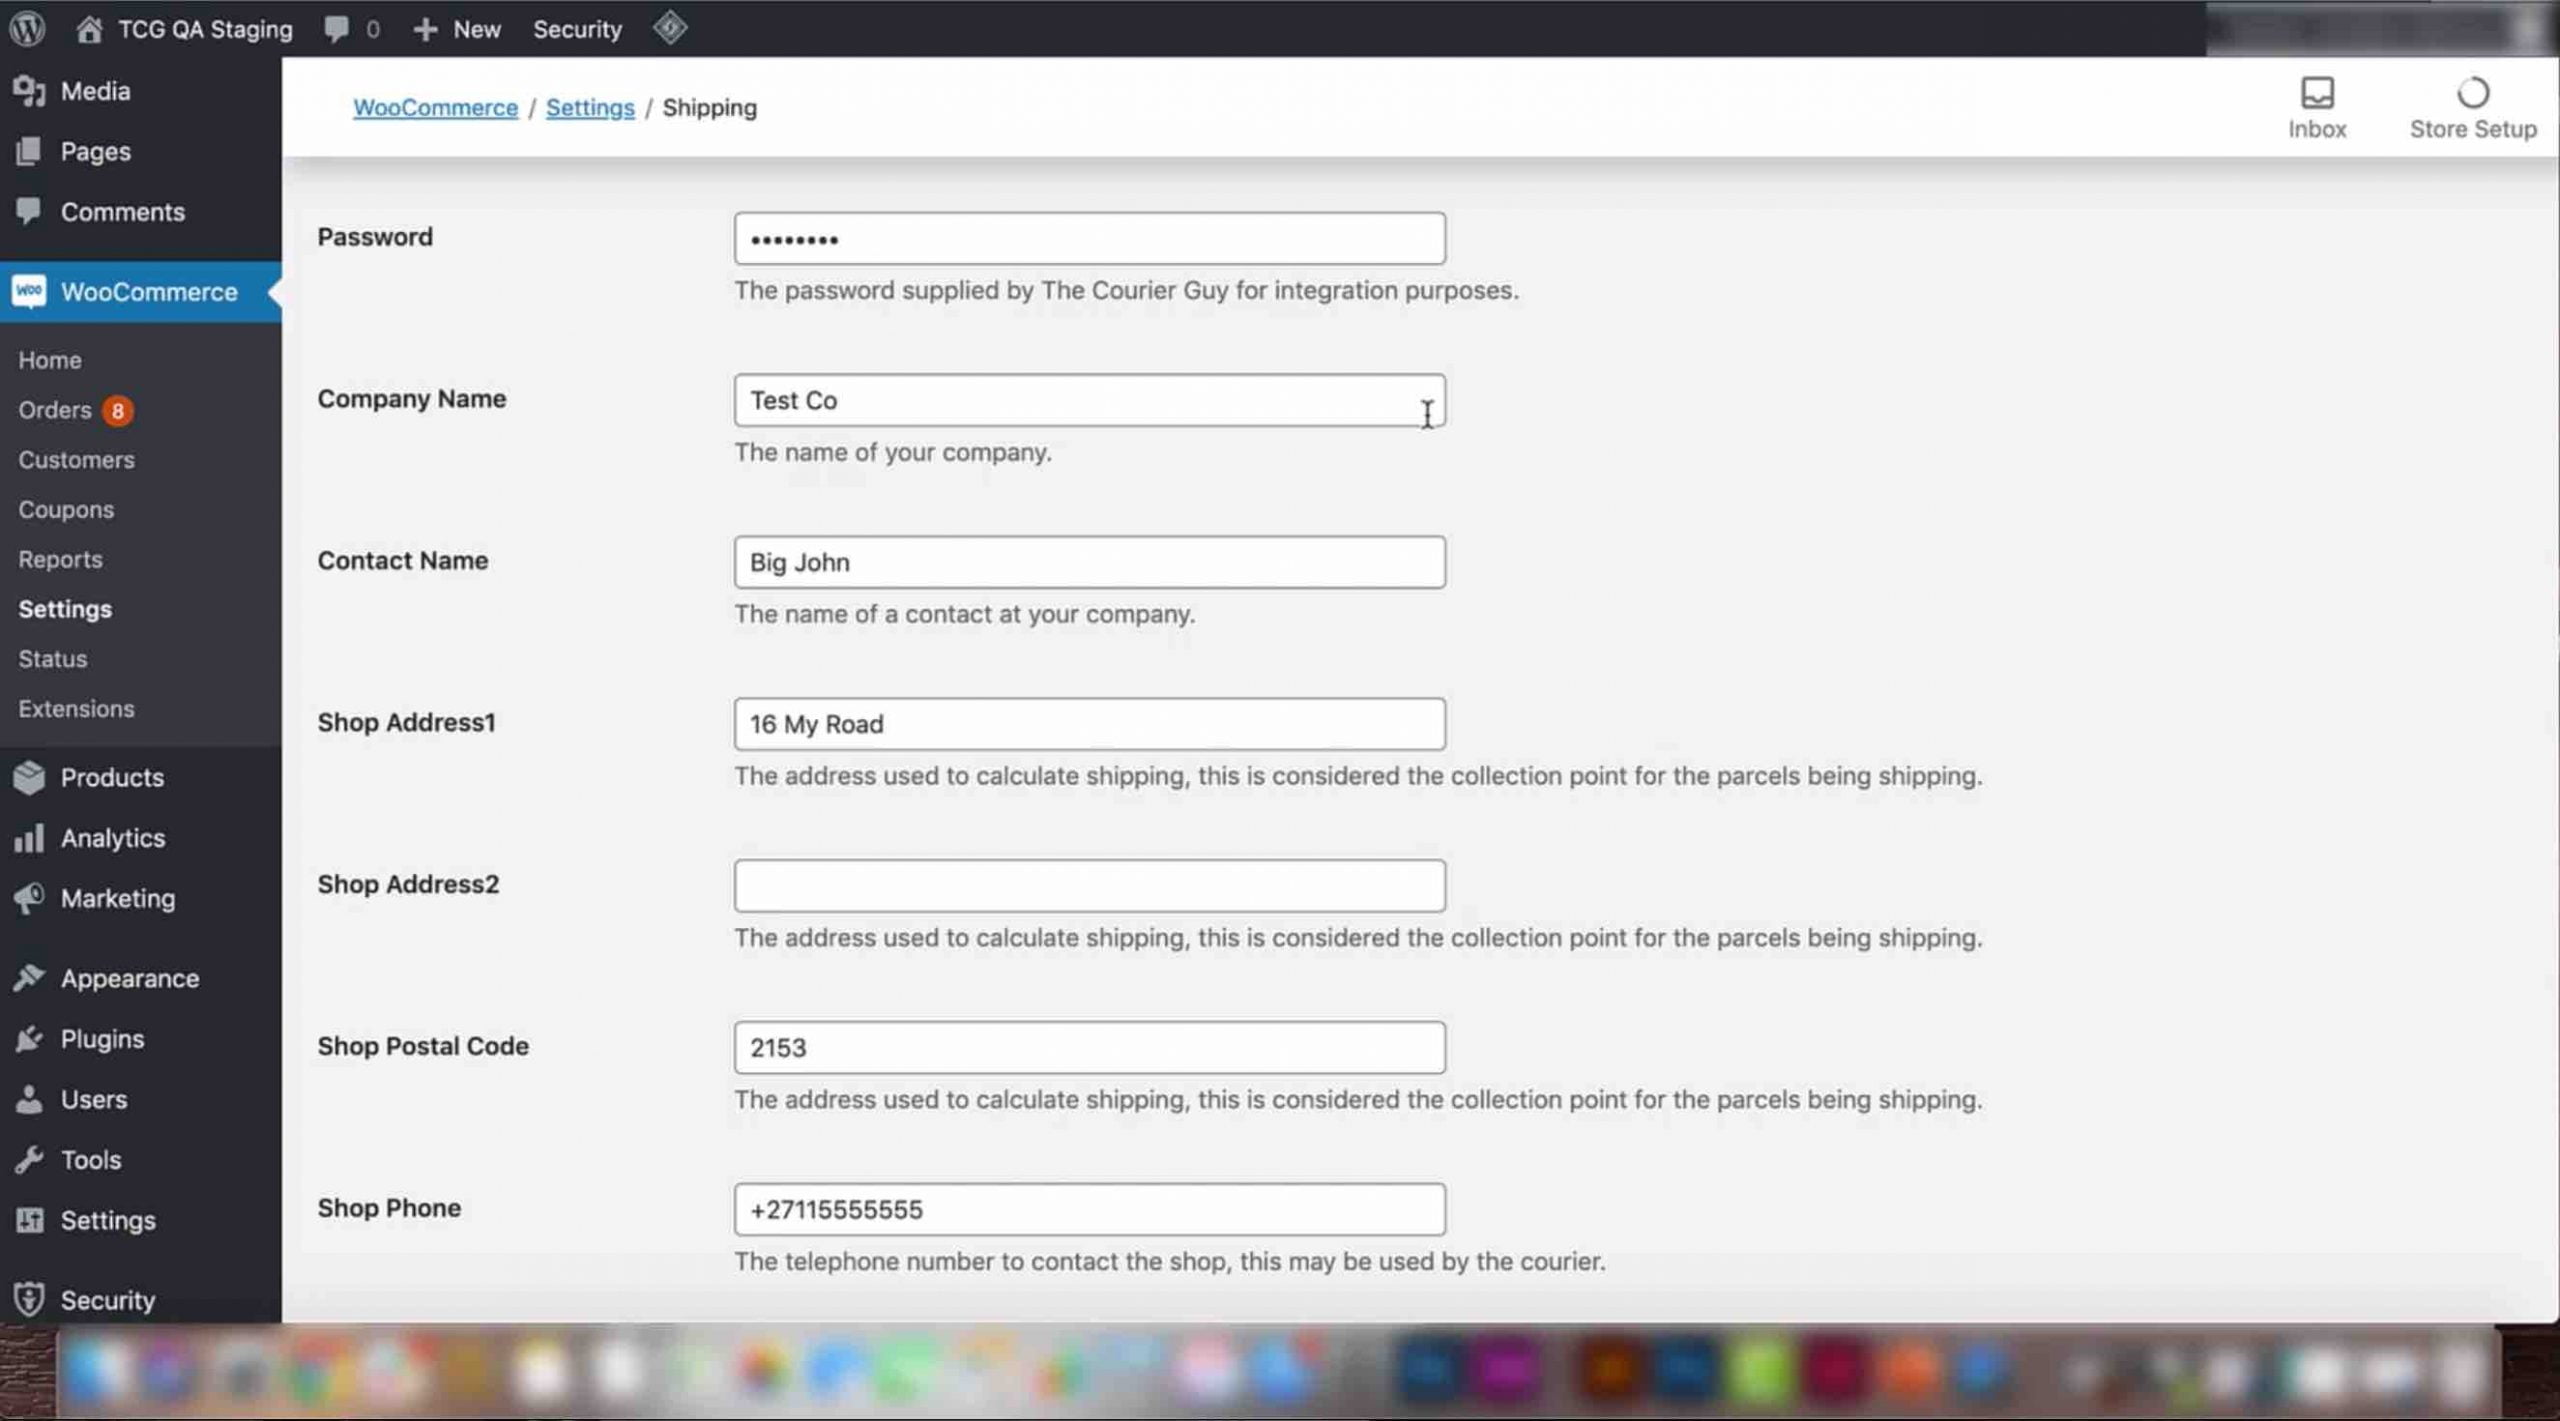
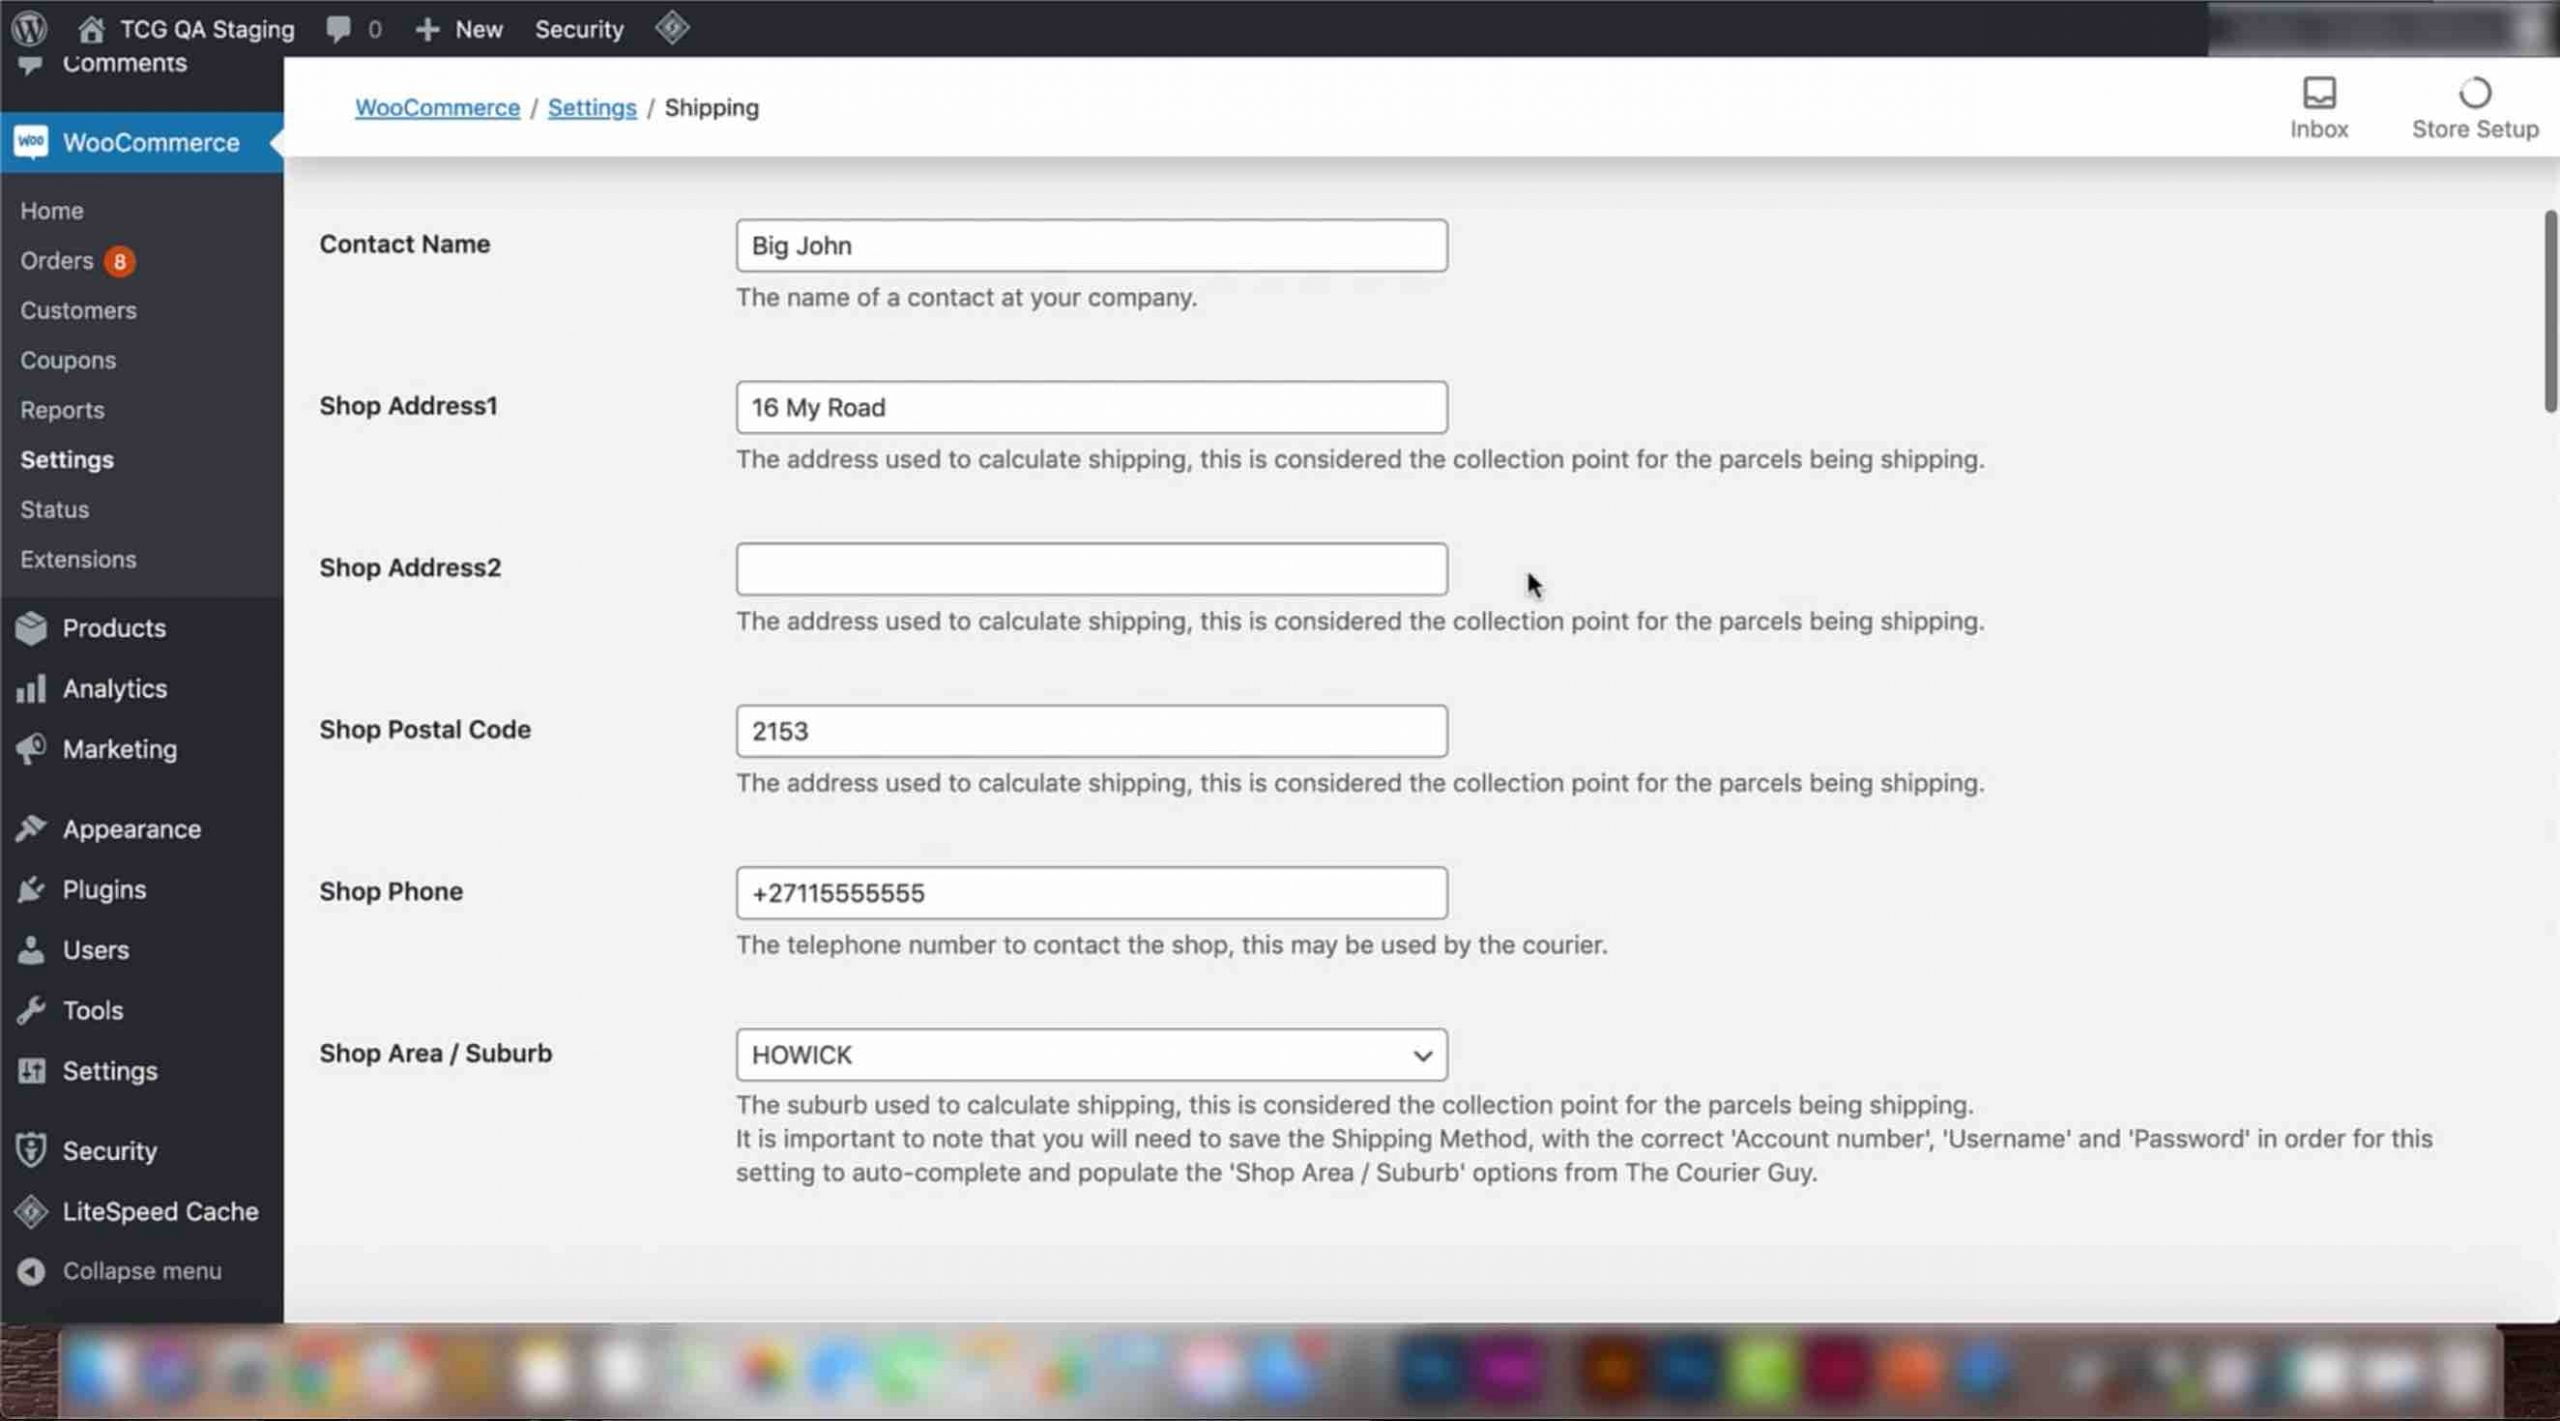
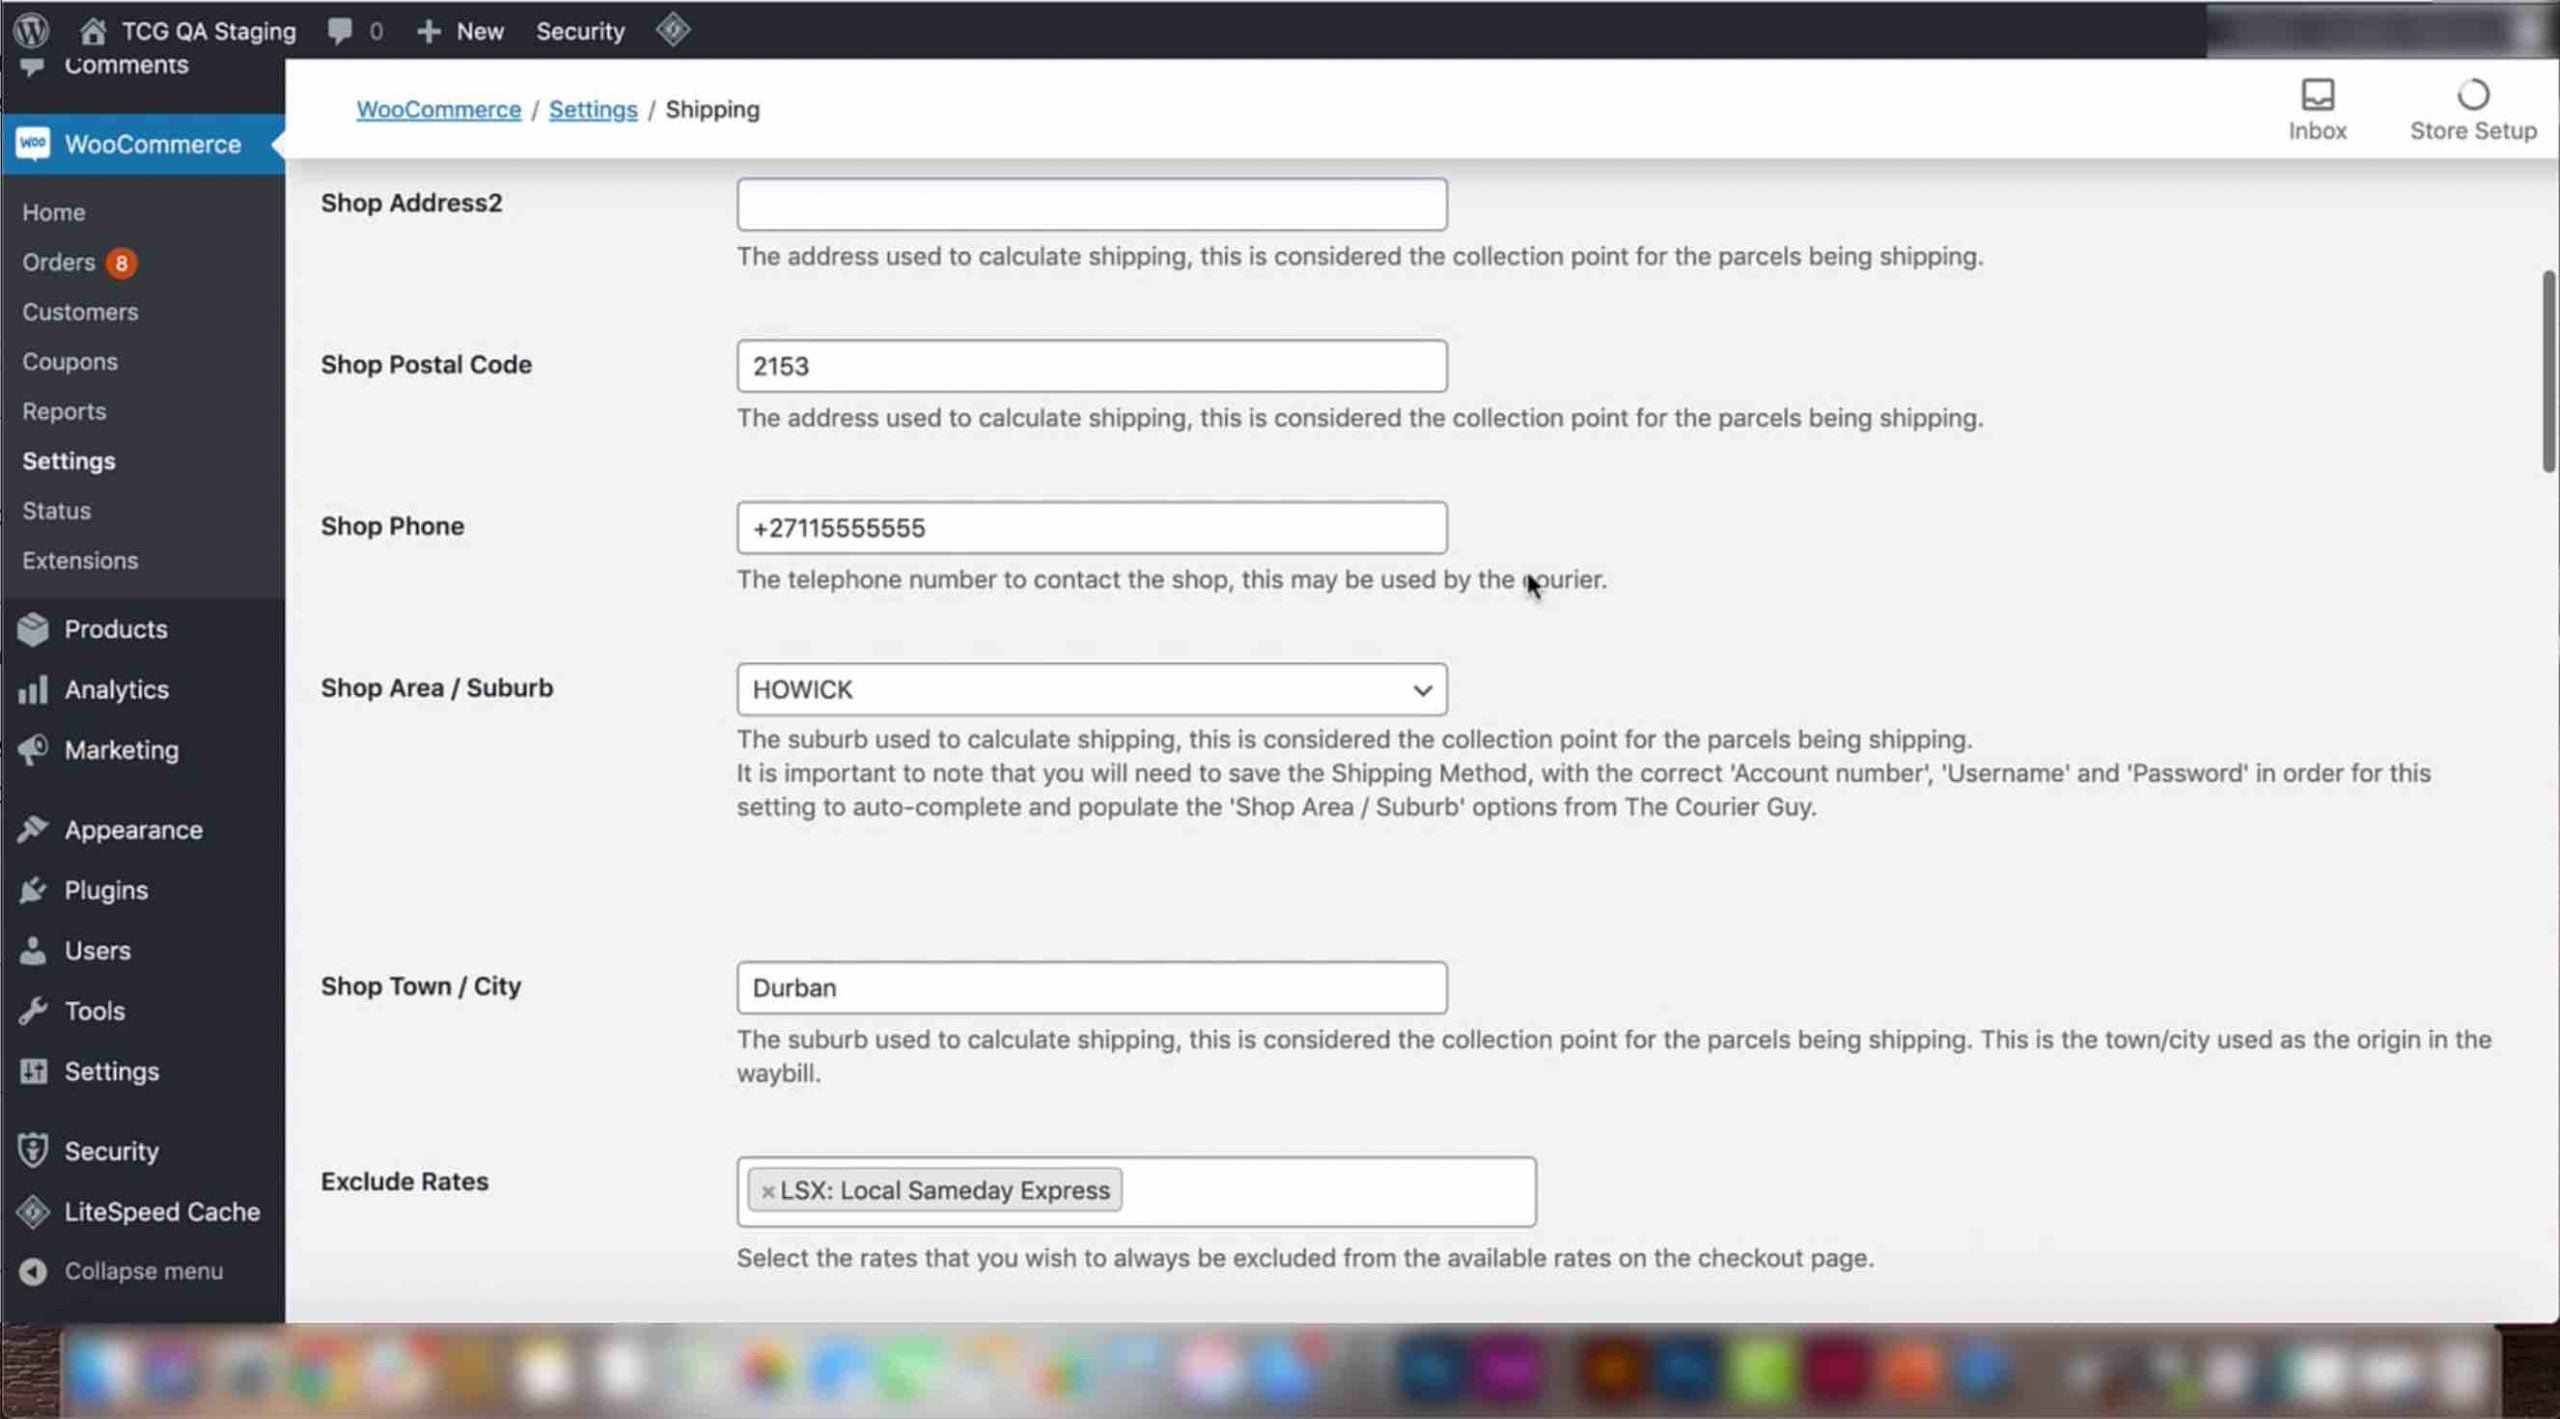
Now that you have your Courier Guy plugin installed and connected to your Courier Guy account on your website, we will show you which fields need to be filled in for your plugin to function efficiently, as well as what these fields are for. These include:
Screenshots
Video Transcript
– Shop address and area
– Contact person and number
– Automatic order submission
– Parcel sizes
– and Shipping insurance
1) First, add in the name of your company under the ‘Company name’ section.
2) Next, add in a contact name in the section directly underneath the company name. This is the person The Courier Guy will keep in touch with to confirm collections.
3) Add in your shop address and postal code. The address add-in will be used by The Courier Guy as the point of collection for parcels needing to be delivered.
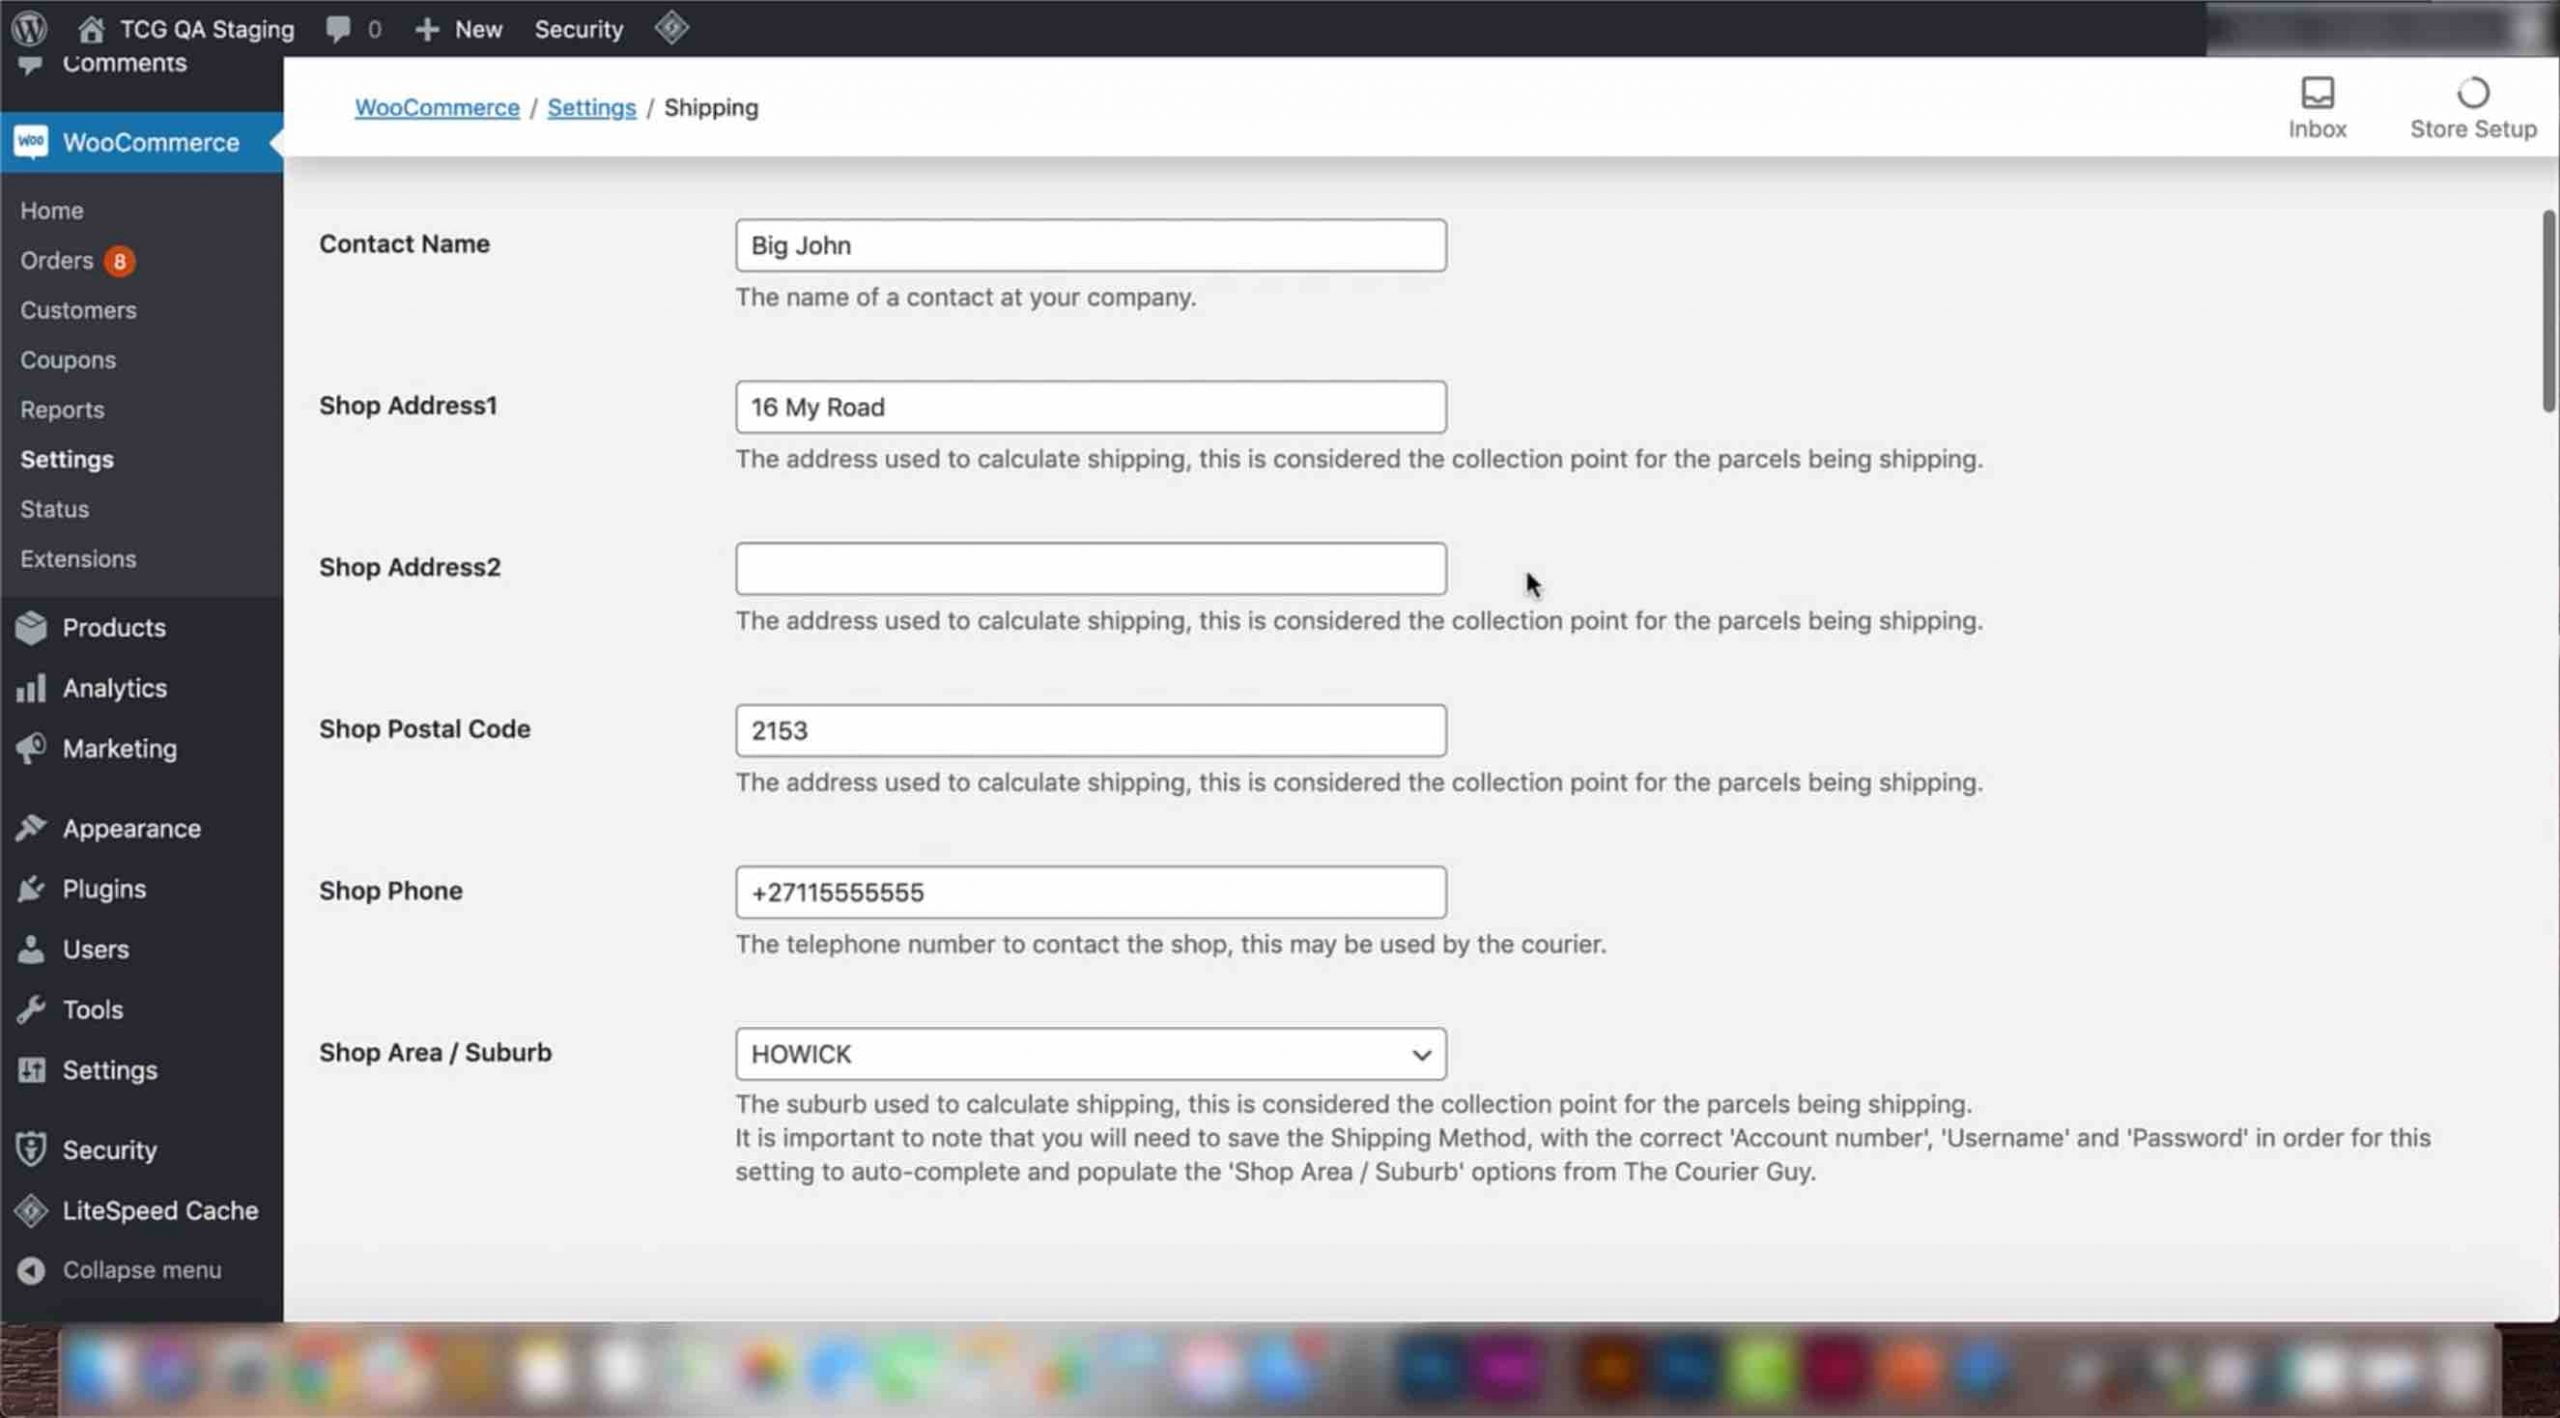
4) Make sure the shop area or suburb you previously set is correct. This will help calculate shipping and make your shop easier to find. If your town or city differs to your suburb, set this separately in the ‘Shop town or city’ section. If not, the name added in this section will be the same as the ‘Shop area or suburb’ section.
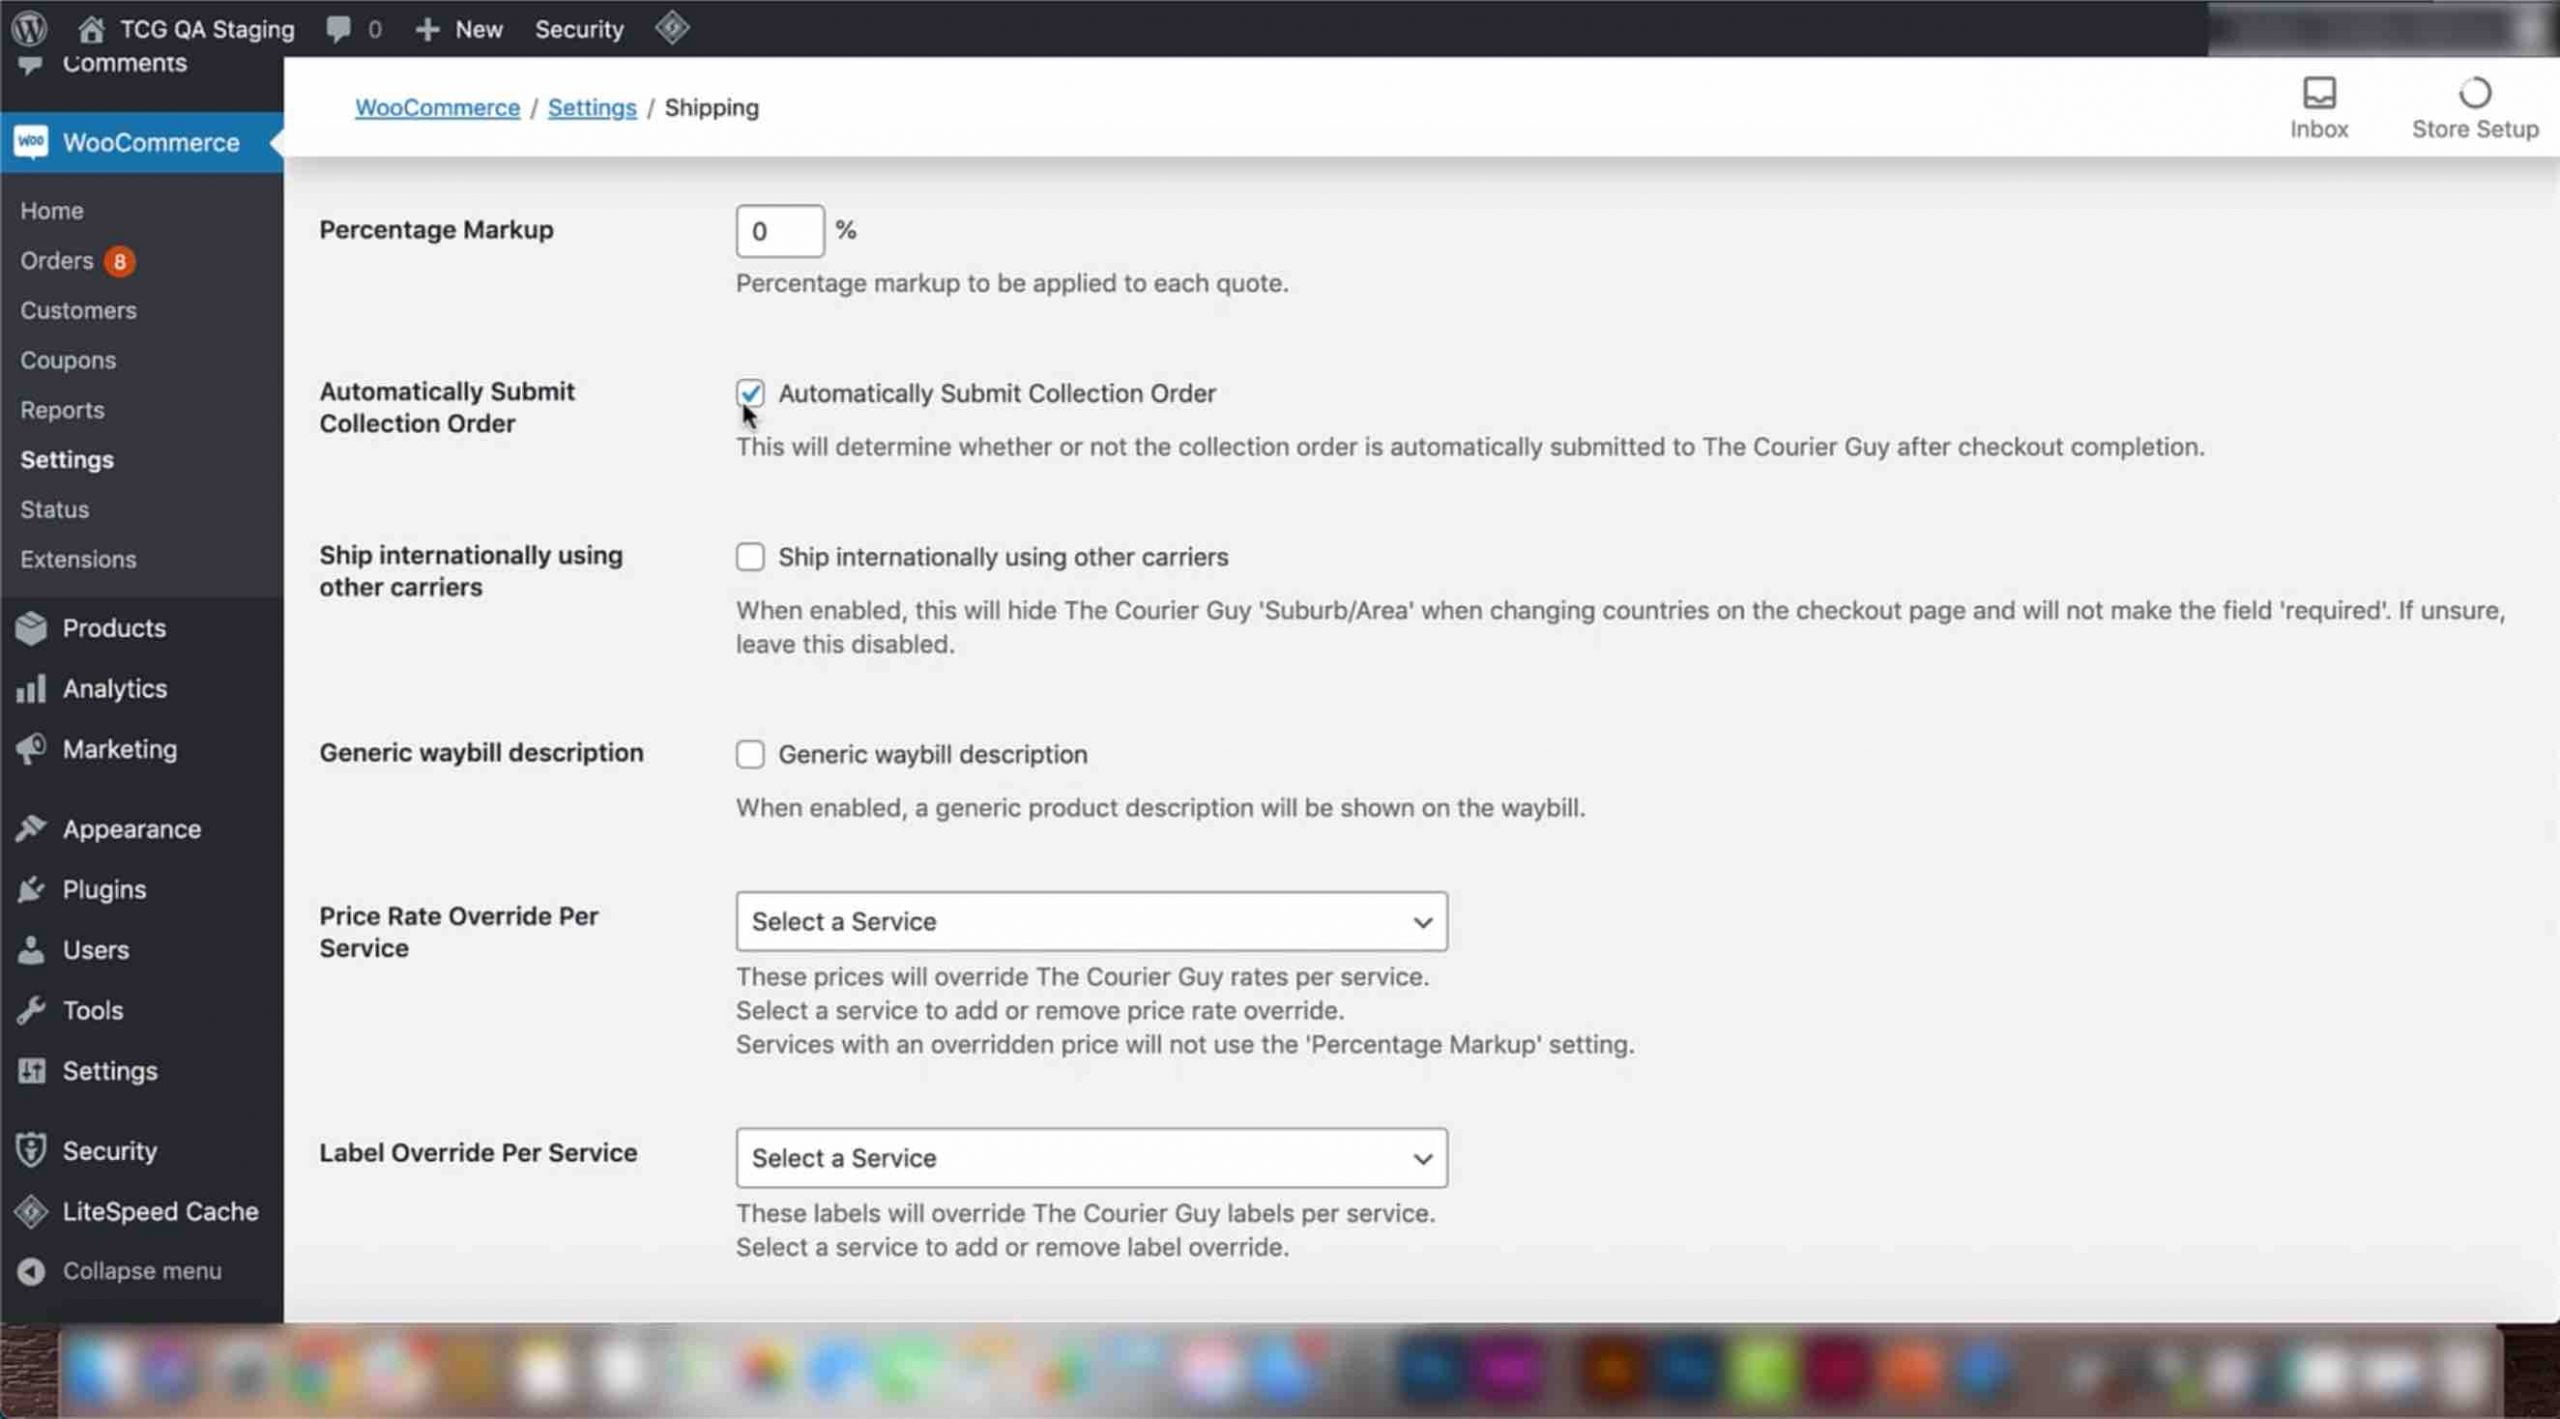
5) Next, decide if you want to automatically submit collection orders to The Courier Guy. If so, select the checkbox next to this option, and once orders are marked as processing, waybill collection requests will automatically be sent to The Courier Guy. If this option is not selected, orders will have to be sent to The Courier Guy manually.
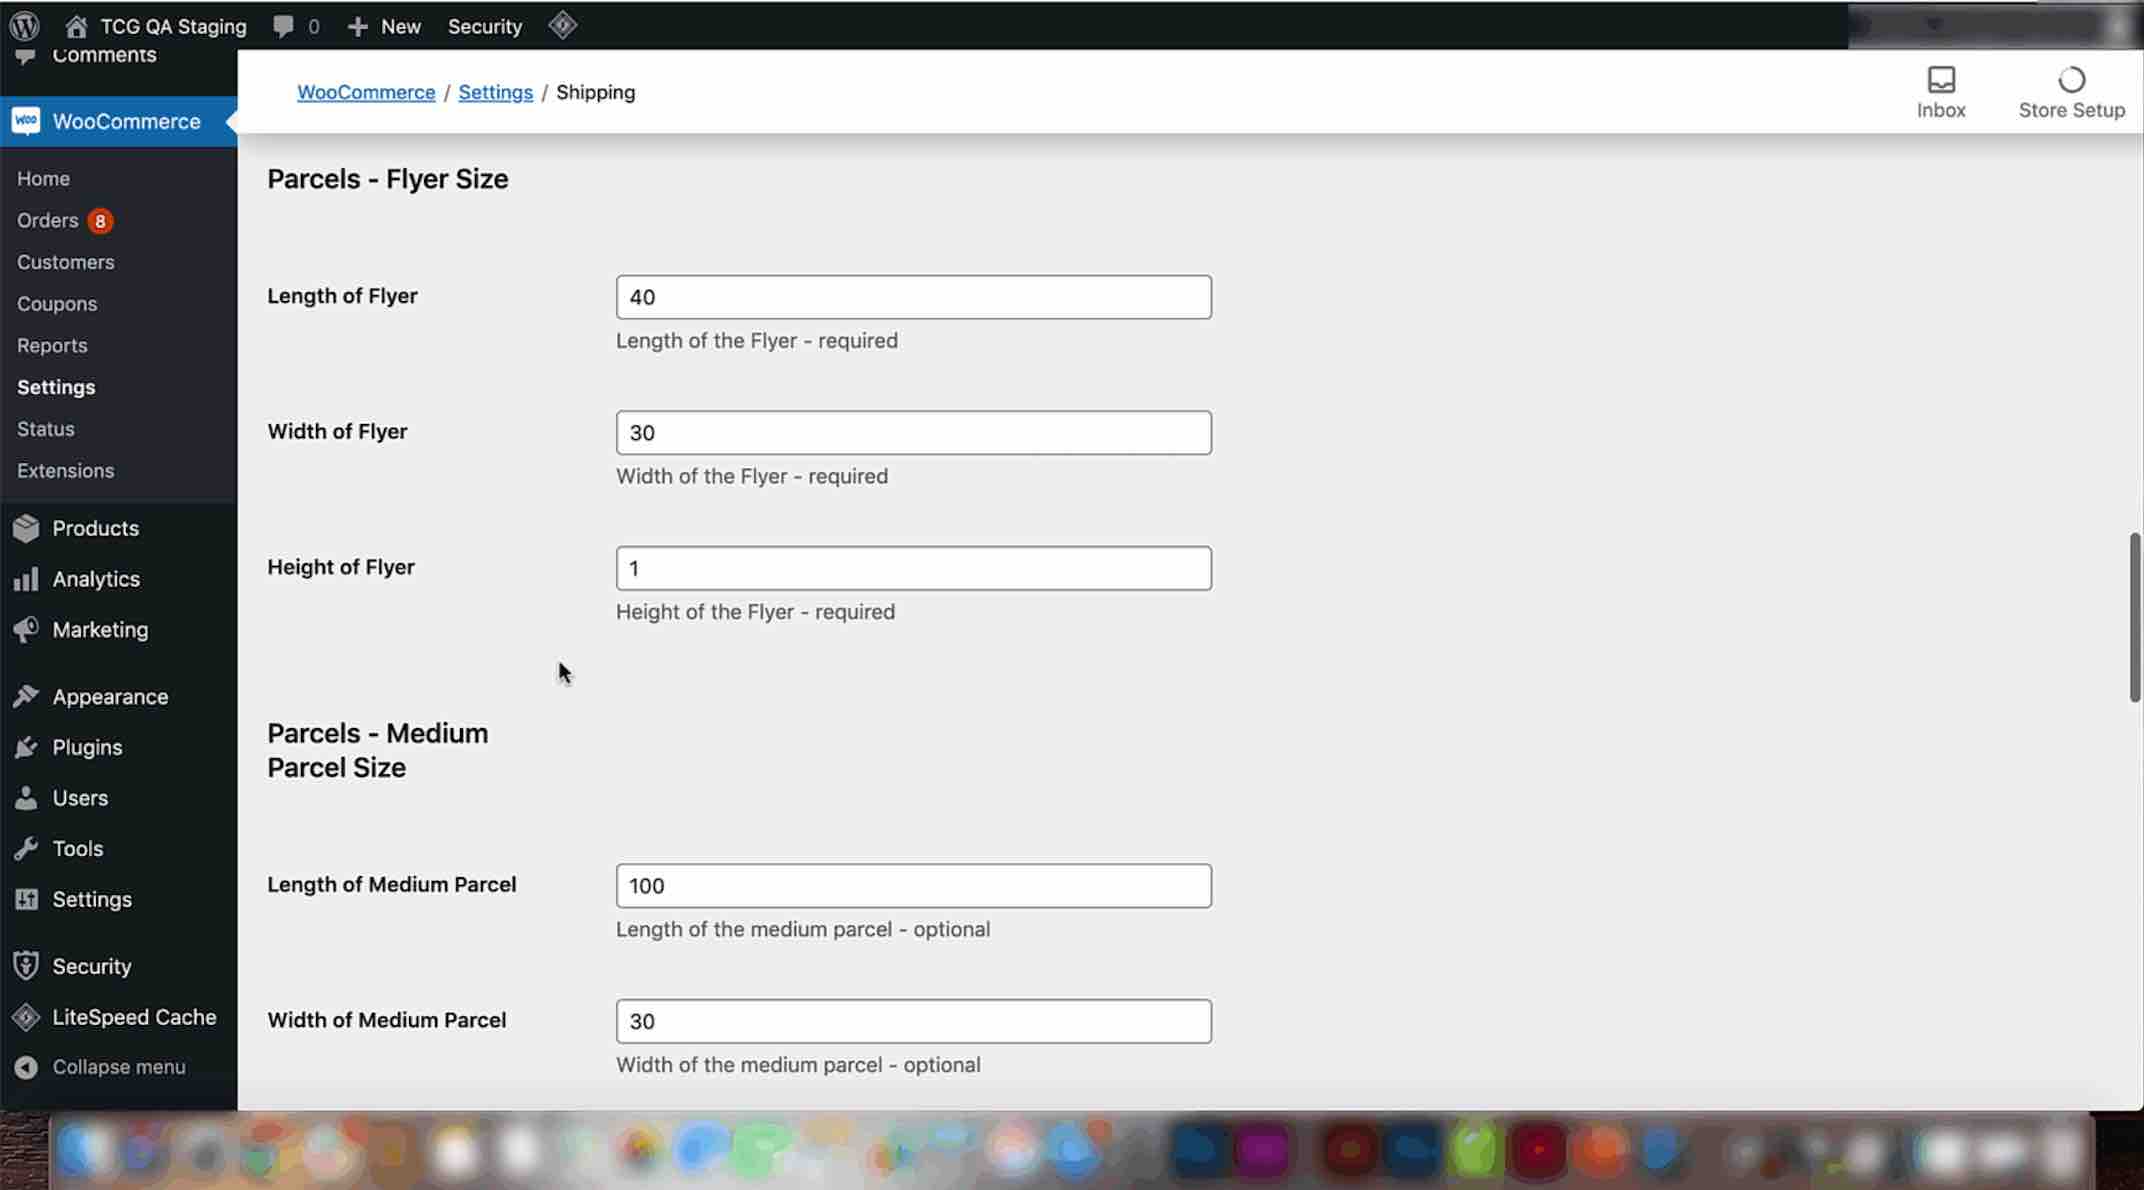
6) Sizes of parcels also need to be added for shipping purposes. More information on this can be found in the ‘Setting parcel sizes’ video.
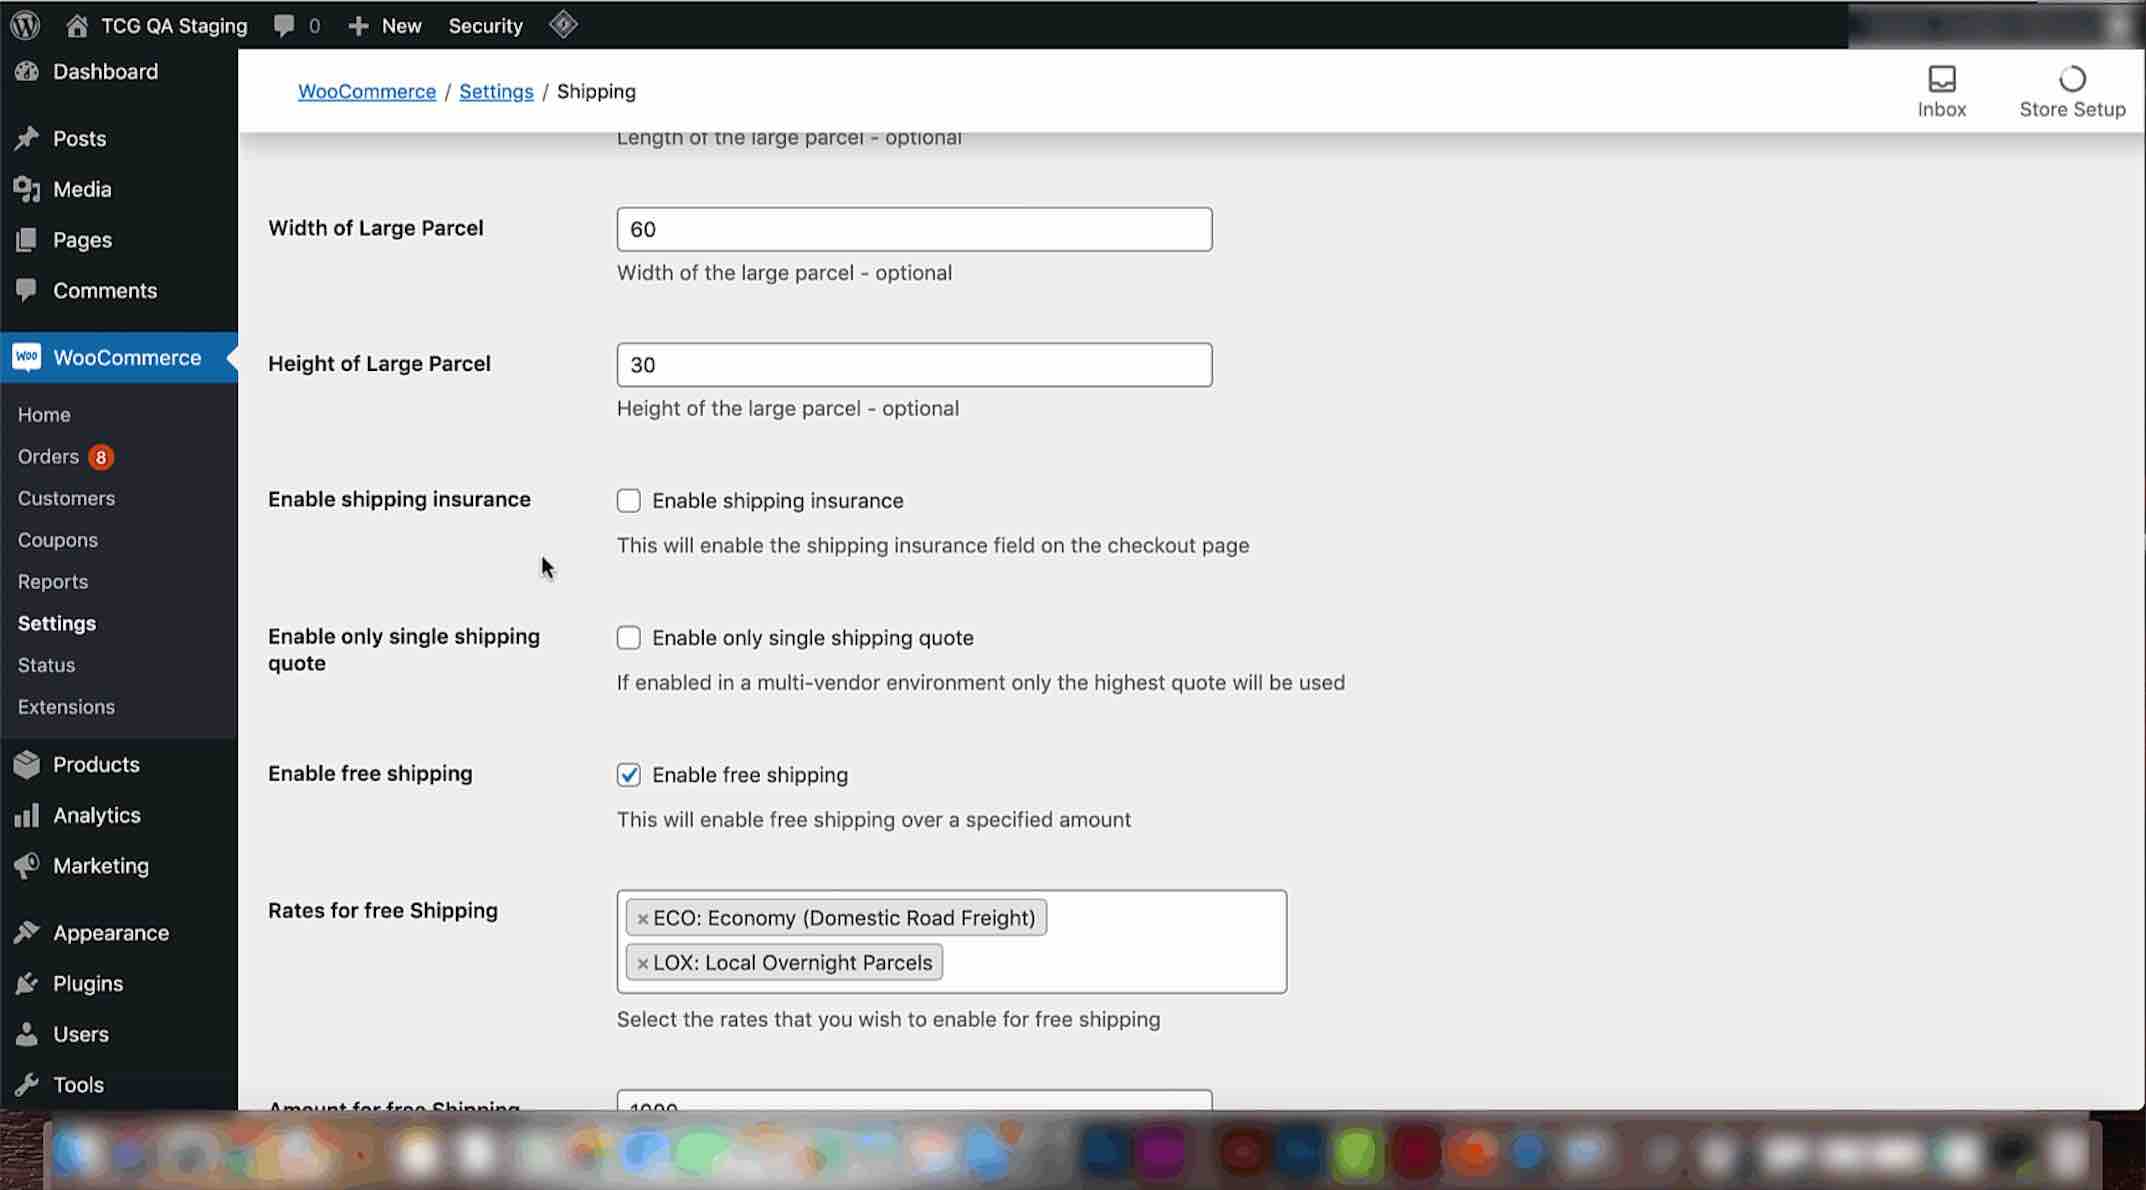
7) Lastly, select the ‘Shipping insurance’ option if you want to allow customers to add extra shipping coverage. If selected, a shipping insurance field will be enabled on the checkout page that can be filled in by customers. Once you are done editing, scroll down and click on the save changes button.


