In this video, we will show you how The Courier Guy plugin will work with your website from the frontend.
Screenshots
Video Transcript
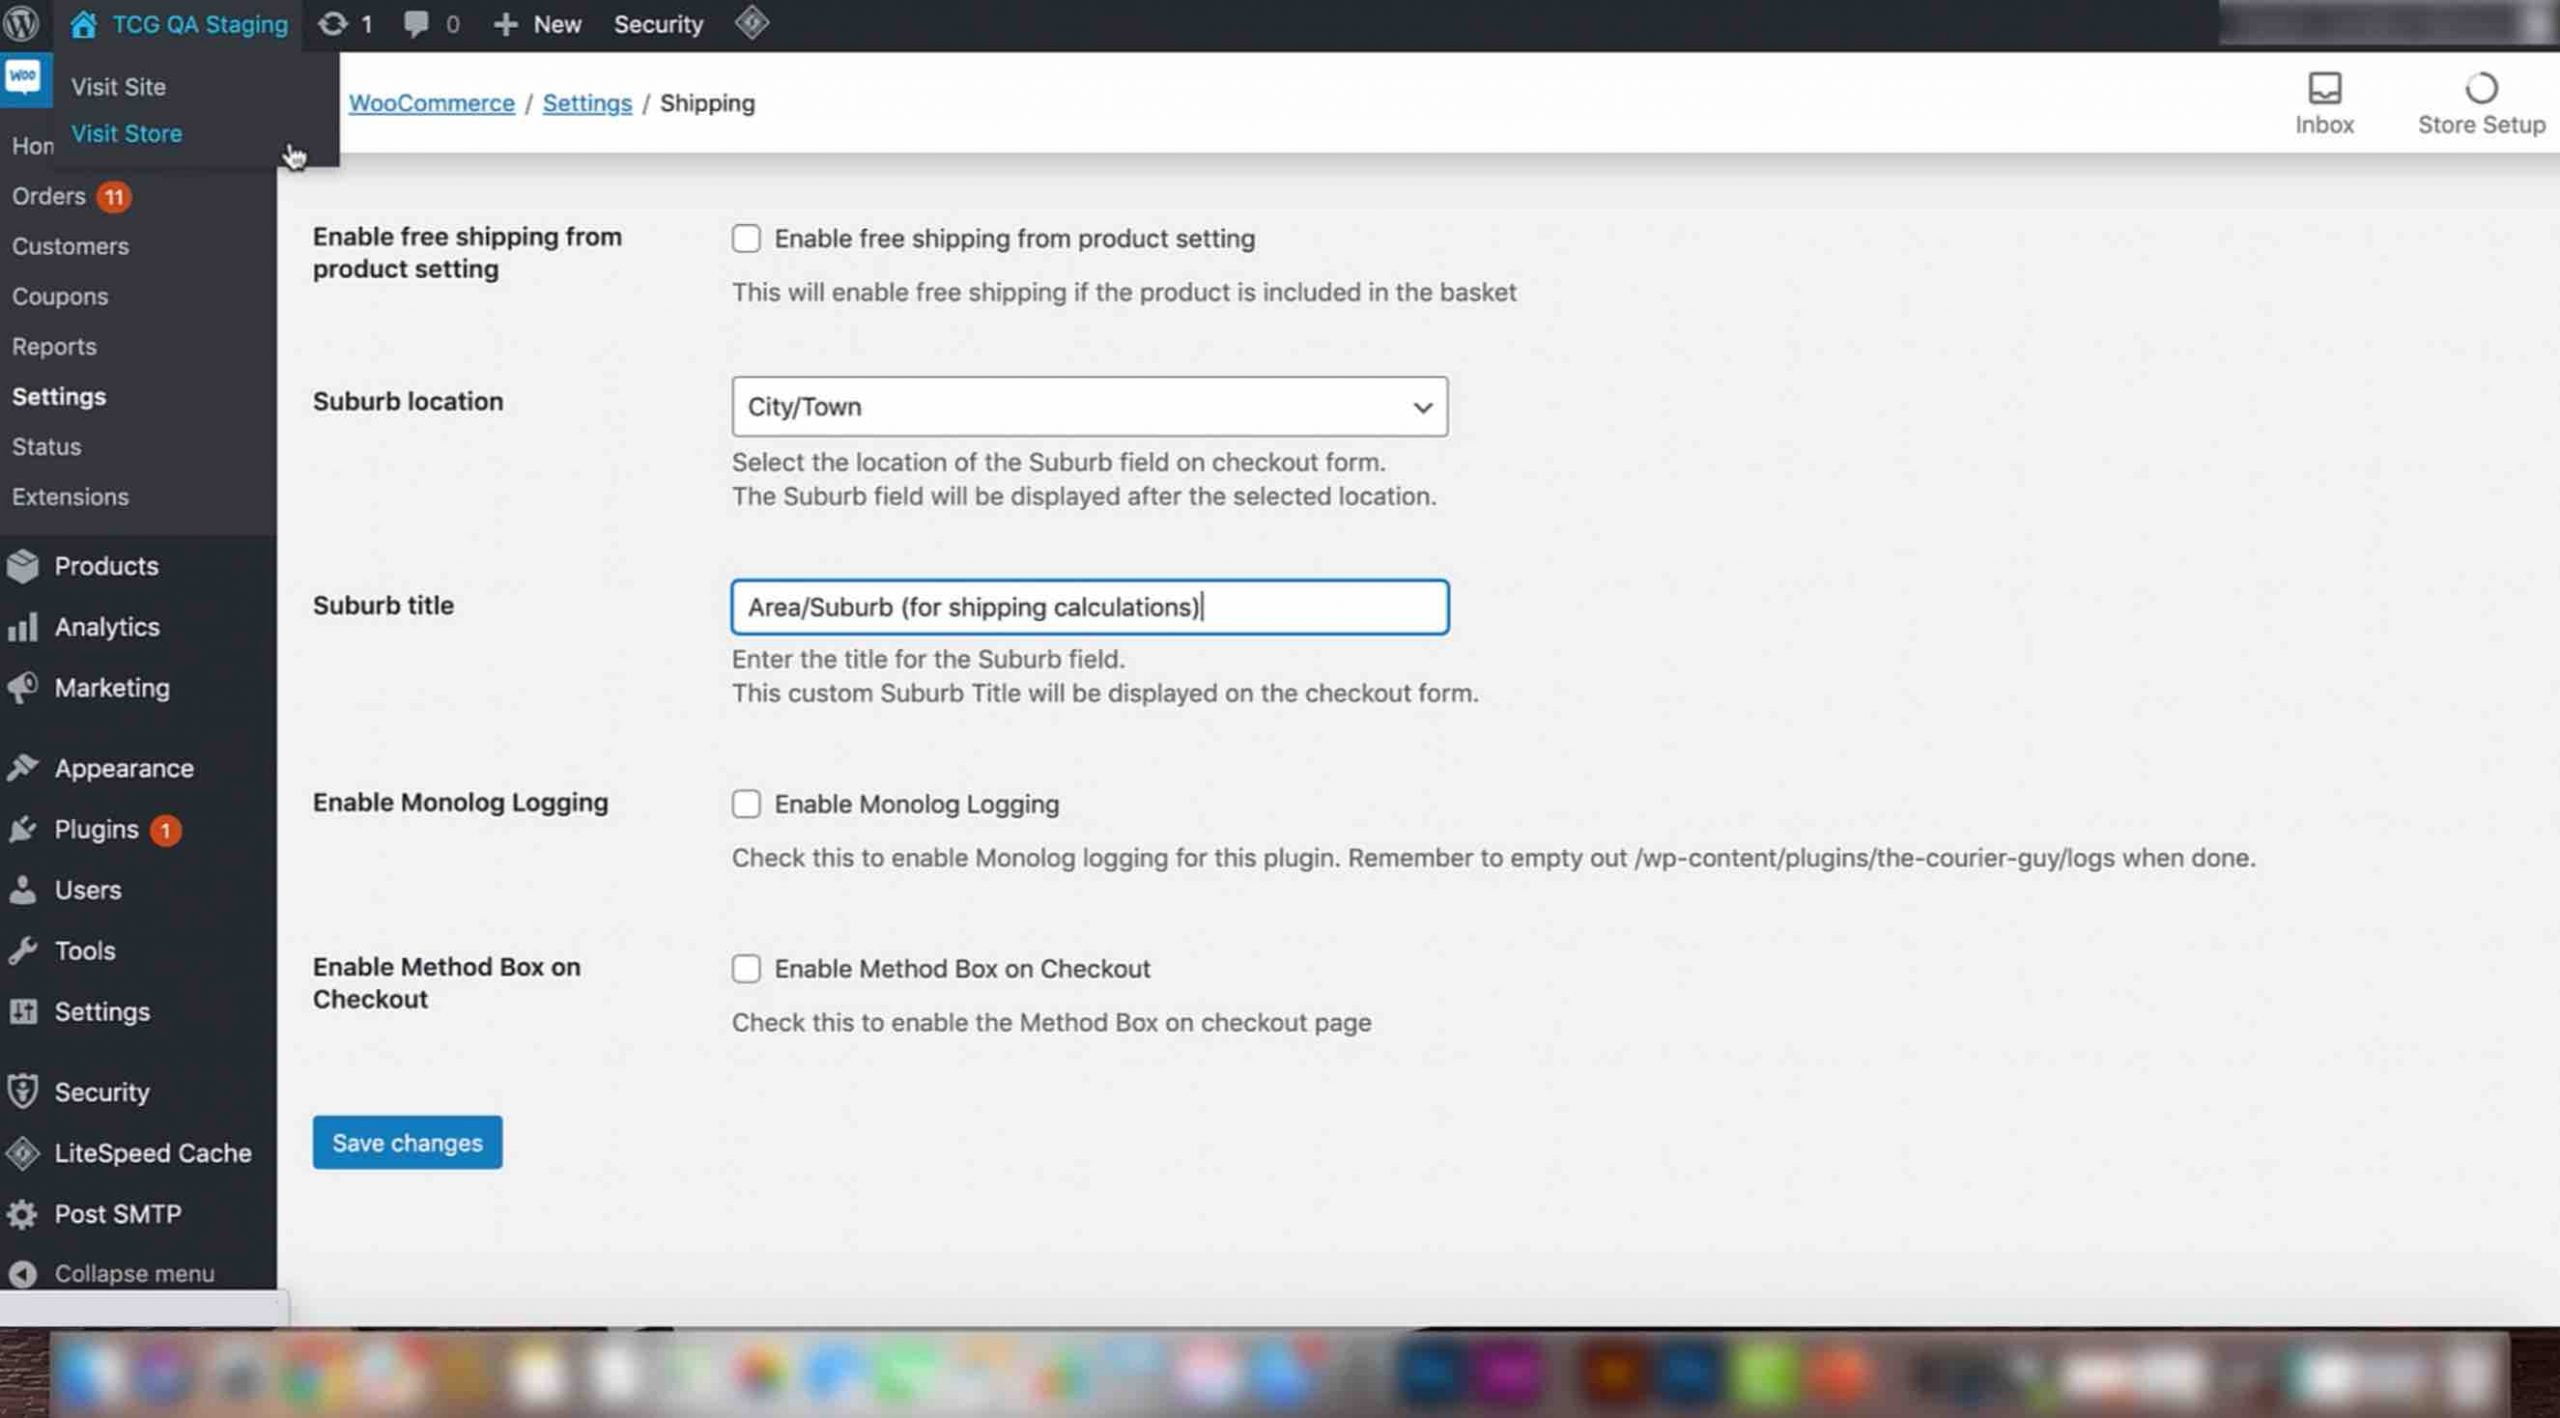
1) Hover over the name of your site at the top of the screen and select the ‘visit site’ or ‘visit store’ option that appears.
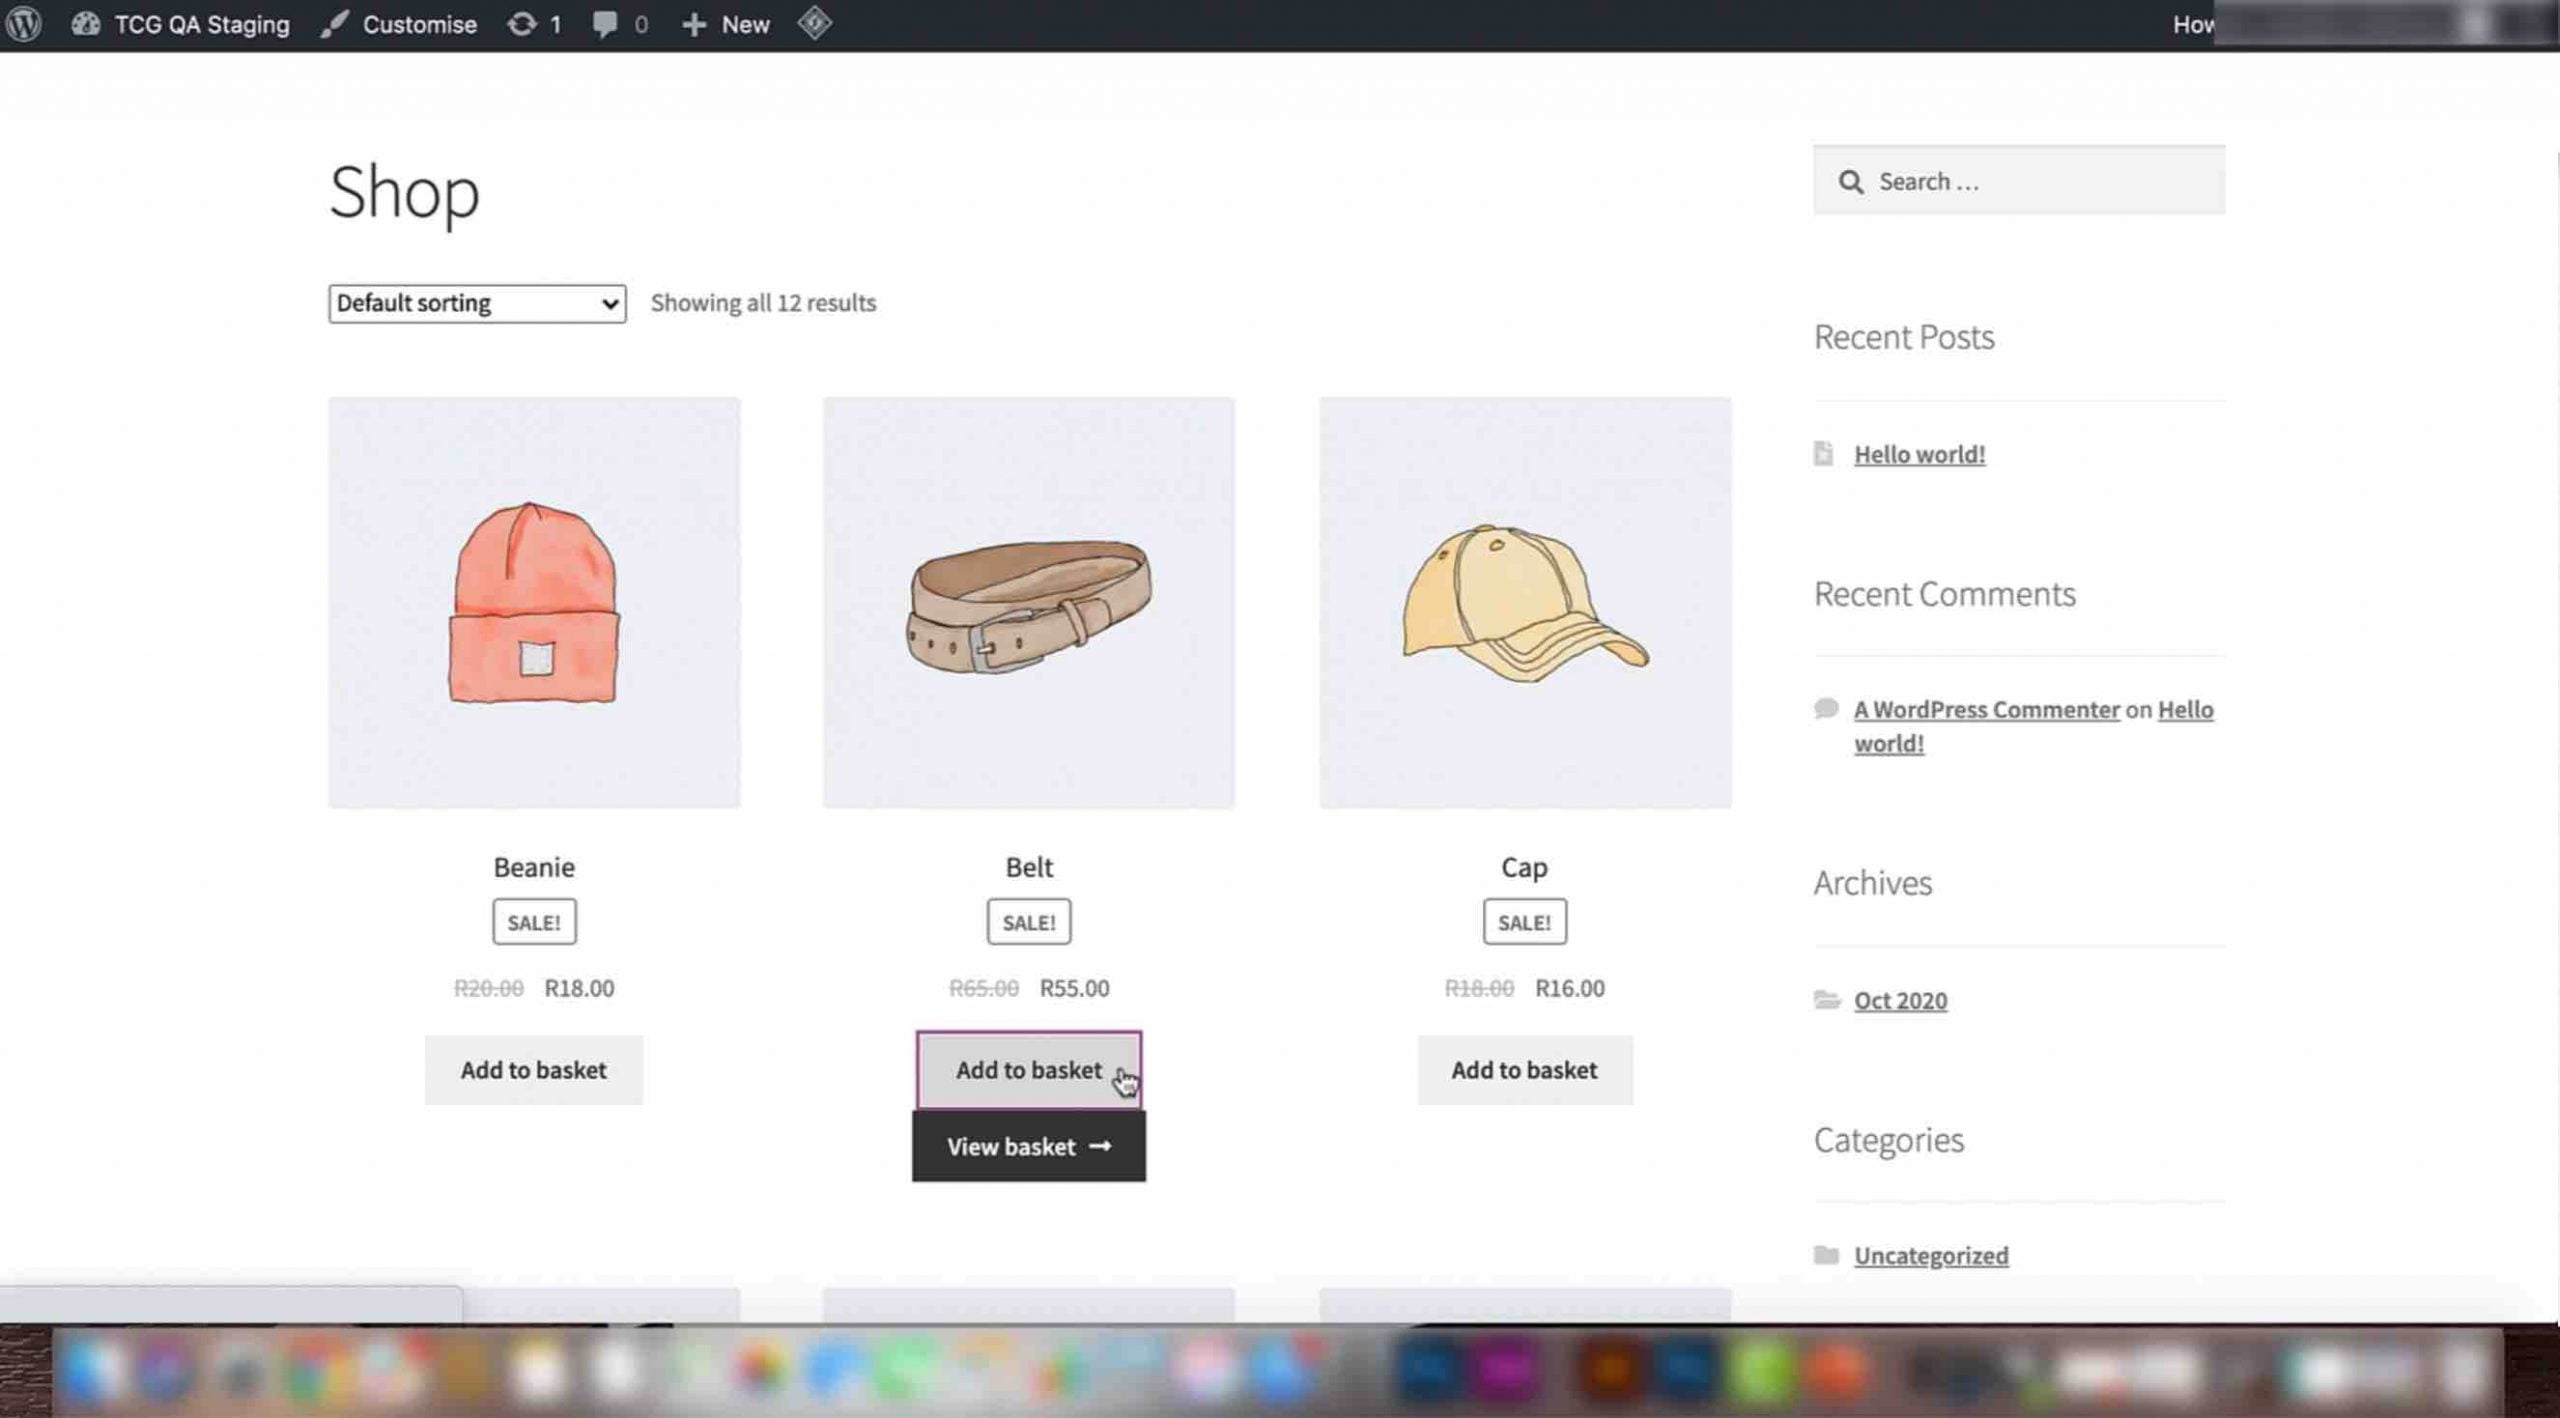
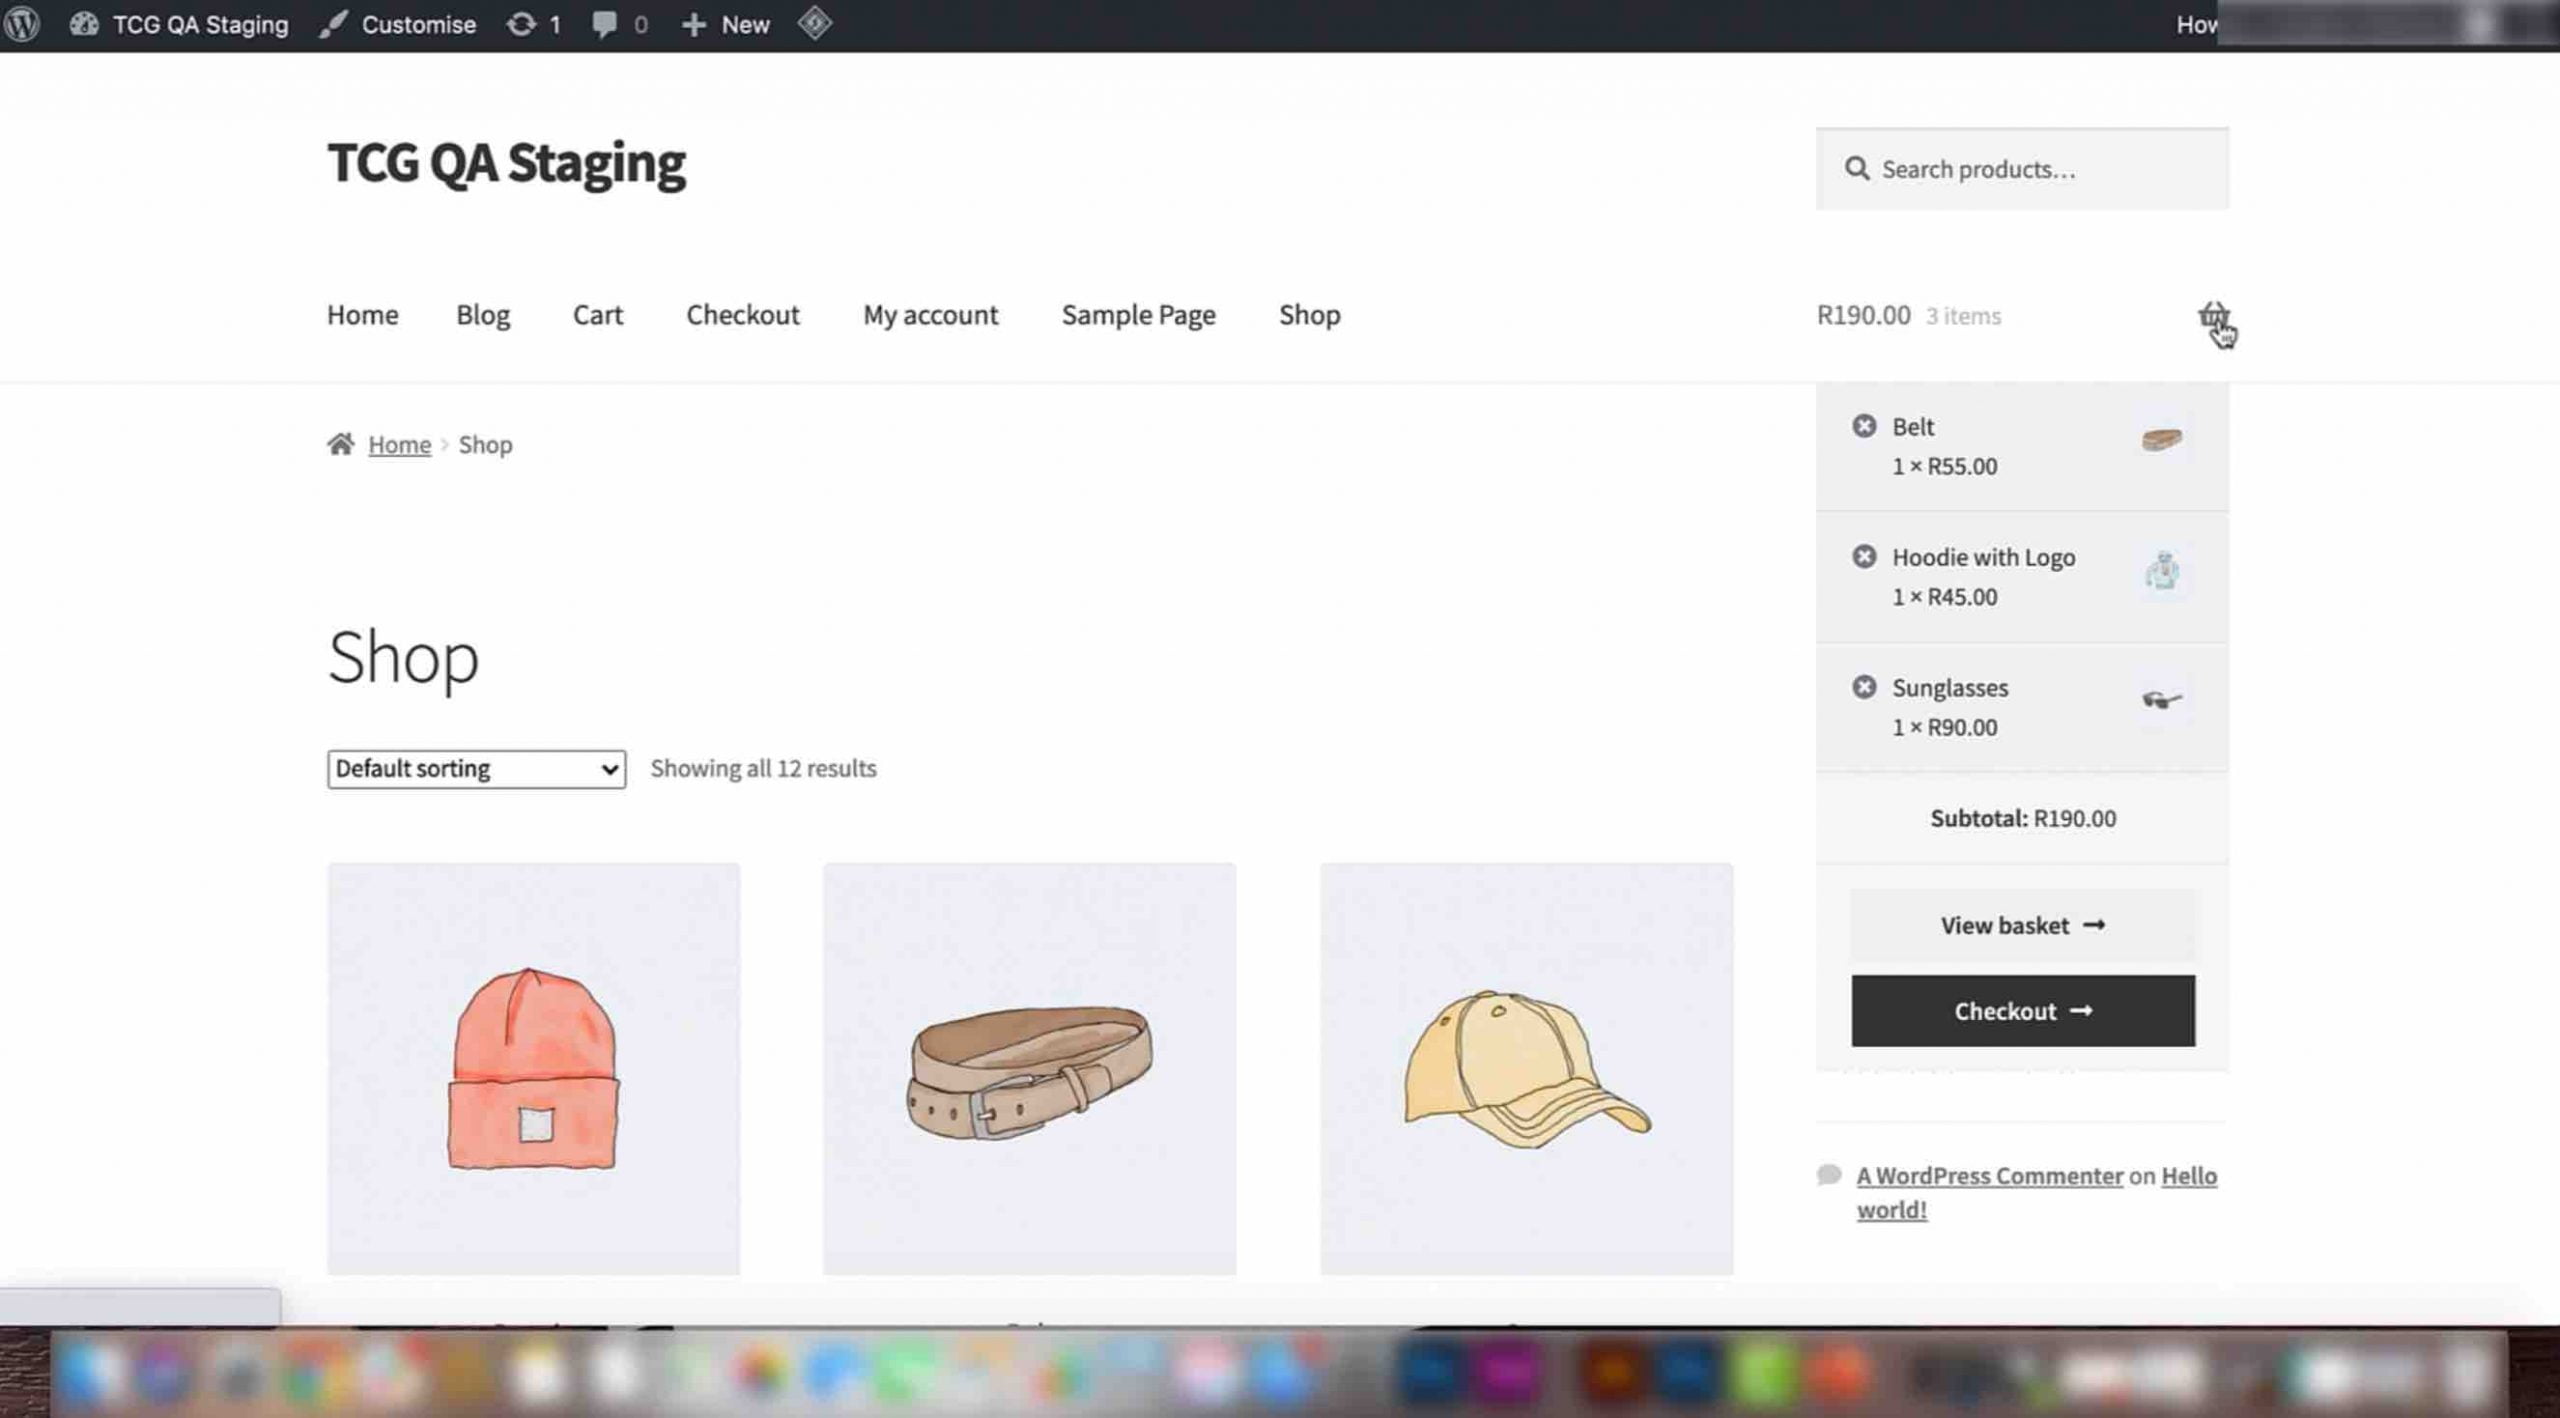
2) Once you are done adding items to purchase, click on the basket icon at the top of the screen. A drop down will appear with all the items in your basket. Next, click on the ‘Checkout’ button.
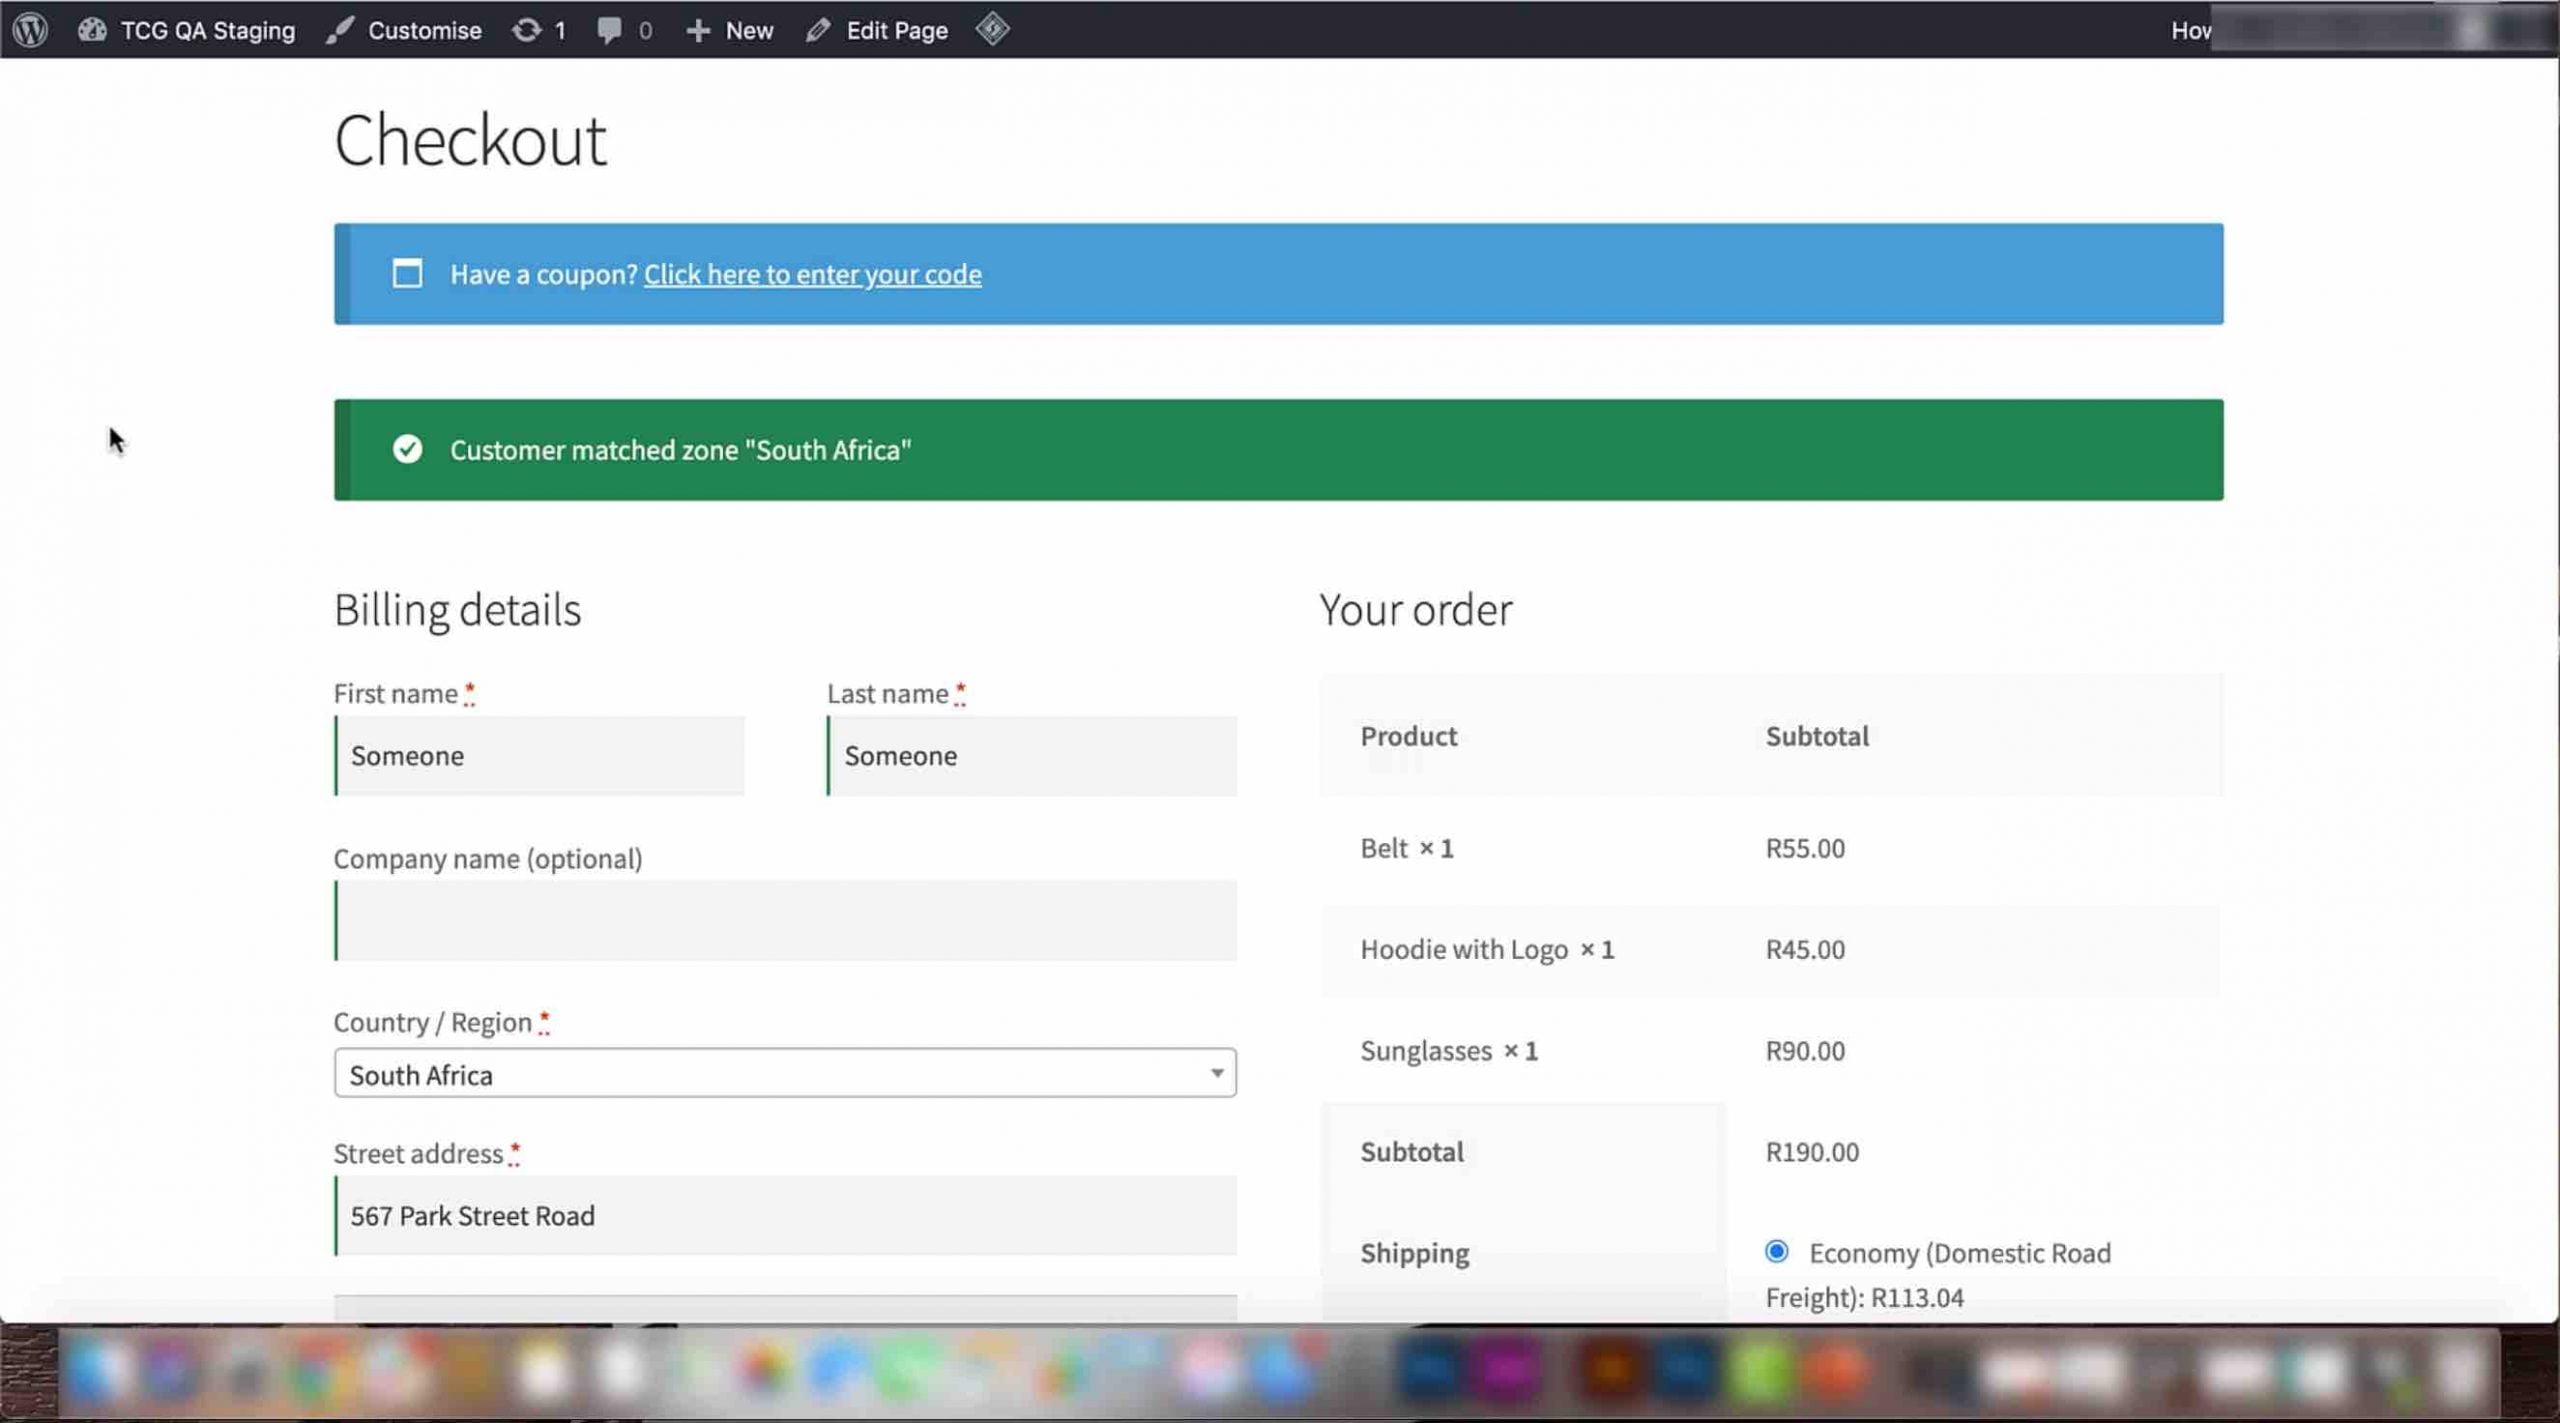
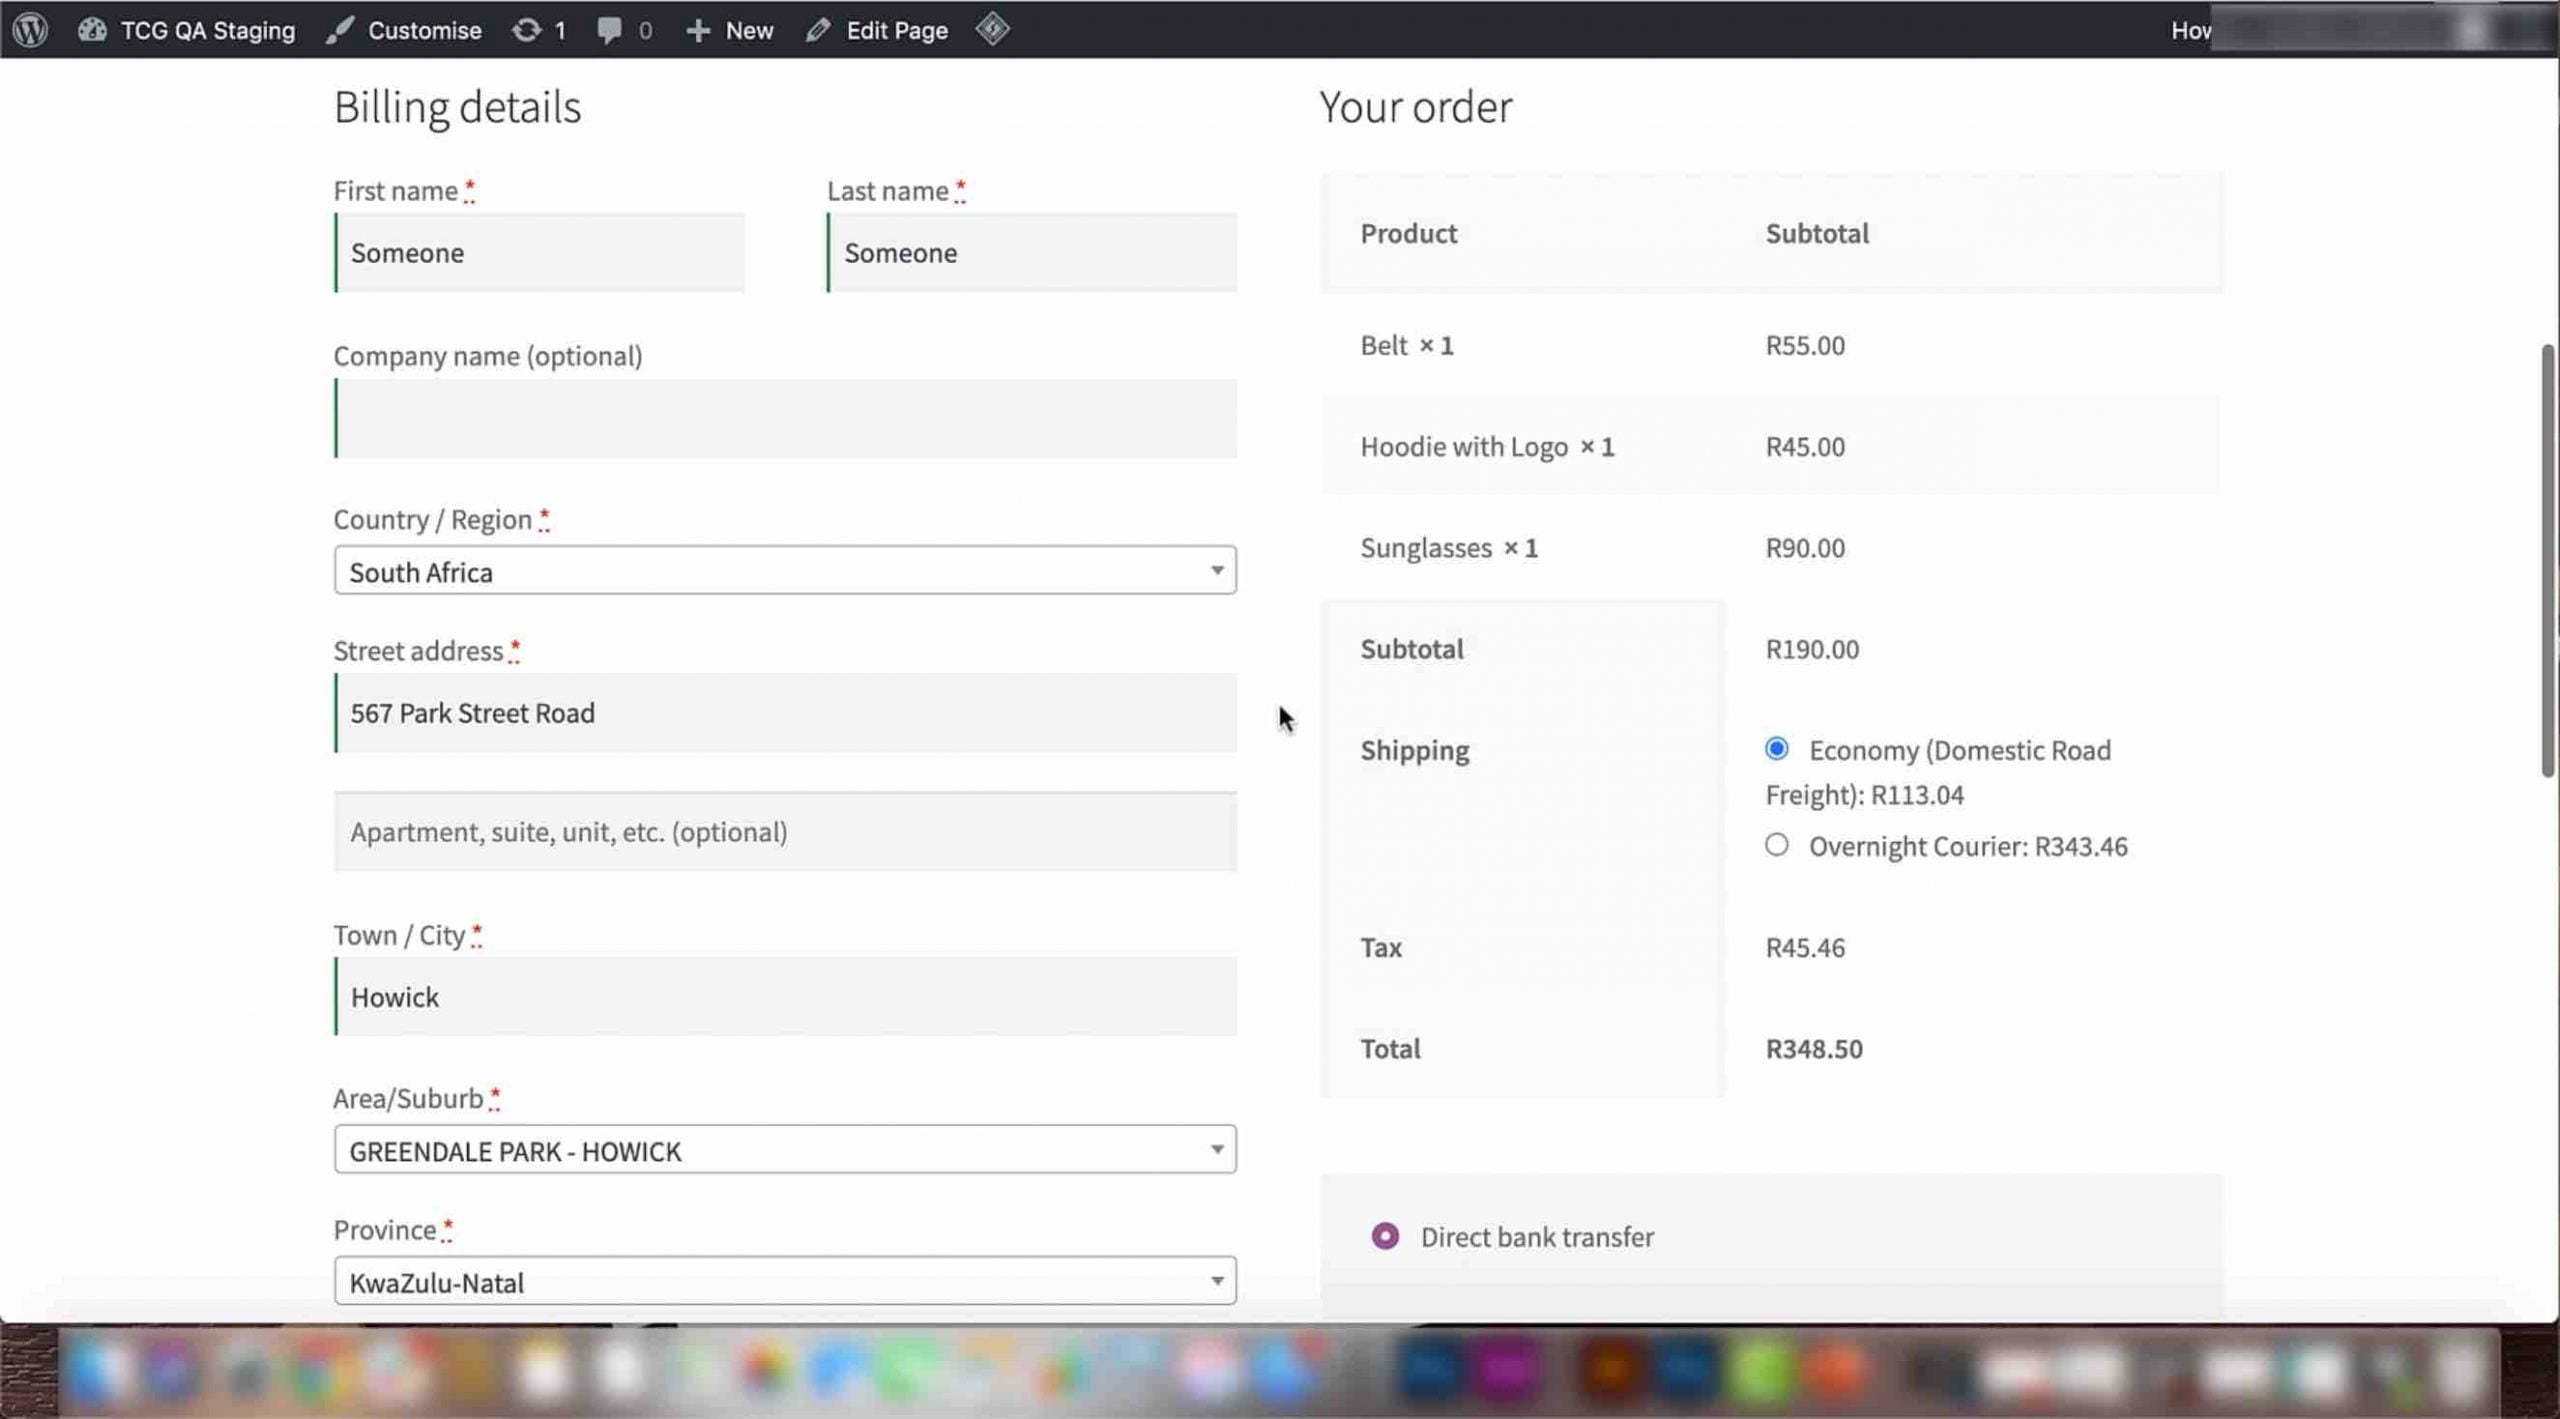
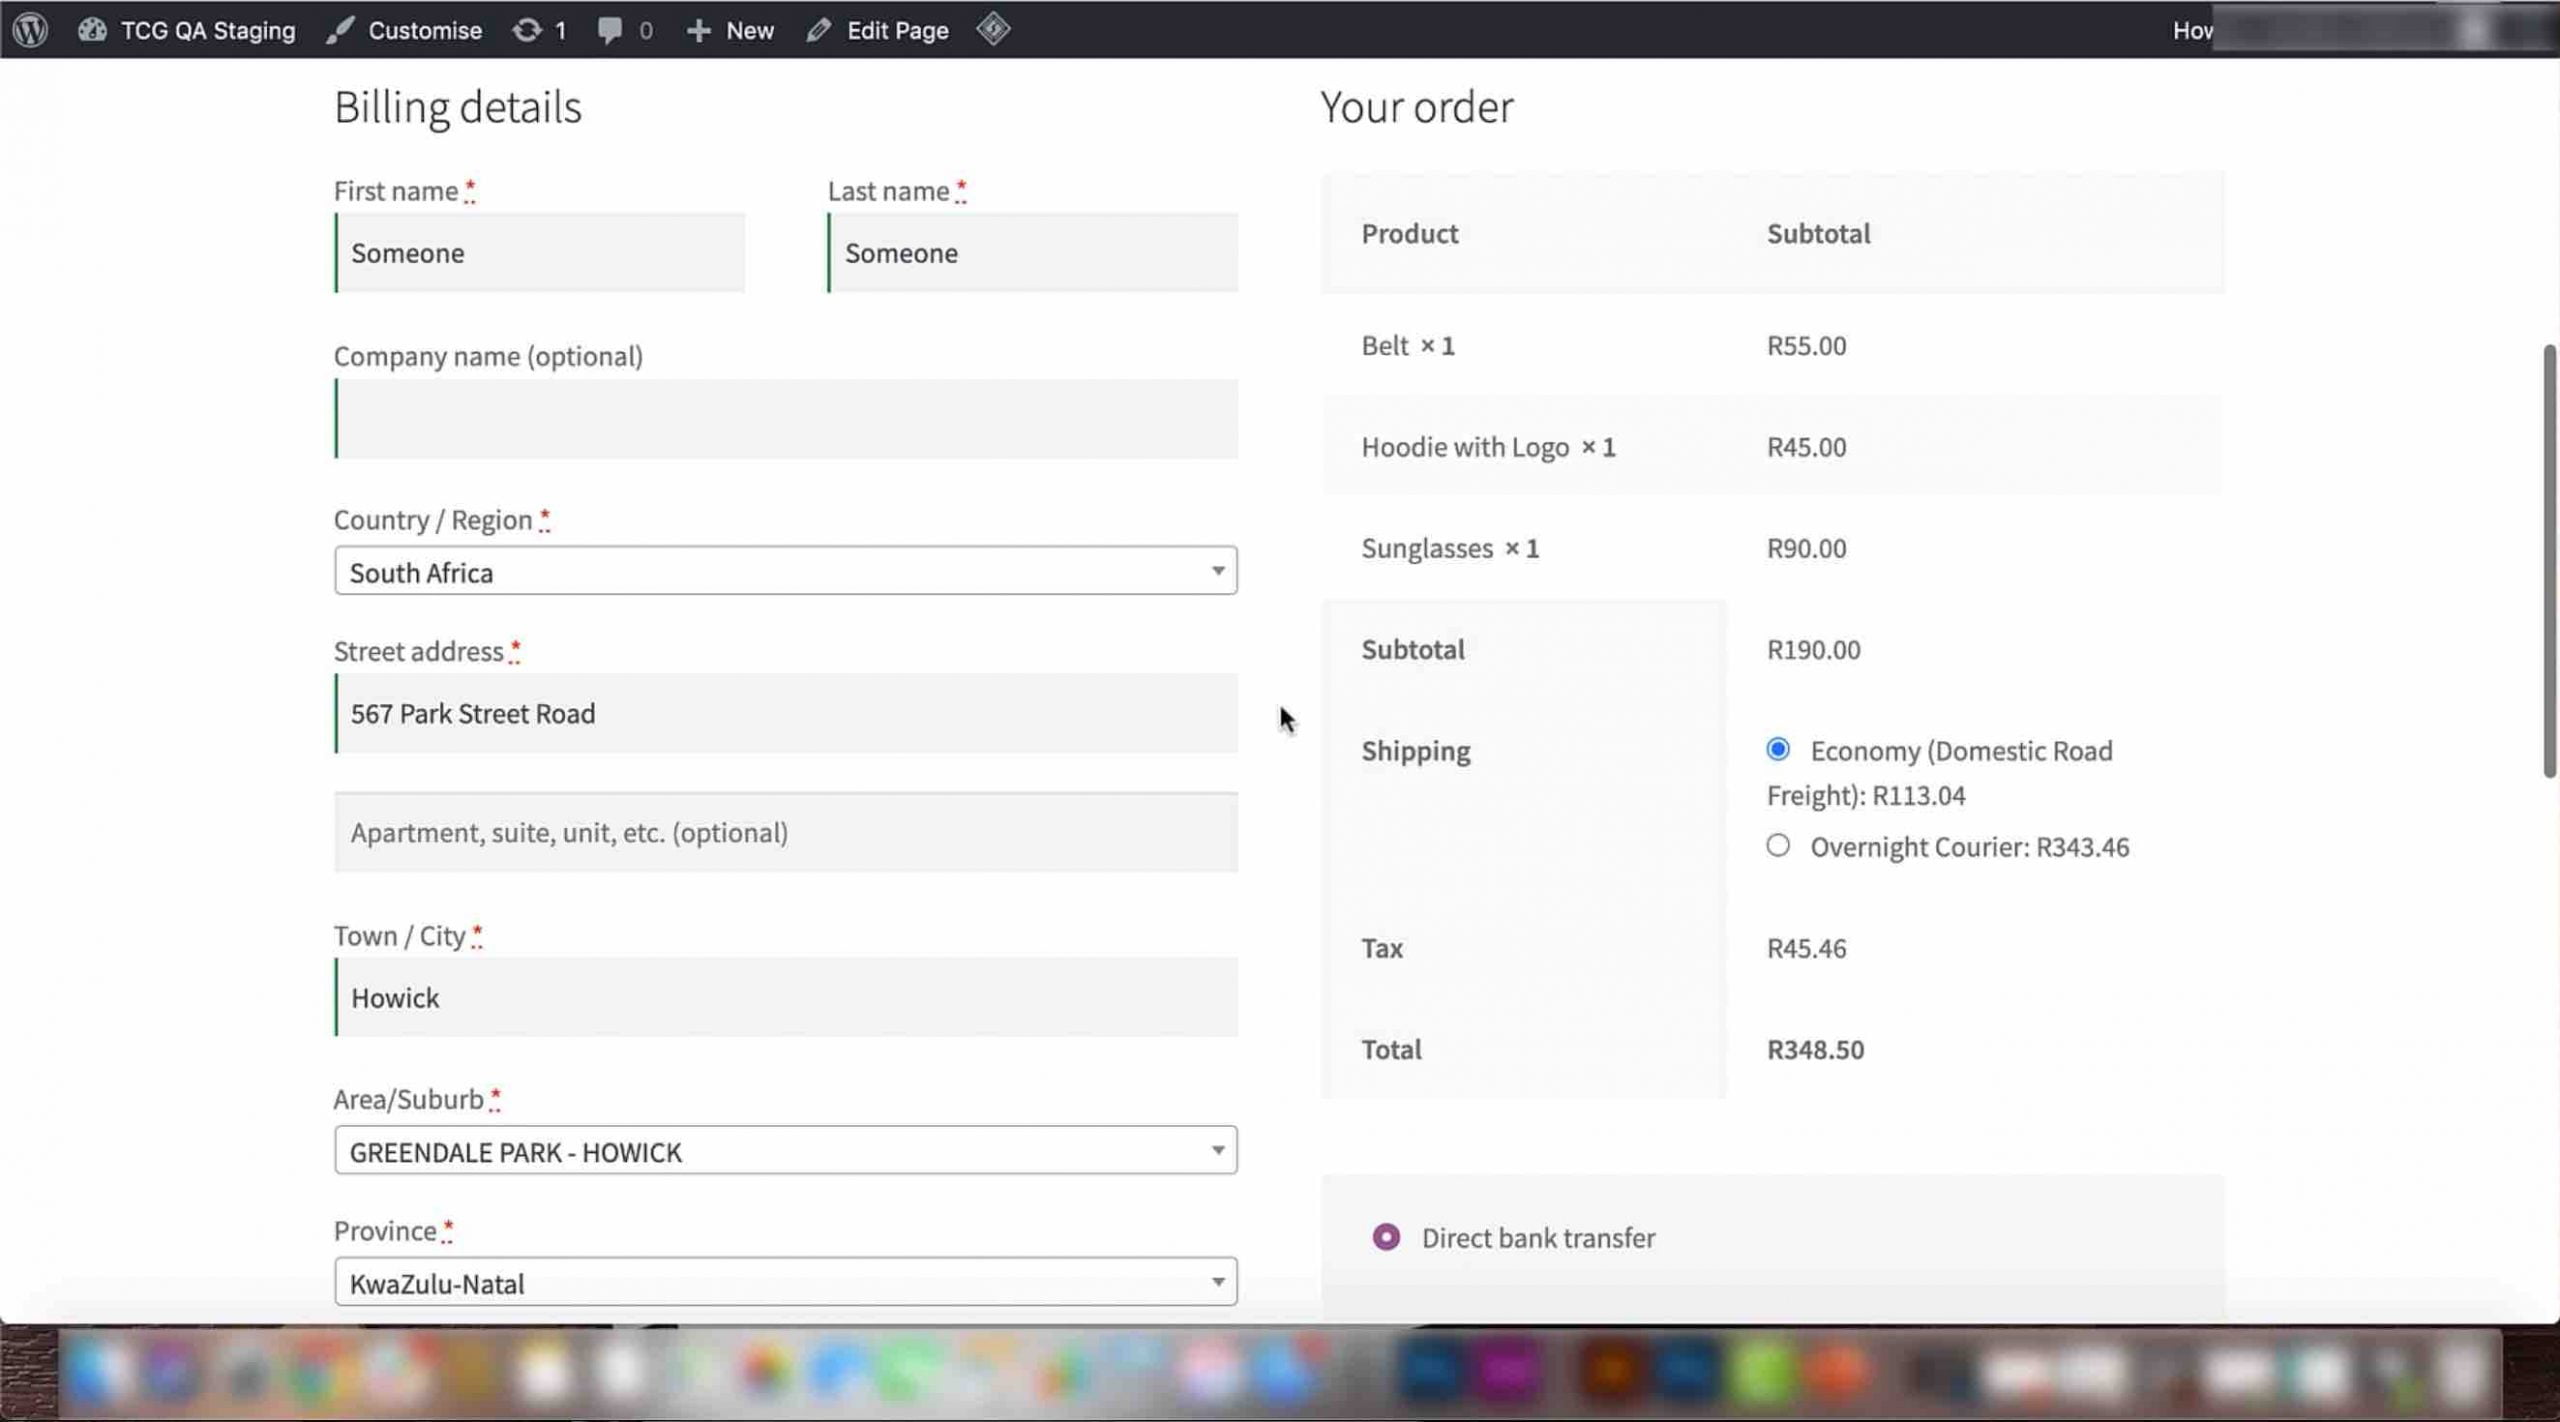
3) You will be redirected to the Checkout page. Fill in your name and surname.
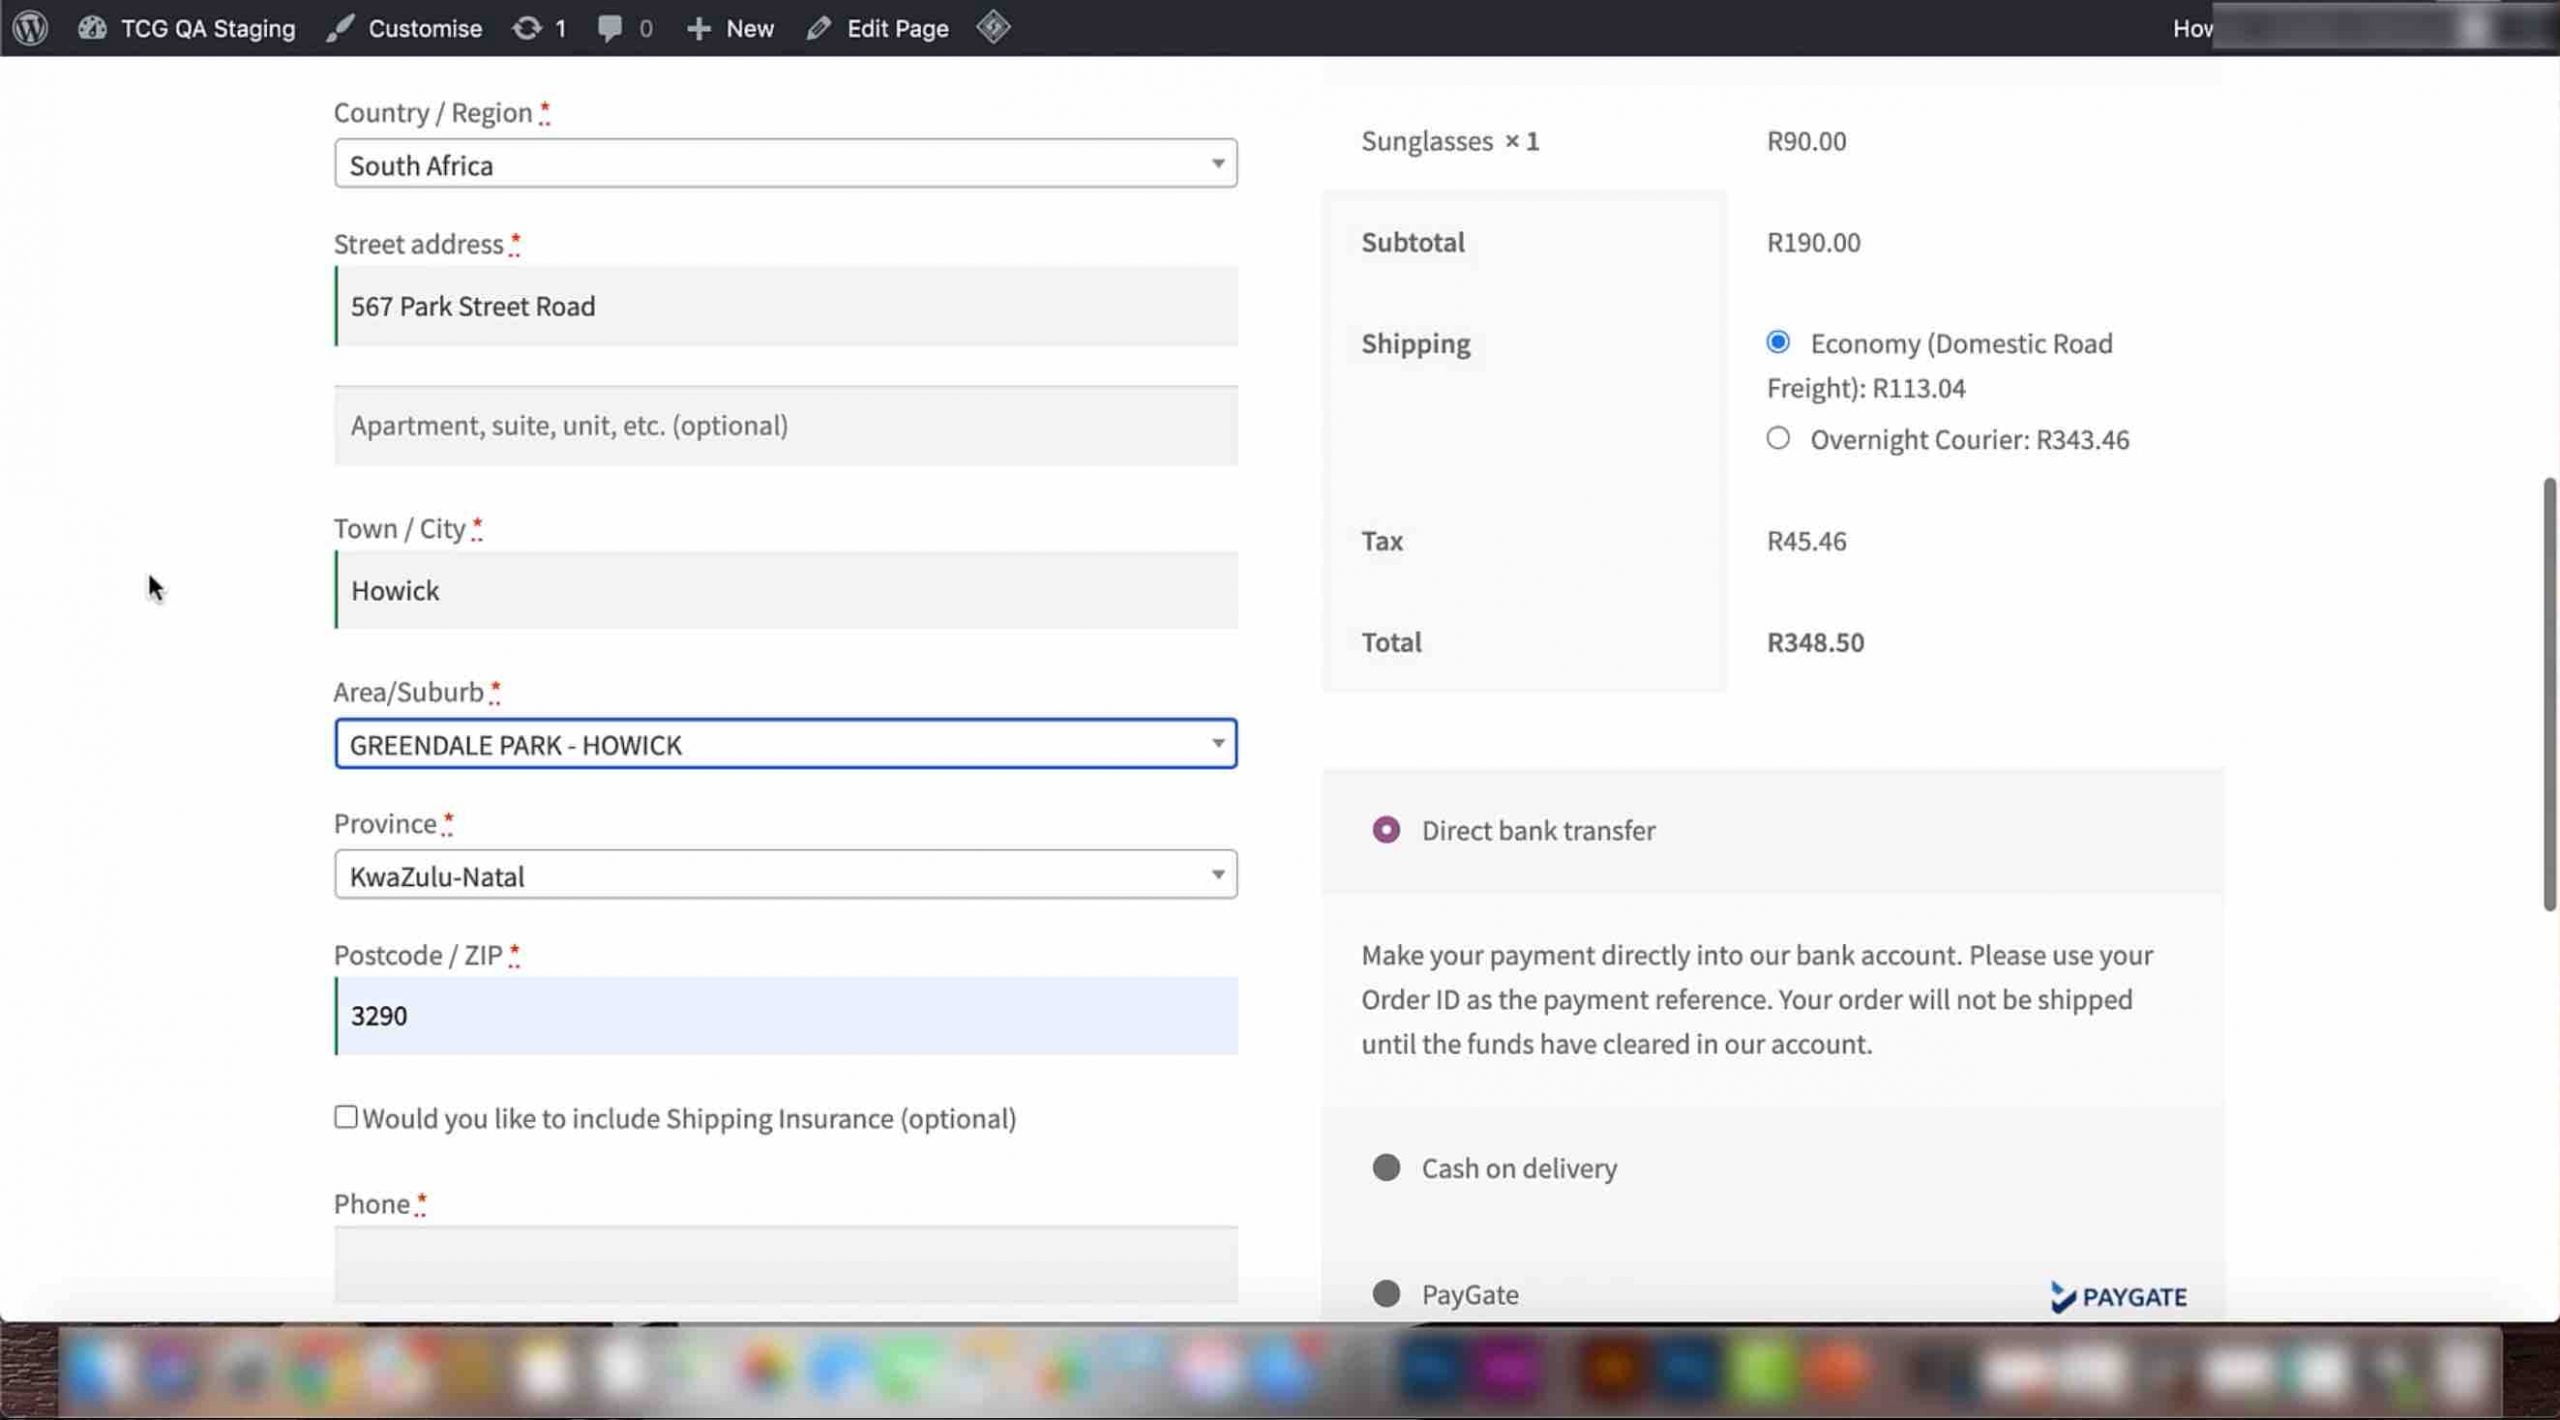
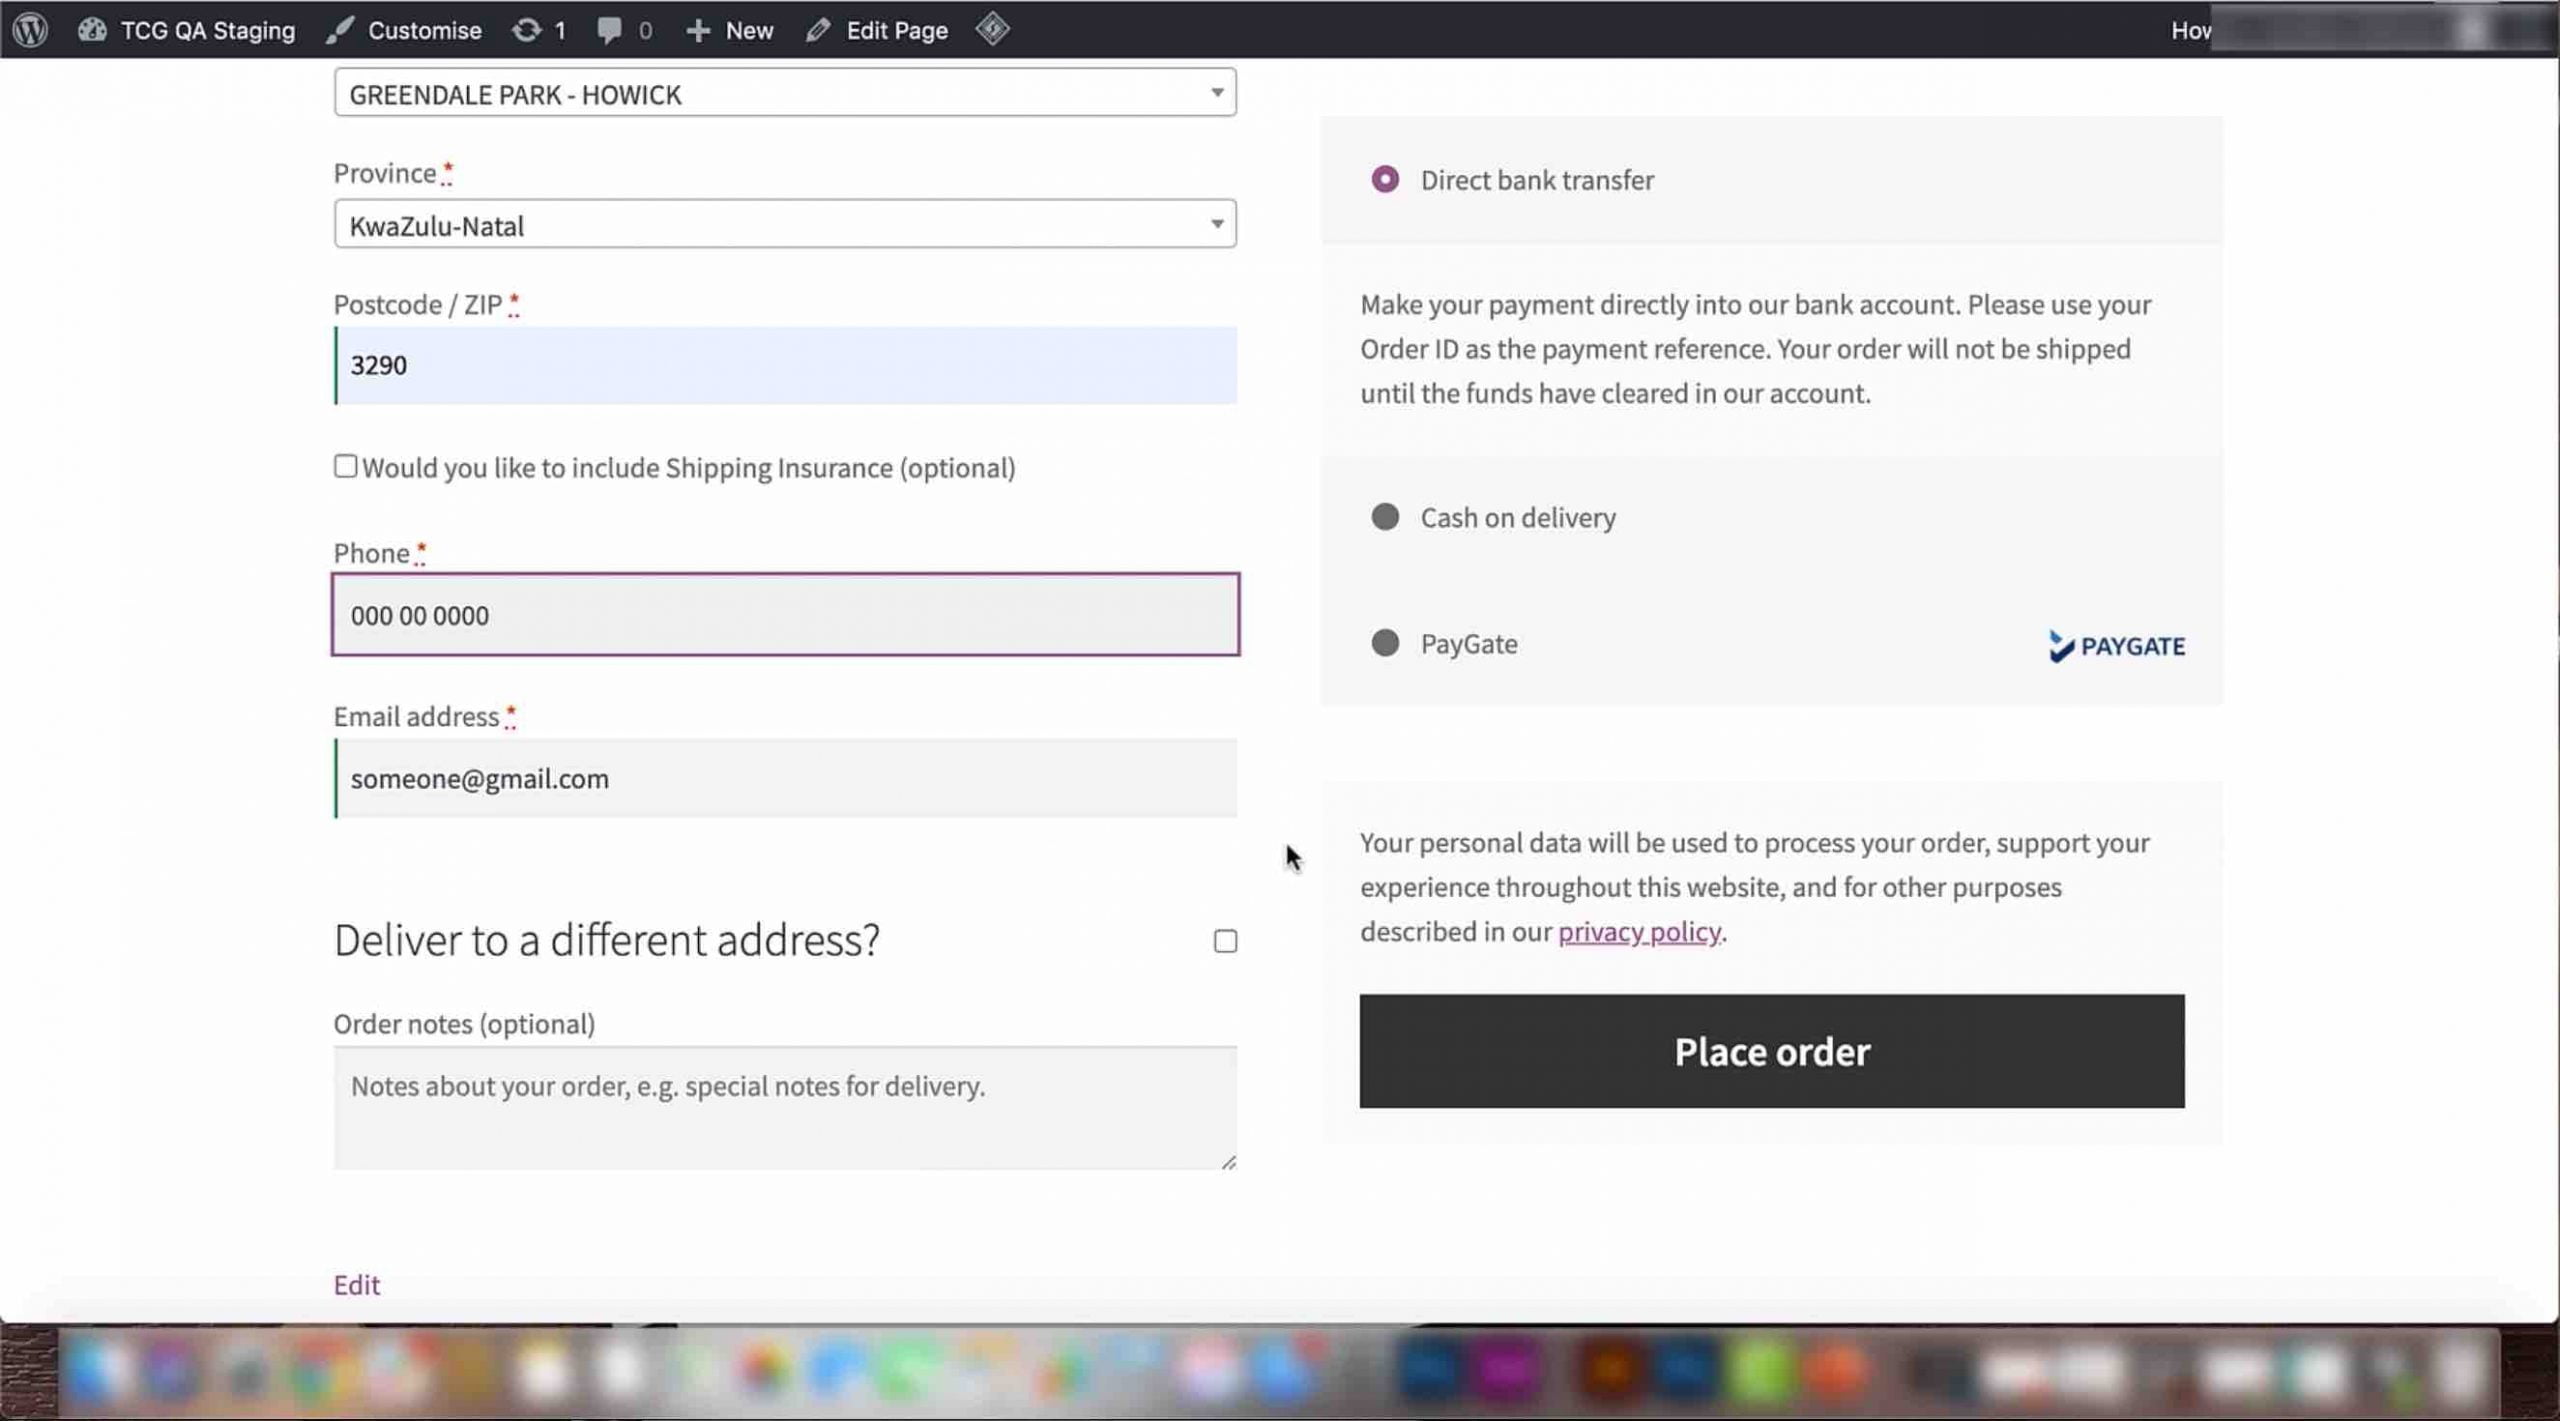
4) Scroll down and add in your country, street address, town or city, area or suburb, province and postal code. These fields are important for calculating shipping costs. Your shipping insurance checkbox will also appear here if you have activated this setting in the backend.
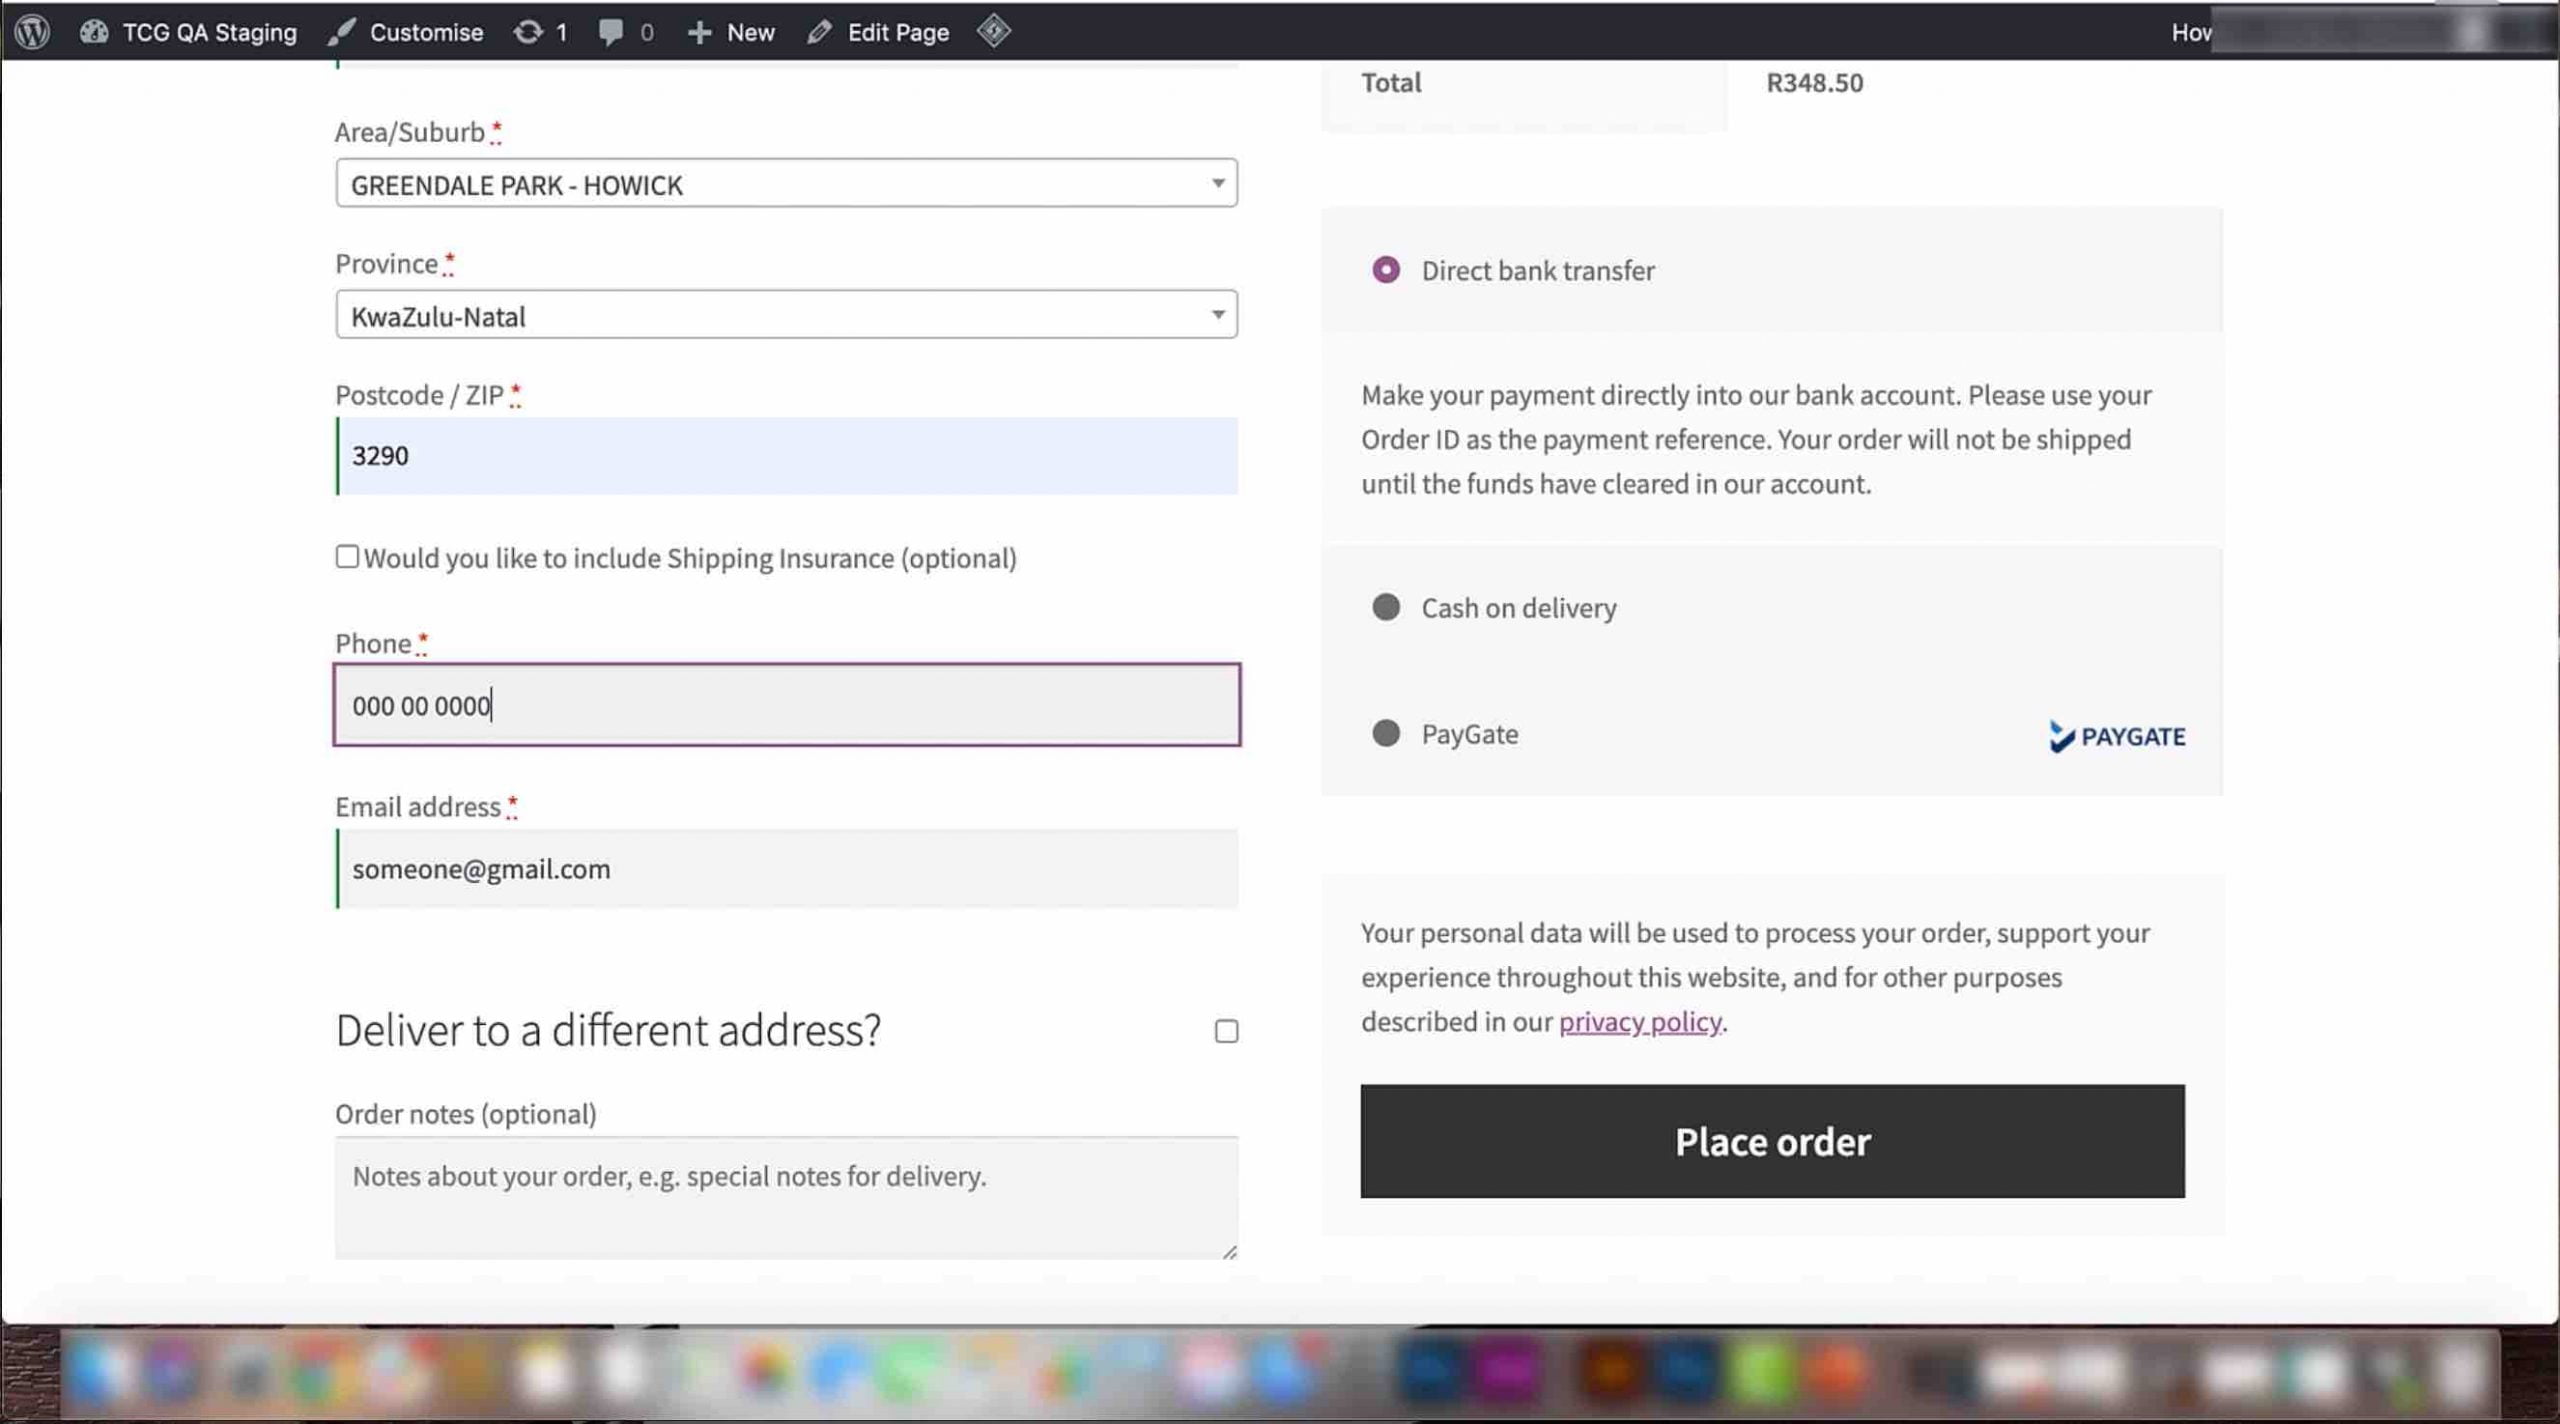
5) You will also be able to add in a phone number, email address and any notes you want to include in your order.
6) Once you are done adding all of your details, you can view all the items you have ordered in the ‘Your order’ section. Your calculated shipping costs for each shipping option will also appear here.
7) Select the shipping option you would prefer. Once you have done so, you can view the total cost of your order underneath the tax cost.
8) Once you are satisfied, you can place your order.


